
Static lists with post content are great if you show a selected and limited set of those messages. But often you want users to access more content than your original lussows. You want to decide how much content initially loads and give readers a clear way to move between batches. That is where the runner and the Page Module of Divi 5 form a perfect pair.
You will go through this message how each works and then show how you can connect them. Towards the end you know how you can build Koned Layouts with the right pagination.
Meet Divi 5’s Loop Builder
The Loop Builder is one of the biggest upgrades in Divi 5. It gives you freedom that the old blog module could never be. Each element can become a “loop” container. This means that Divi will automatically repeat it for every message, product or adapted post type that matches your search.
Instead of being stuck with a pre -designed list of messages, design one “template” item as a loop. Divi uses this for every result and exchanges in dynamic content from the loop search. This could be:
- Titles drawn from postal information
- Featured images
- Custom fields
- Links to full messages or products
You can use any module to display this data, not just a blog -specific. Do you want a nice Blurb module with your latest course listings? Finished. A modified product cardlay -out need for WooCommerce -items? Also done.
It is flexible because you build the design and content structure yourself. Divi treats the repetition.
Switching from the blog module to the runner means going from a standard template to a fully adjustable layout system. I really enjoyed building it, and I know you will do that too!
Pagination is a great way to say “splitting the results into pages.” Instead of dumping all items on a single page, break them in smaller sets. That helps with:
- Page loading times
- Readability
- Scanability
The Page module In Divi 5 that does exactly that, but with smart integration. It is not only bound to blog posts. Instead, it can connect to any loop that you have built on the page.
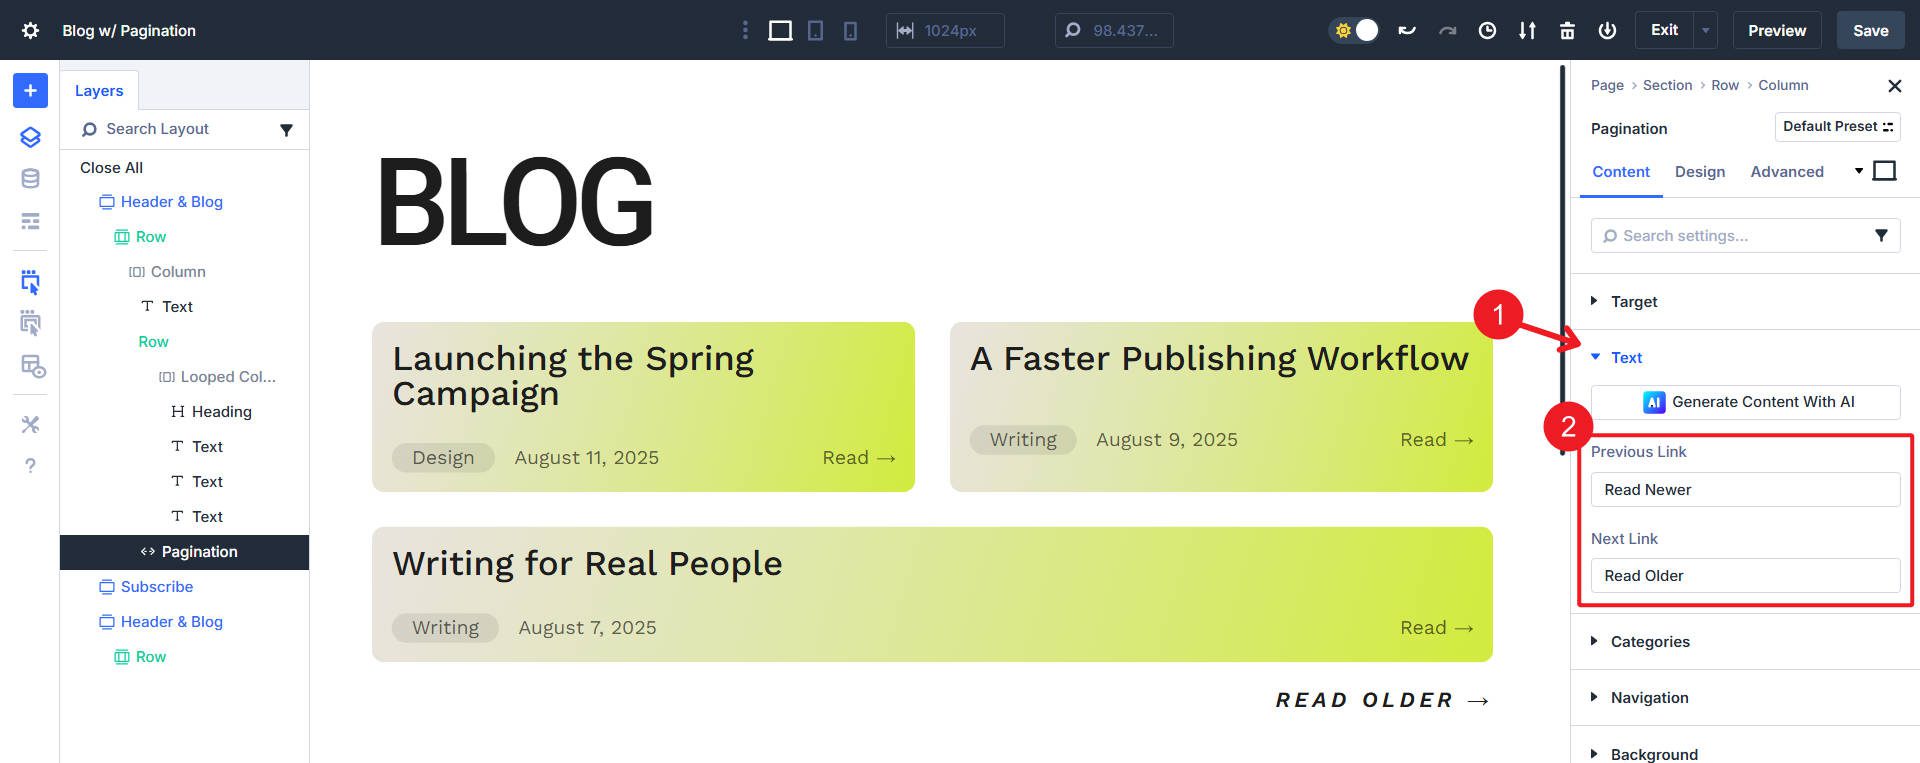
It works by adding two navigation elements – Previous and the following links – whose labels you can adjust. If there are older items beyond the current set, “older” (or your chosen text) is active. If there are newer items, “newer” is active.
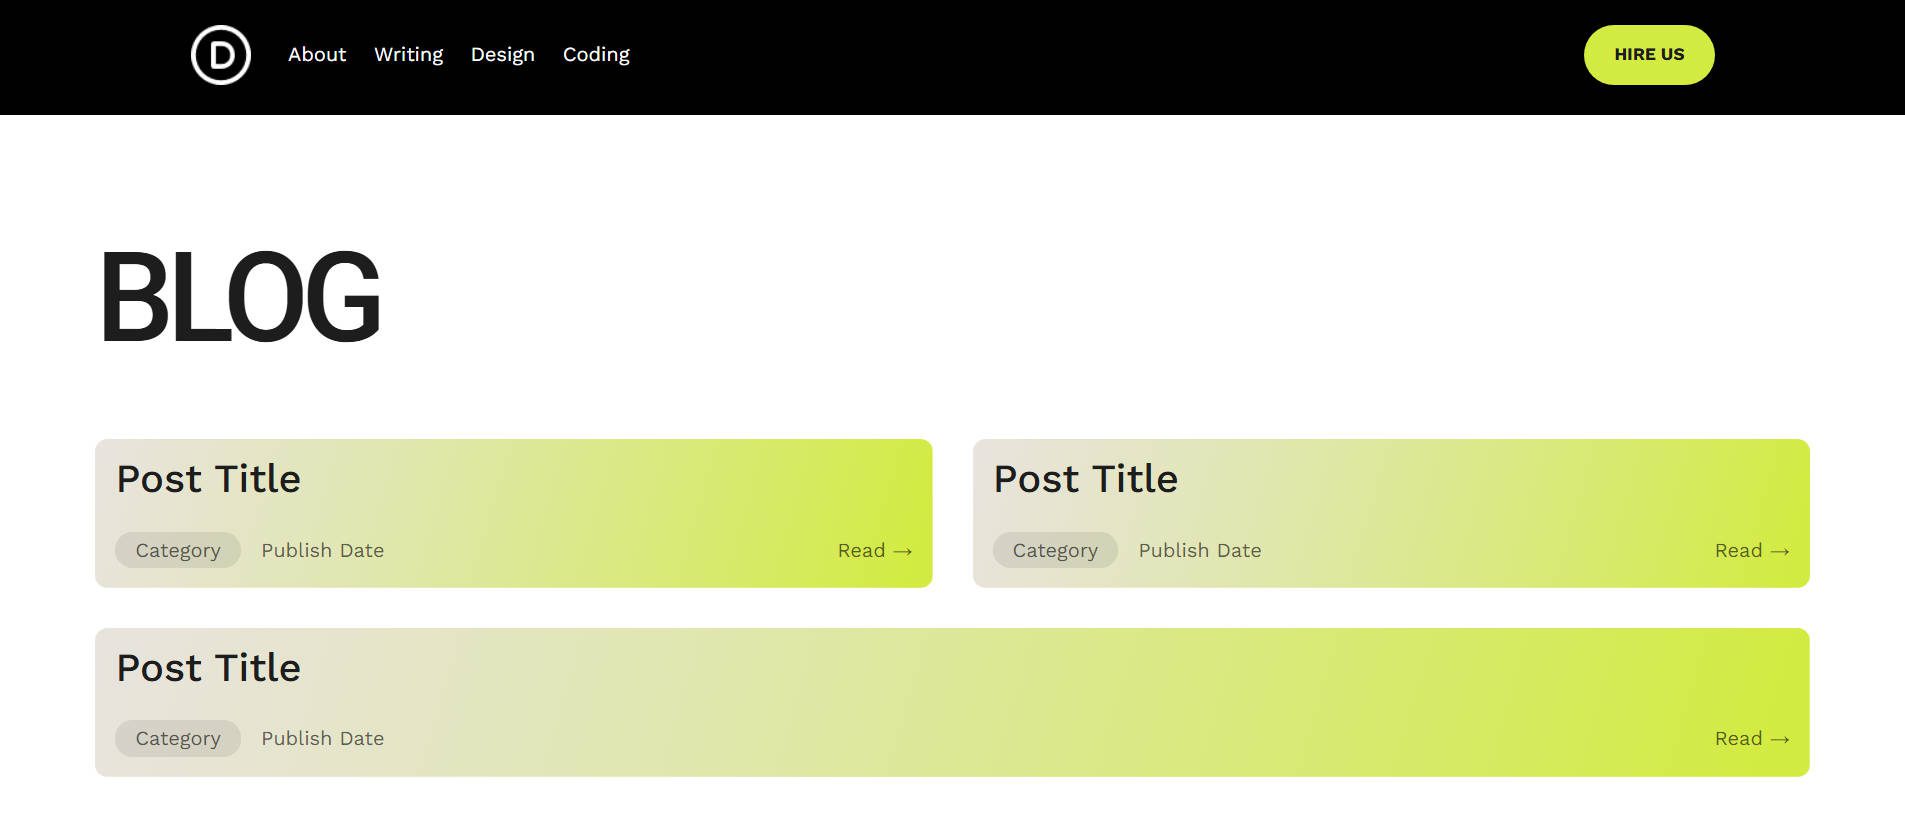
Let’s go through the full setup. This example assumes that you want a custom loop with pagination underneath. Here is the Flex Layout that I have made that will display our loop. You can download the fully built layout below.
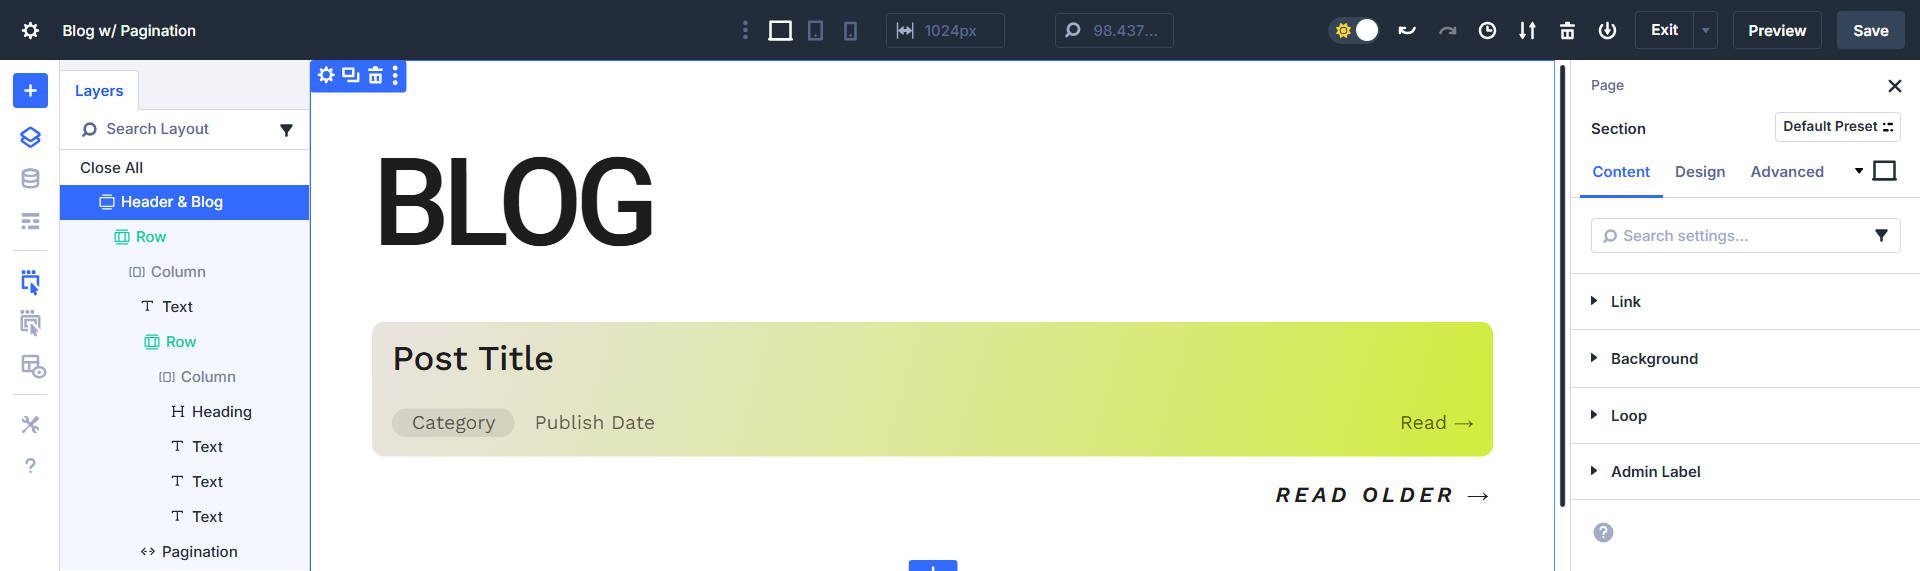
Note that the card is set to ~ 50% width and flex growth, so when a loop card is in itself in a flex-row, it becomes the entire width in the container.
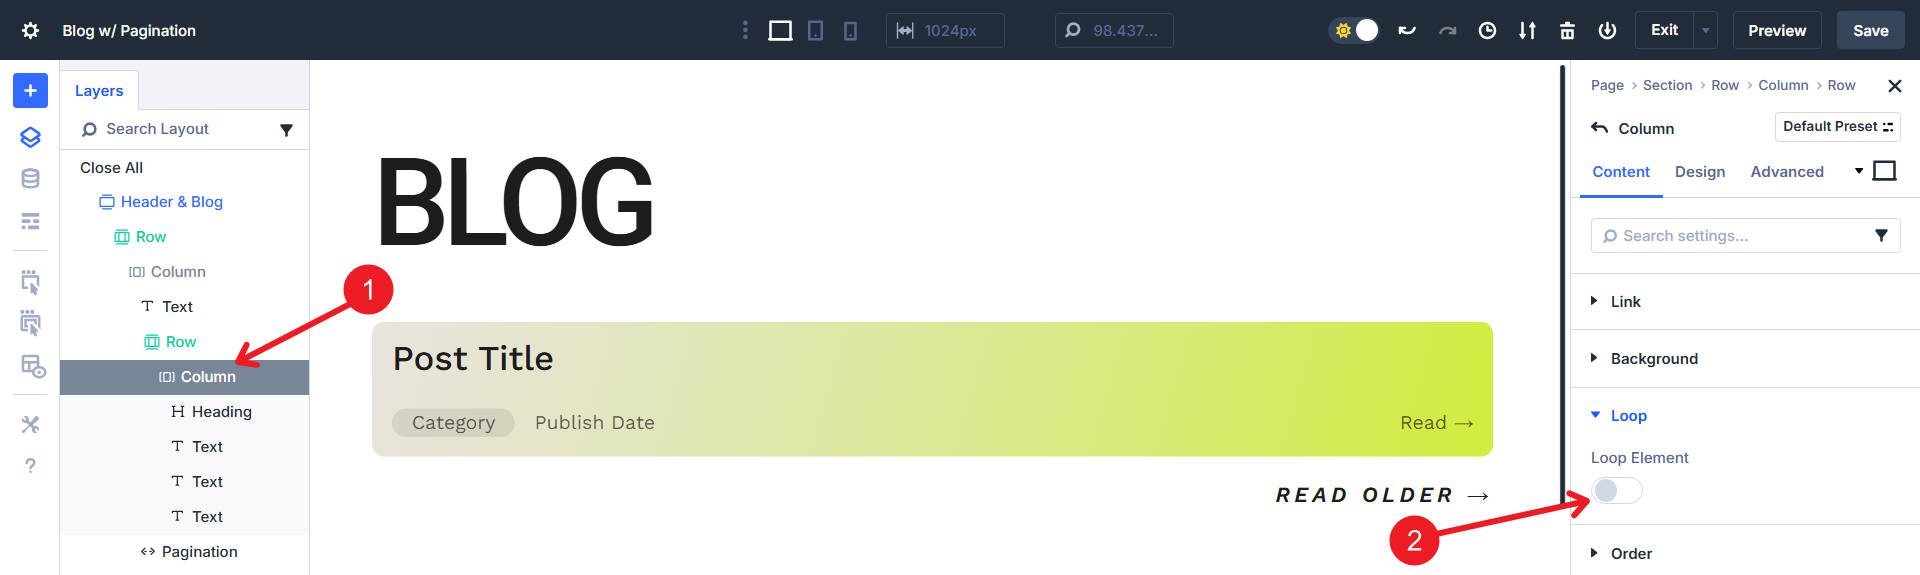
Step 1: Make the loop container
Add a section to your page. Inside, add the module (s) that you want to repeat. This can be a single module (such as a Blurb) or a more complex layout of multiple modules in a column or group.
Selected with your container, open the settings Loop option.
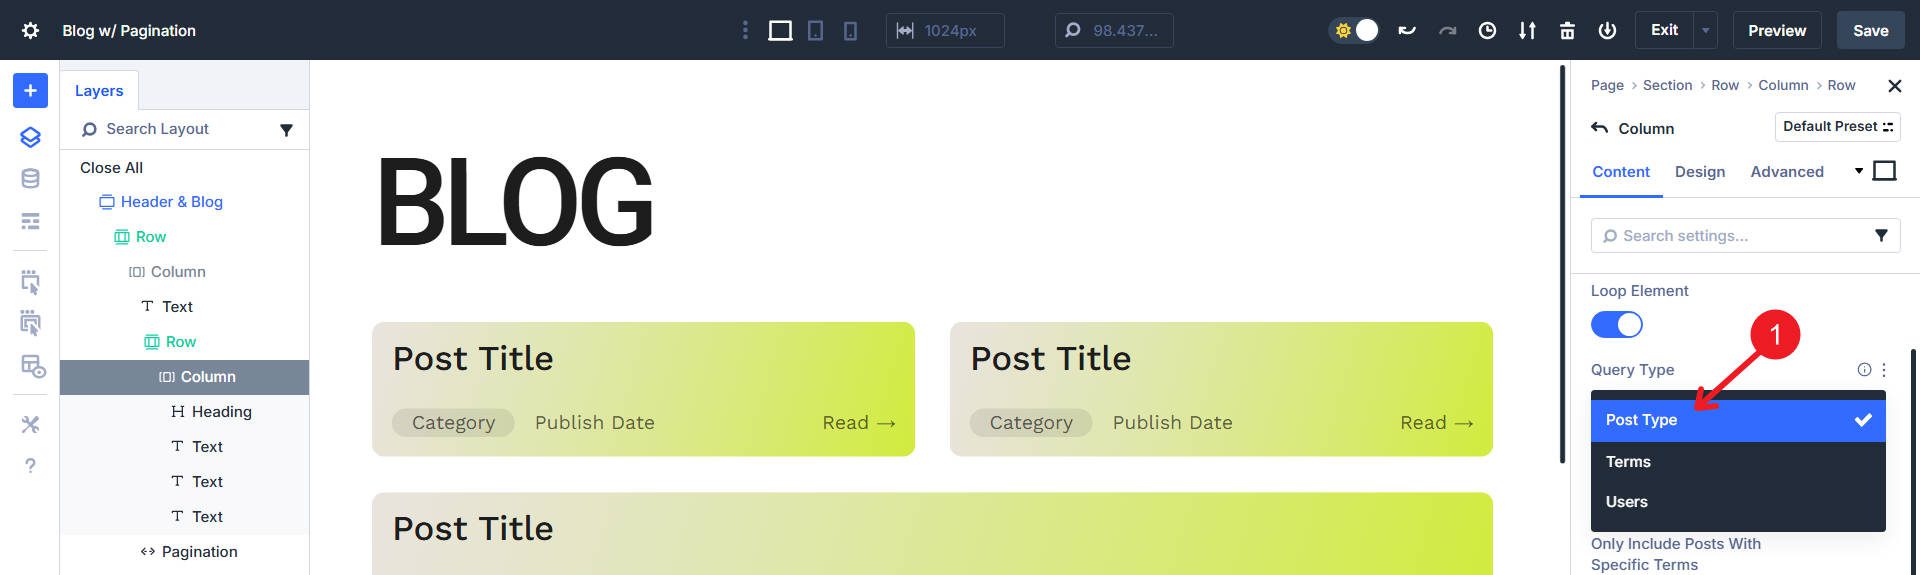
Choose your data source. This is the “query” that will turn the loop.
First choose the type of query. Depending on the configuration of your website you can see these options possible:
- Posttype (such as your blog posts or custom post types such as ‘Projects’)
- Conditions (Categories and Taxonomies)
- Users (return a list of Site users, such as authors)
- Repeater field (an adapted field made by a plug -in for making a loop in a loop)
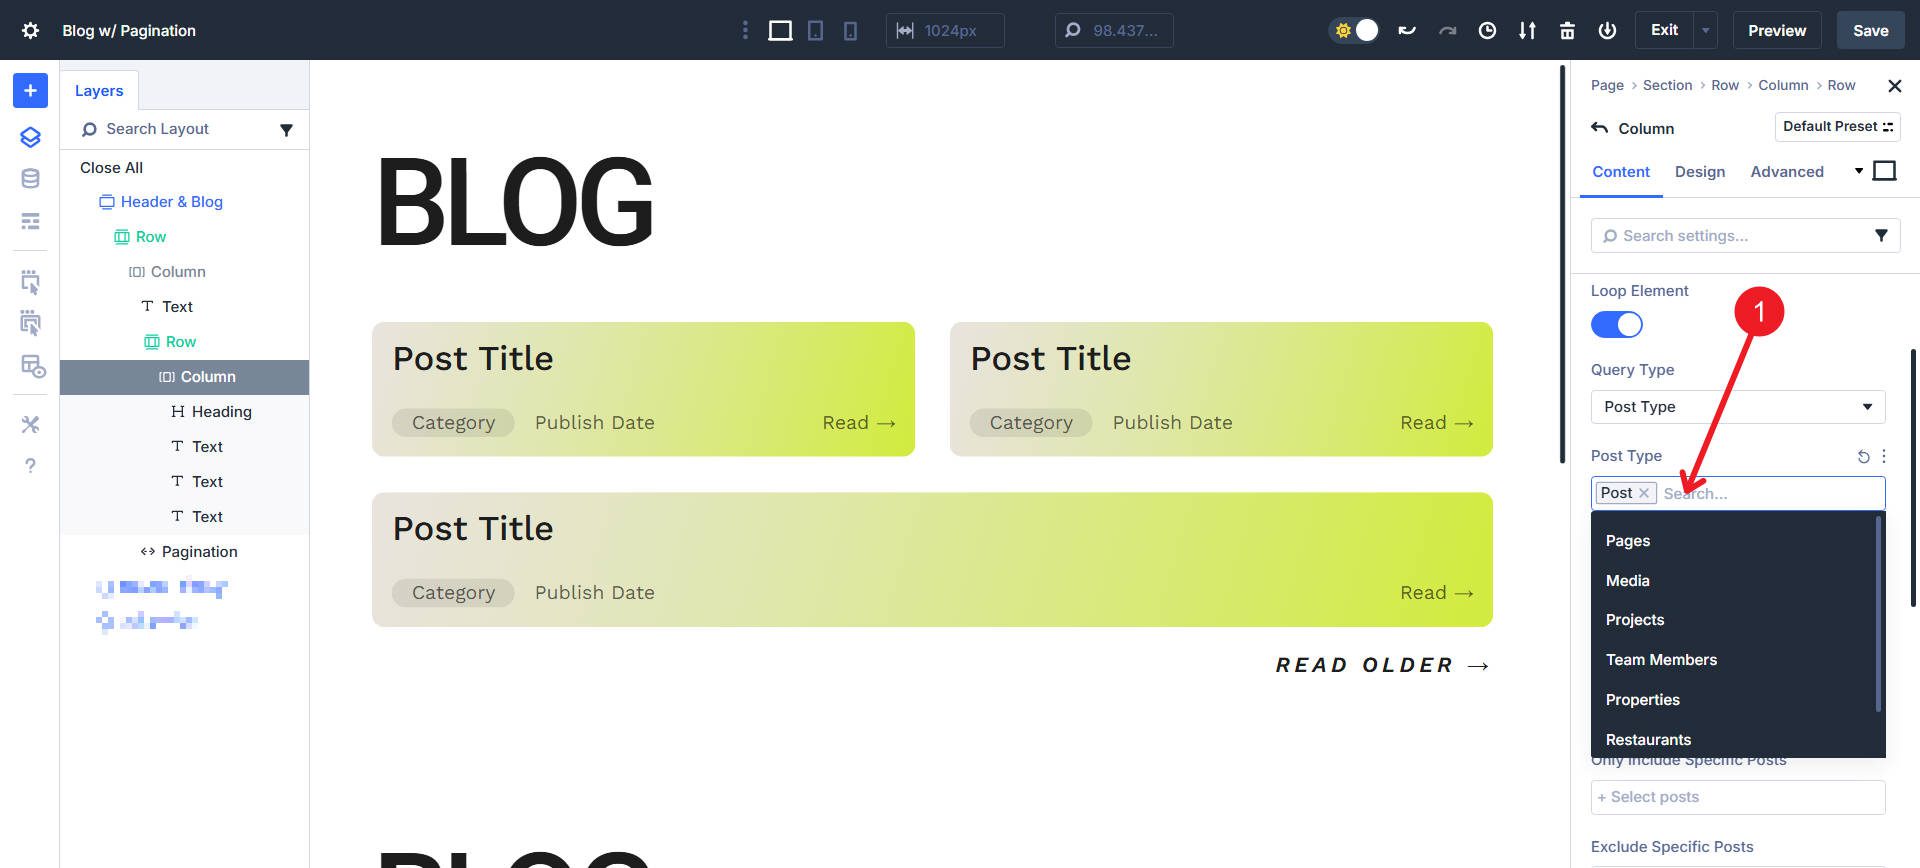
Then, depending on the type of query you have chosen above, you will get the chance to be more specific. By selecting “Post type” you may be able to use item types as:
- Blog messages
- Projects
- Products
- Whatever CPT you have made to measure for yourself
From there you can become even more specific with what should appear in your loop. You can:
- Record items with a specific category or tag
- Loose items with a specific category or tag
- Record specific items (by post -id)
- Exclusive specific items (by post -id)
- Build your own meta -query (useful for creating inclusions/exclusions based on adapted field data)
- Set the order of matching queries (such as alphabetical and falling)
- Items per page value controls how much appears in the loop
- Post Offset, in case you want to start your loop later in the cycle
- Ignore sticky messages
This is how our example is viewed according to this point. We have made the loop and assigned to our blog post type. I set the display limit to 3.
Now we have to allocate the different text fields and items that we want hyperlink with dynamic loop content.
Step 2: Add dynamic content to the loop
Our next task is to click in the modules of each of the loop and to replace static text or images with dynamic inner fields. For example:
- In a text module, choose “Post title” from the dynamic content -picker
- In an image module you can choose “Featured image”
- In a button module, set the link to “Post URL”
- Set the link on “Post URL” on the entire loop container
This tells Divi to draw the right content for every loop item.
Don’t forget – everything in the loop is repeated for each result. Keep no lush content (such as headlines, advertisements or CTAs) beyond. If you have a piece of content in the loop that is not connected to dynamic data, each item in the loop shows that (such as the text “Read →” bottom right in the sample card).
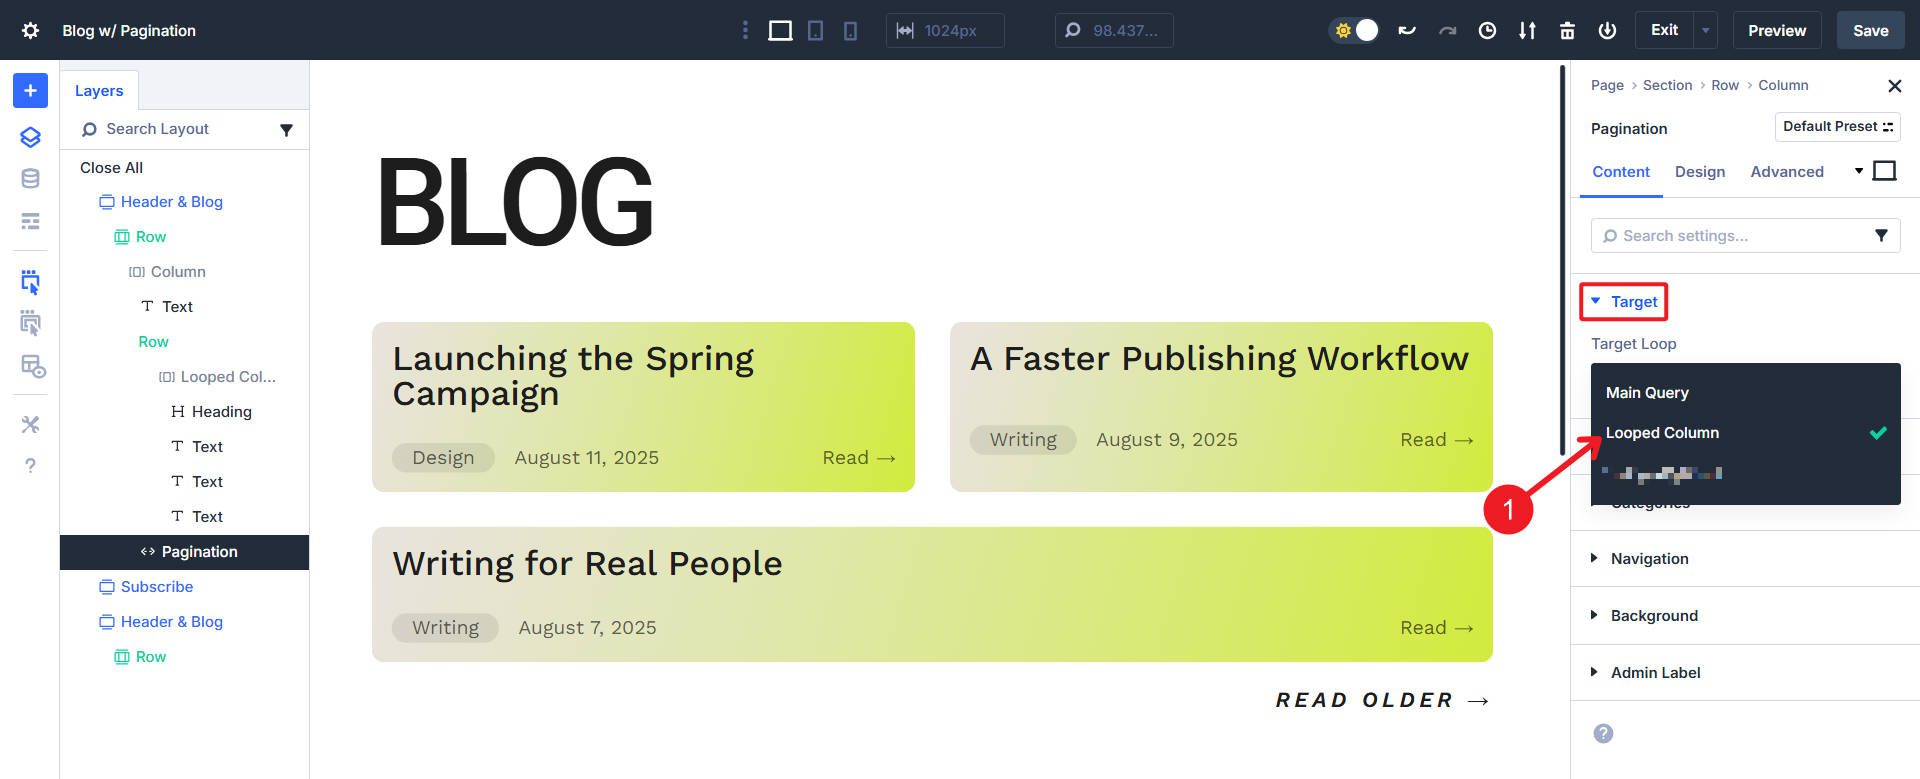
Add a new row under your luss section. Place the Page module. In the settings of the module, search the Goal field. Use it to select your loop in a drop -down list with loops on the page. This links pagination control to that specific loop. Pro -tip: If you use admin labels, it is easier to select the right goal. This also applies to interactions.
Adjust the labels for “previous” and “next”. You could use “older messages / newer messages”, “Back / Forward”, or even “← / →” for a minimum style.
The key is that the page module must be outside the loop that he controls. That and ensuring that it is assigned to the right purpose (if you have several loops on the same page/template).
Step 4: Test the interaction
Save your page and view it. Click on “older” to go to the next set of lusitems.
Note how the URL changes with a queryp parameter that identifies the page of the loop. Also note that only the loop content shuffles/changes – buyers, footers and side beams must remain the same.
Get this luslay -out
Do you want to dissect this layout and see how things are being built for yourself? Download it here!
As soon as you turn your folder, navigate to your divi library to upload the file. Once uploaded, you can add the part to every page you are working on.
Enjoy a more dynamic divi
The runner and the page module of Divi 5 are a big leap forward in flexibility. The loop builder frees you from the rigid designs of older modules, allowing you to build your own repeated layouts with dynamic content. The page module keeps those layouts quickly and manageable by breaking them in user-friendly chunks.
The runner and page module, in combination with other new DIVI 5 functions (flex box, interactions, HSL color controls), is just as powerful as always. You can use this to make a number of incredible page designs.
After you have built your first paginated loop, you will see how easy it is to re -use the approach in blogs, product graters, portfolios or any content type you need to organize.
#Divi #Loop #Builder #Pagination #Module