
Add interactive product demos to Webflow sites using Storylane’s iframe embed code and Webflow’s Code Embed element.
This guide covers embed code generation, Webflow deployment methods, setting up analytics, and security controls for iframe-based demo embedding.
Overview of integration architecture
Storylane uses iframe isolation for all embedded demos. The configuration is done in the Storylane editor before the code is generated. The embed code contains an iframe element and an async loader script (storylane.js).
Webflow displays the iframe within your site using the Code Embed element or site-wide custom code sections.
Architecture diagram:
The data flow follows this order: configuration in the Storylane editor, embed code with an iframe and the storylane.js script, Webflow displays the iframe on published pages, and analytics data is returned to the Storylane dashboard.
Storylane does not provide a client-side JavaScript API for runtime control. All customizations occur before the embed code is copied.
Step 1: Create your Storylane account and demo
Before you can generate embed code, you need a Storylane account with at least one demo configured.
At a high level you should:
- Create an account at app.storylane.io/sign-up
- Record your demo via Chrome extensionFigma plugin, Mac desktop app or manual asset upload
- Configure the settings in the Storylane editor and assign the appropriate team members roll (Administrator, creator or presenter)
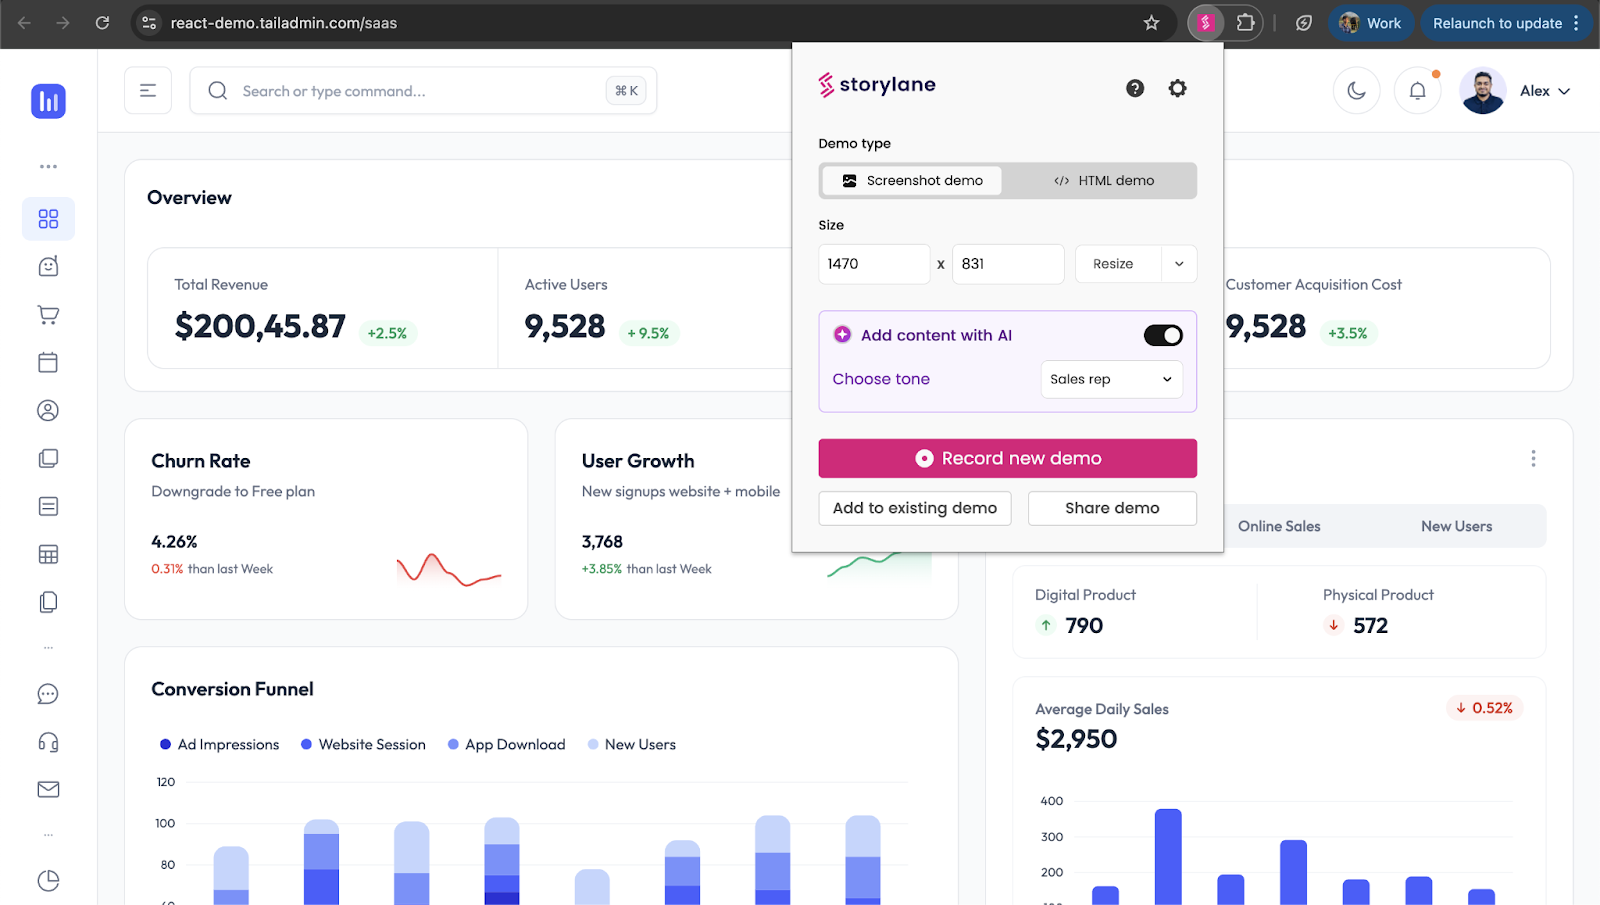
Step 2: Configure demo behavior in Storylane
All behavioral adjustments are made in the Storylane editor before the embed code is generated. No runtime configuration is available after embedding.
At a high level you configure:
- Autoplay settings (switching, inactivity delay defaults to 5 seconds, looping, speed control) via Demo Settings panel
- Layout mode (cover expands when cropping, scales to fit with fill, fill provides default balance) via Screenshot Editing interface
- Responsive behavior (enable auto-scaling for different screen sizes, use pop-up embeds for mobile)
Step 3: Generate embed code from Storylane
Storylane offers two embed formats. Each uses iframe-based rendering with different display modes.
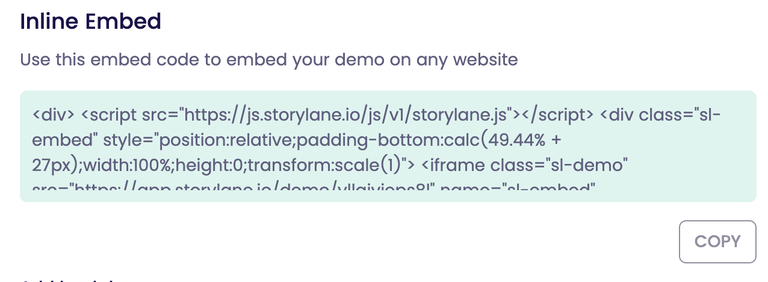
Method 1: Inline embedding
Inline embeds load immediately when the page is rendered. Optionally, you can preview with a button overlay configured via the data-sl-show-cta attribute.
Inline embed code:
src="https://js.storylane.io/js/v2/storylane.js">
<div class="sl-embed"
style="position: relative; padding-bottom: calc(53.89% + 25px); width: 100%; height: 0; transform: scale(1)">
<iframe loading="lazy"
class="sl-demo"
src="https://app.storylane.io/demo/[demo-id]"
name="sl-embed"
allow="fullscreen"
allowfullscreen
style="position: absolute; top: 0; left: 0; width: 100%; height: 100%; border: 1px solid rgba(63,95,172,0.35); box-shadow: 0px 0px 18px rgba(26, 19, 72, 0.15); border-radius: 10px; box-sizing: border-box;">
iframe>
div>
Method 2: Embed popup
Popup embeds contain a button that opens the demo in a full-screen overlay when clicked.
Popup embed code:
src="https://js.storylane.io/js/v2/storylane.js">
<div class="sl-embed" style="position: relative; width: fit-content;">
<a class="sl-demo"
href="https://app.storylane.io/demo/[demo-id]"
data-sl-show-cta>
<button style="padding: 10px 20px; background-color: #007bff; color: white; border: none; border-radius: 5px; cursor: pointer;">
View Demo
button>
a>
div>
Copy the entire embed code from your Storylane dashboard.
Step 4: Add embed code to Webflow
Webflow offers three methods for this add custom code. Each method meets different installation requirements.
Method 1: Code Embed element
The Code Embed element provides inline placement within page content. You can access these from the Elements > Components > Embed panel. This method provides the most control over the placement of demos within your page layout.
Method 2: Page-specific custom code
Page-specific custom code applies to individual pages via Page Settings > Custom Code. Use this method when demos only appear on specific pages.
Method 3: Custom site-wide code
Sitewide custom code applies to all pages via Site Settings > Custom Code. Use this method when the same demo appears on multiple pages.
Custom code requires a paid Webflow subscription (Core, Growth, Agency, Freelancer Workspace, or active Site subscription) and has a limit of 50,000 characters per section. Only HTML, CSS and JavaScript are supported.
To see Custom code documentation from Webflow for complete restrictions. Custom code only appears as a placeholder Designer preview mode. Test embeds on published or staging URLs.
Step 5: Verify the integration
Storylane embeds cannot be verified in Webflow’s Designer Preview mode. Designer shows placeholder elements for iframes, not functional embeddings.
At a high level, verification requires:
- Publish to your staging URL or production domain
- Open browser developer tools to check for console errors
- Confirmation of the iframe loading and the demo responding to interaction
- Test on different devices if you have enabled it responsive behavior
Use Webflow staging URLs for integration testing before deploying to production domains. If the embed doesn’t appear, check code completeness, plan requirements, character limits, and syntax errors. The Webflow troubleshooting guide includes additional debugging steps.
Step 6: Configure analytics tracking
Storylane automatically captures engagement data through a three-tier system that includes global metrics, individual demo analytics, and session-level data.
At a high level, analytics integration includes:
- Reviewing statistics in the analytics dashboard (global, demo and session level)
- Connect analytics platforms (Google Analytics, GTM, or Segment) through the Storylane dashboard
- Configure webhooks for custom analytics pipelines
Google Analytics integration
Google Analytics receives custom events (demo_opened, demo_finished, step_viewed) after you enter your tracking ID. See the GA integration guide for configuration details.

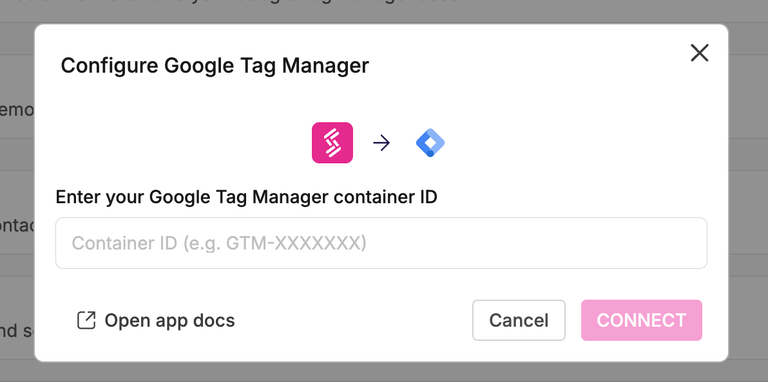
Integration with Google Tag Manager
Google Tag Manager sends the same events plus completion milestones (10%, 25%, 50%, 75%, 100%). See the GTM integration guide for installation instructions.
Webhook integration
Webhooks stream events to custom endpoints configured in Settings > Integration. To see Webhooks documentation for details on the load structure.
UTM parameters from the hosting page URL are automatically captured and included in analytics data without additional configuration.
Step 7: Implement security measures
Cross-origin iframe embedding requires configuration on three layers, depending on your security requirements.
At a high level you should:
- Configure Webflow CSP headers (Enterprise only) to whitelist https://app.storylane.io in your frame-src directive
- Set up Storylane access controls, including password protection, link expiration, domain restrictions, or private access via security settings
- Validate the origin of messages from multiple sources when implementing custom event handlers
Custom headers for the content security policy are only available for Webflow company customers. Non-Enterprise users cannot configure custom CSP headers. The default Webflow configuration enables standard iframe embeddings from any source.
For broad access educational content, restrictions may not be necessary. For internal training or secure content, domain restrictions and password protection provide access control.
Scale with Storylane API
Enterprise customers have access to a backend REST API for programmatic workflows beyond manual embedding.
At a high level, the API allows you to display published demos and generate personalized demo links, manage access codes and expiration checks, and programmatically integrate with existing systems.
The backend REST API requires Bearer token authentication. This is a server-only API and does not provide client-side control over embedded demos. The Storylane API documentation does not publish specific rate limiting thresholds. See Storylane Support for Enterprise usage guidelines.
Reference documentation
Sources for storylines
Webflow Resources
#Embed #Storylane #product #demos #Webflow #iframe #code #Webflow #blog