
If you’re anything like me, your shoulders are where you hold the most tension and tension. So if you’re experiencing stiffness here, especially in the morning, let me tell you. The following shoulder exercises are mainly aimed at relieving your upper body. They include a bit of twisting, a bit of side bending and also some back bending. These are mainly yoga poses for mobility, but it also challenges you to strengthen your upper body a little.
It also includes a few movements that are not necessarily yoga, but are useful shoulder exercises that I learned in physical therapy that can easily be incorporated into your practice. One is a simple breathing technique that, when you position your arms in a certain way, helps you feel an opening through the chest and shoulders.
These poses will definitely help you the most if you practice them consistently. So if you repeat them over time, you will definitely experience more flexibility and ease in your shoulders, as well as your chest and upper back.
15 minute shoulder stretches
For this class you will need one prop: a yoga strap. If you don’t have one at home, a belt or even a long scarf would work fine. You want something quite long, and Therabands work amazingly too. If you have blocks, you can keep one within reach if you wish.
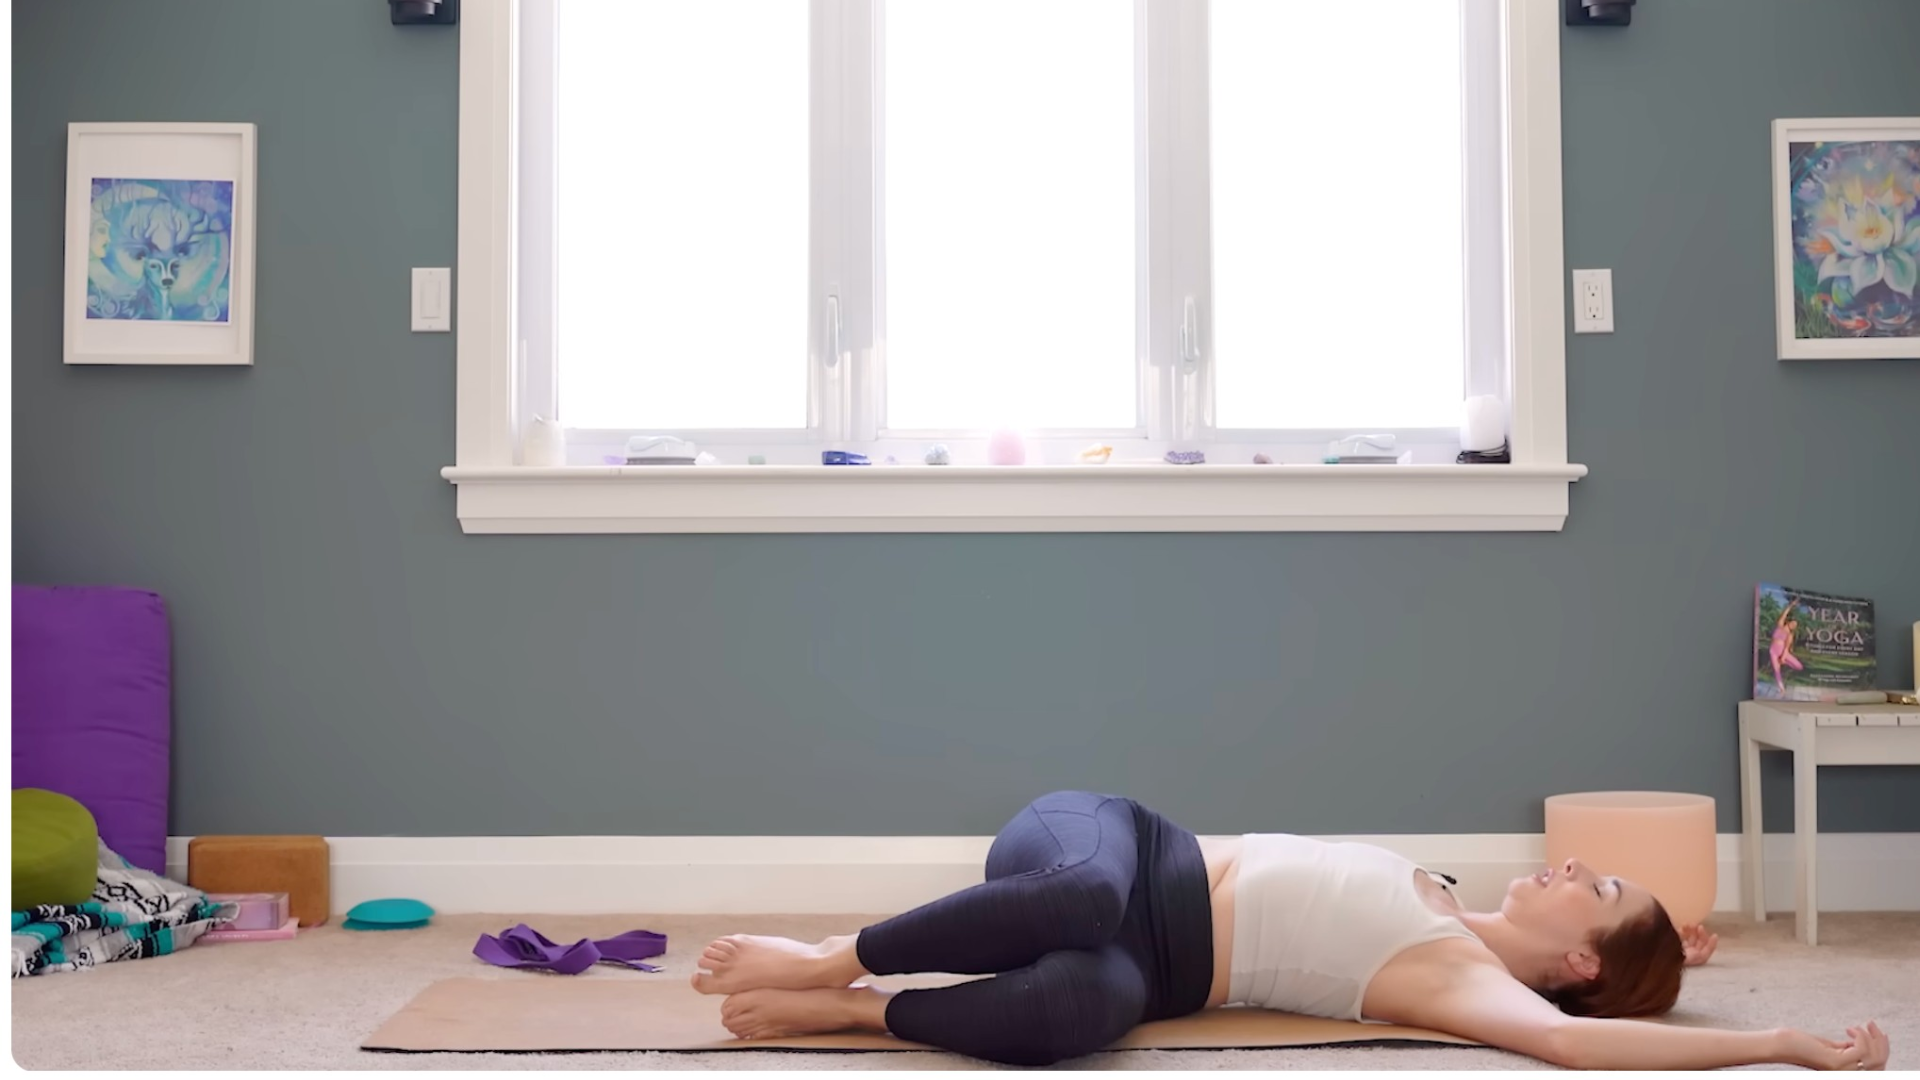
Lying breathing technique
Start lying on your back with your legs extended or your knees bent and your feet on the mat. Extend your arms above your head with the backs of your hands against the mat. Notice if your lower back lifts off the mat. Release your lower back into the mat and try to press the backs of your shoulders and hands against the mat.
If your shoulders are very tight, like mine, you may already feel a stretch in your shoulders. You can make this a little more challenging by stretching your legs.
Inhale and exhale through your nose. As you inhale, try to fill your lower abdomen with breath. As you exhale, pull your ribcage down toward the mat. You’ll probably feel some sort of activation through your chest and upper back.
Do a few more laps here at your own pace. Inhale through your nose and balloon up through your abdomen, then exhale slowly and deflate your chest. You simply bring awareness to your shoulders.
Lying twist
If your legs are straight, bend your knees. Shift your hips a few inches to the right before lowering both knees and thighs to the left in a supine spinal twist. Bend your elbows into a cactus shape at about a 90-degree angle. Continue pressing your right shoulder blade into the mat. Stay here for a few breaths.
Come back to the center and turn to the other side.
Shoulder flossing
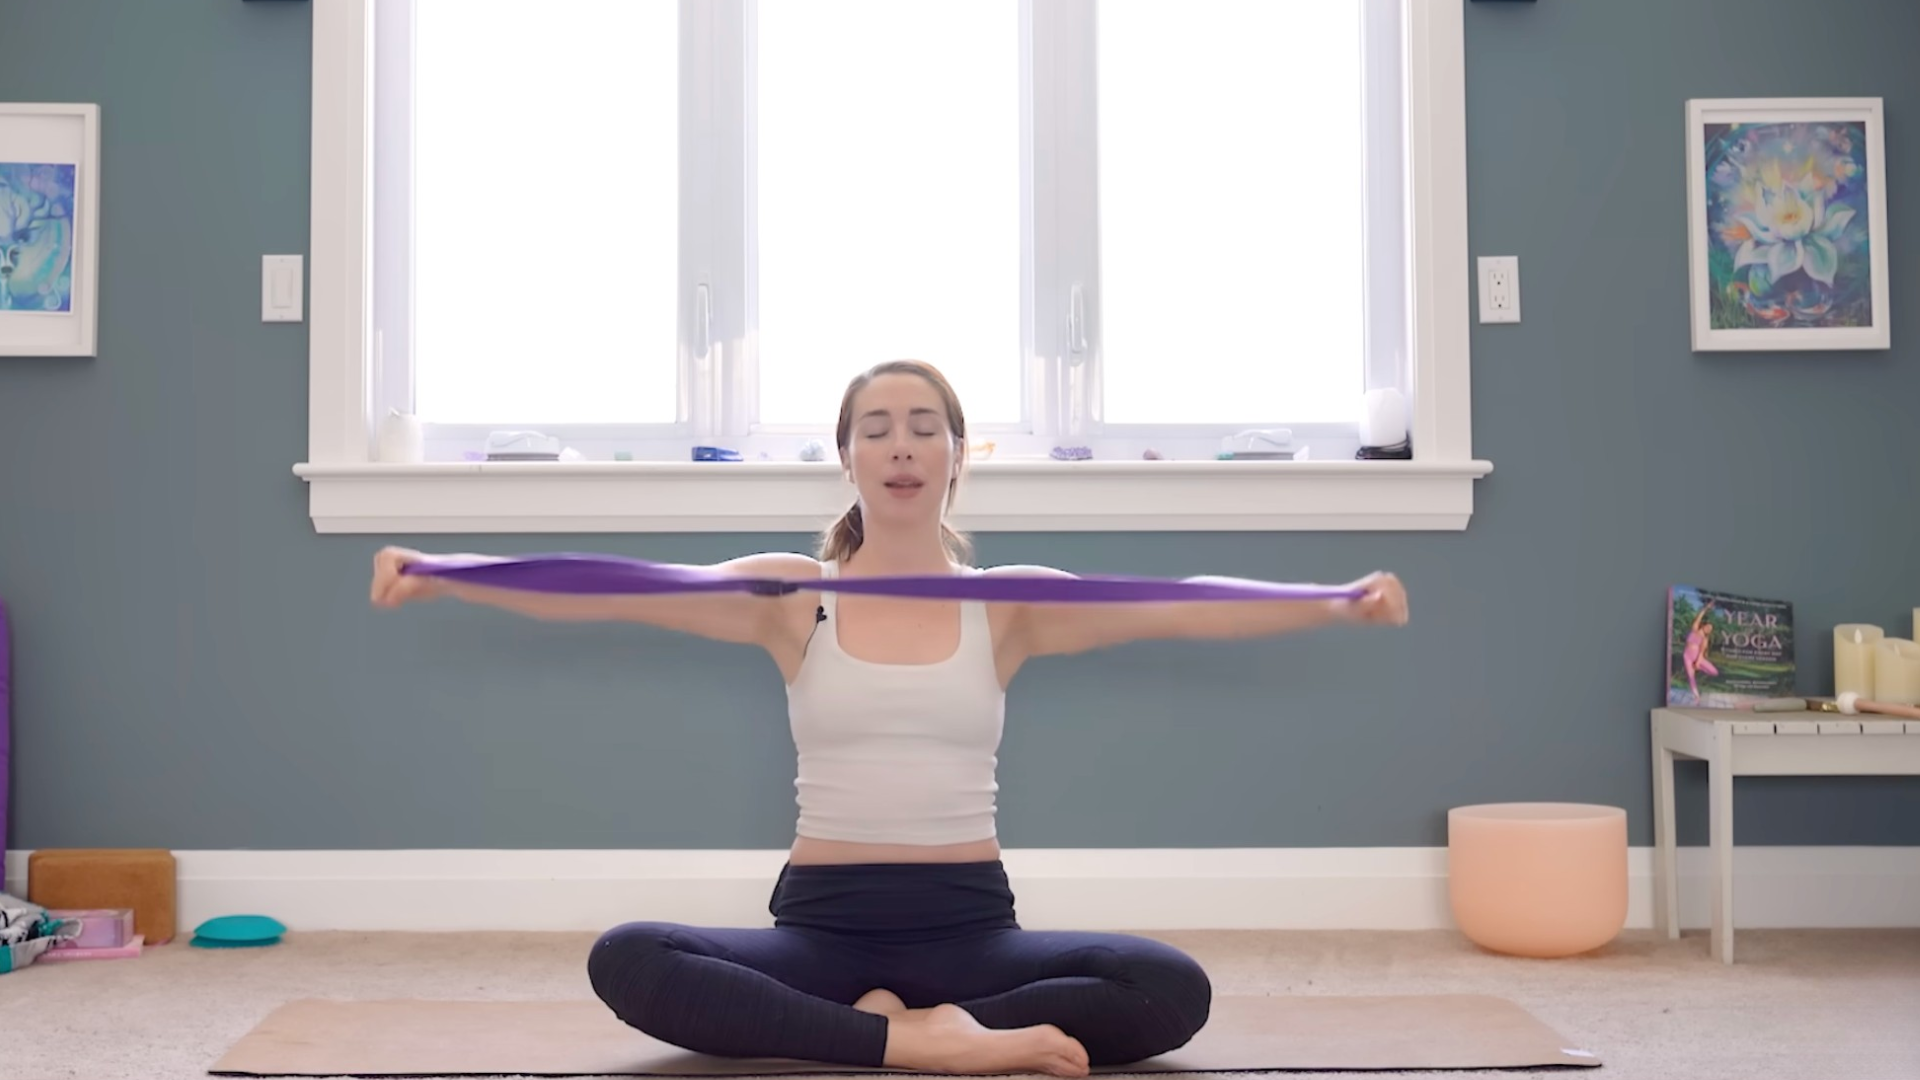
Bring your knees back to center and work your way into a cross-legged or kneeling sitting position. Grab your belt or belt. Extend your arms in front of you and hold them with both hands. Since my shoulders are quite tight, I use almost the entire length of my belt with my hands towards the ends. Keep your elbows straight and inhale as you reach your arms all the way to the ceiling, then exhale slowly as you return to your starting position.
If you need to bend your elbows, that’s okay, they don’t have to be perfectly straight. But try to keep your ribcage neutral so that you don’t stick your lower chest out every time you lift your arms.
Repeat this several times, moving with your breathing. Inhale, lift again. Exhale and lower very slowly. For me, the hardest part is always the exhale.
The last time you repeat this, you may want to pause in a stickier part of the stretch and hold there for a full breath. Then let go and shrug your shoulders a few times.
Puppy pose
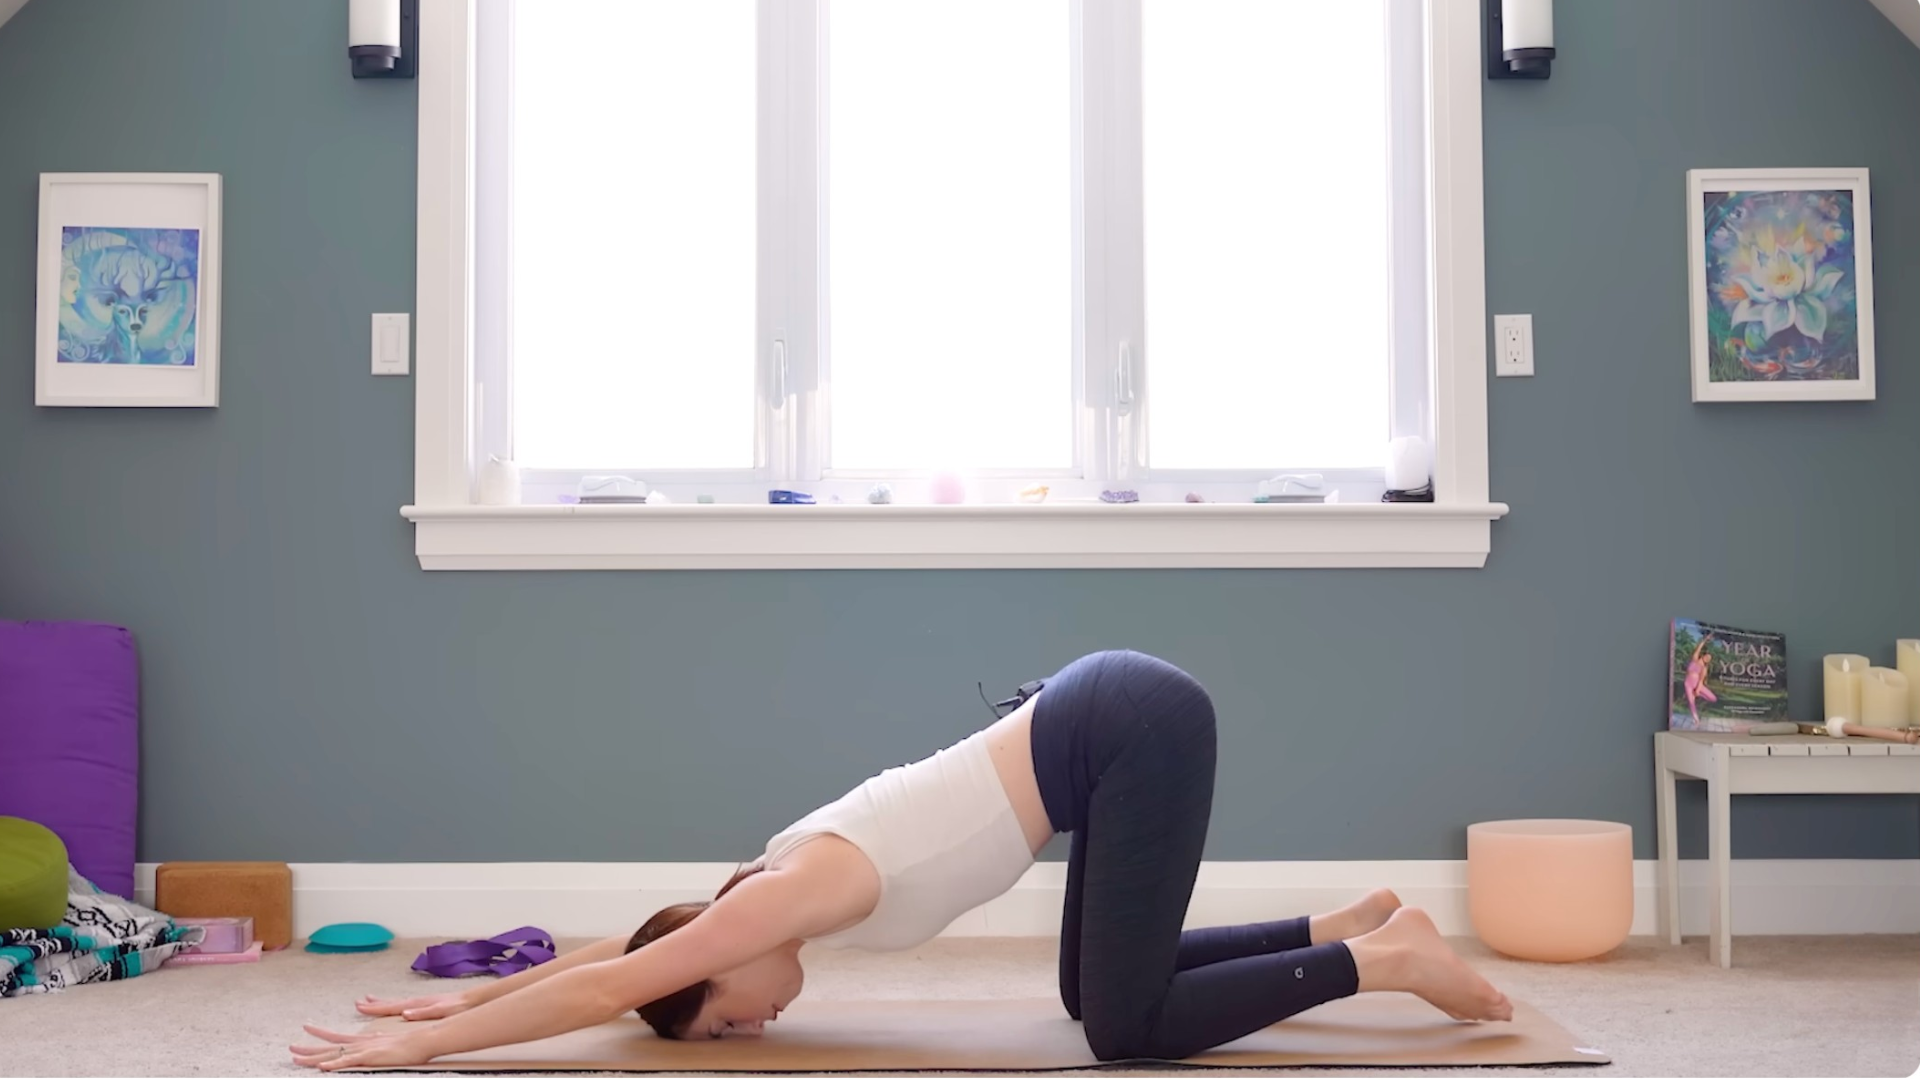
Get on your hands and knees. Keep your hips above your knees as you walk your hands forward. Try bringing your forehead to the mat or a block in Puppy Pose. This is the number one pose that helps me with my shoulder flexibility and mobility.
If your shoulders are tight, bend your elbows so that your forearms are flat on the mat. As you work to intensify the pose, grip the edges of the mat. You can also bring your chin to the mat, although this option isn’t for everyone, especially if you feel it in your neck.
Take about 5 breaths in whatever version of this pose you chose. Try to relax between your shoulder blades.
Broken wing
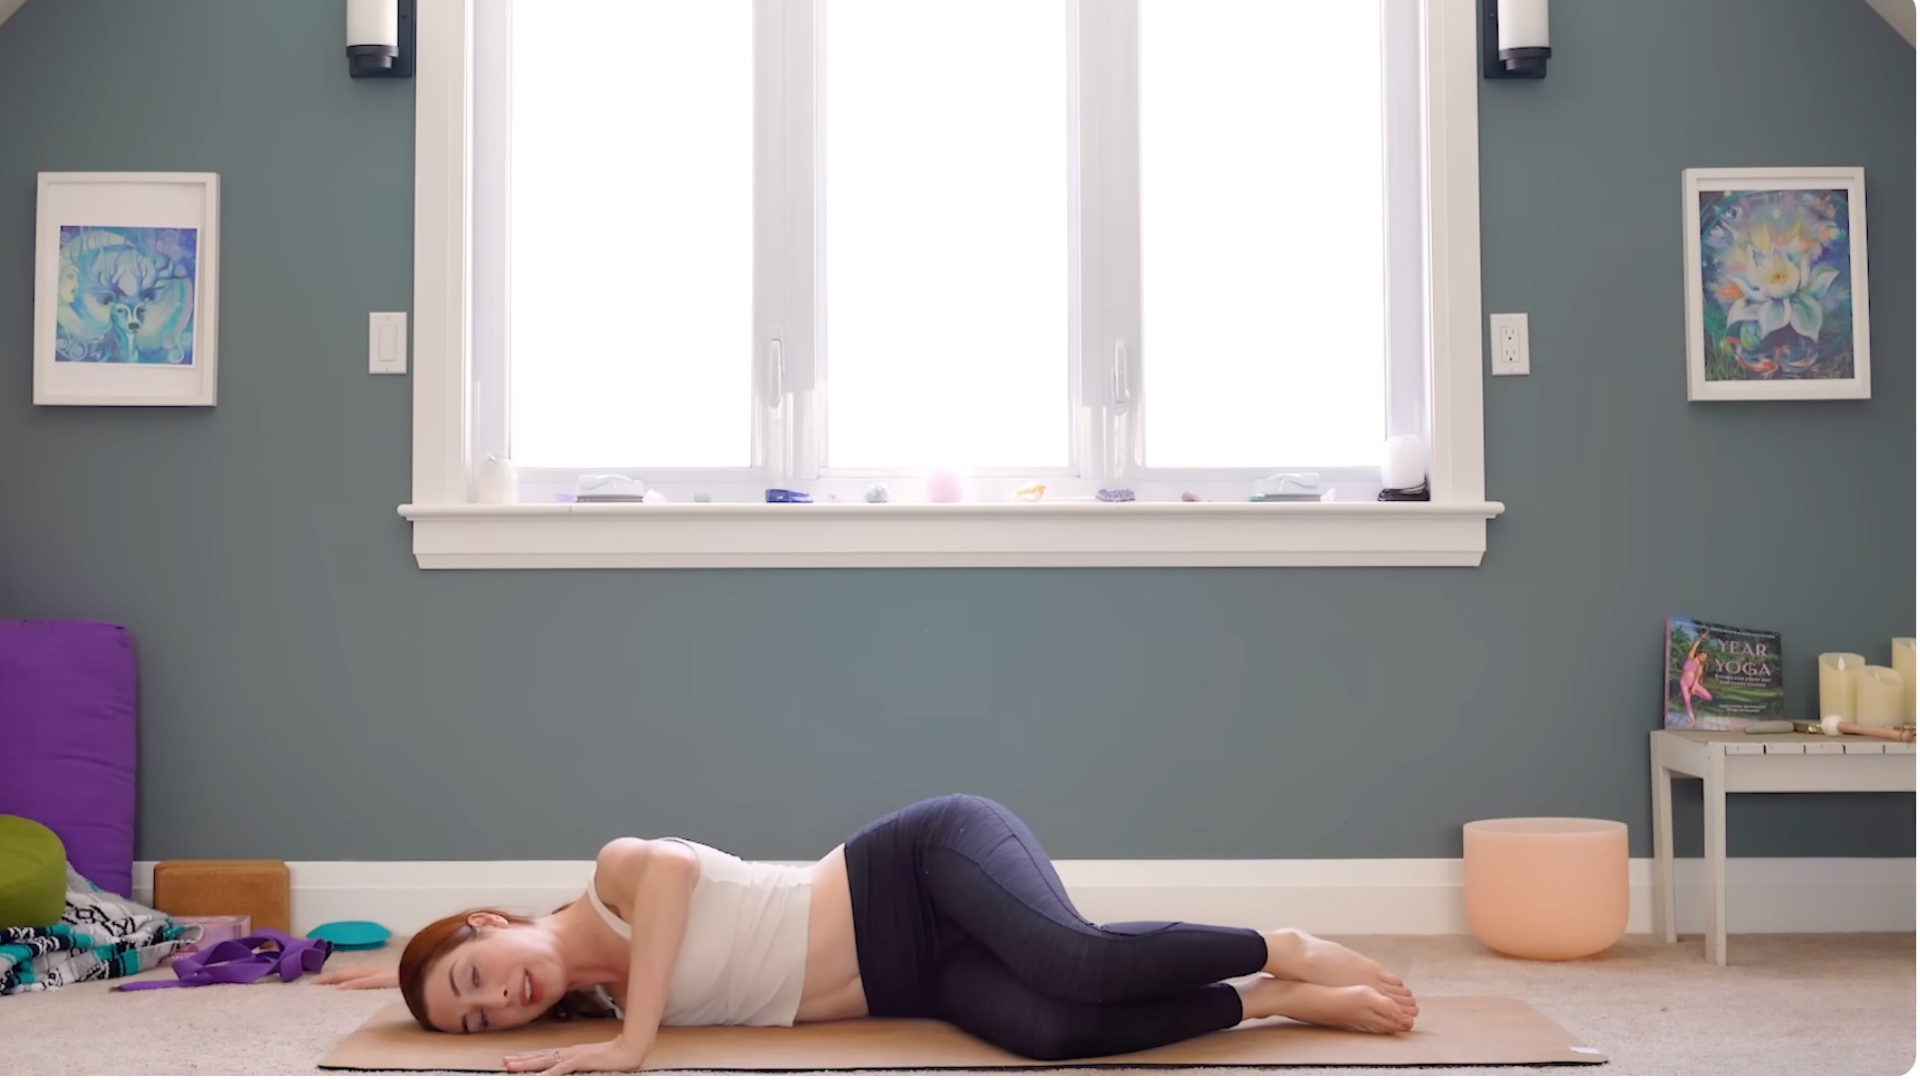
Then slide onto your stomach. Bring your left arm straight out to the side with your forearm against the ground and look for a 90-degree bend in your elbow. Keep your palm flat on the floor. Roll onto your left hip, left shoulder and left ear, trying to keep your left shoulder on the mat. Your right hand can push into the ground to rotate your chest a little more, or you can bring your right hand to your lower back in a half bind. You can also step with your right foot behind you to intensify the stretch.
You want to feel sensation in the left pectoral muscle along your chest and in your left shoulder, along the left bicep and upper arm, and for some people maybe a little bit at the back of the shoulder as well. But it should never be painful. Make sure you don’t hold your breath.
Release the pose and come back through the center and repeat on the other side. Don’t try to push too far. Less is more here.
Dolphin pose
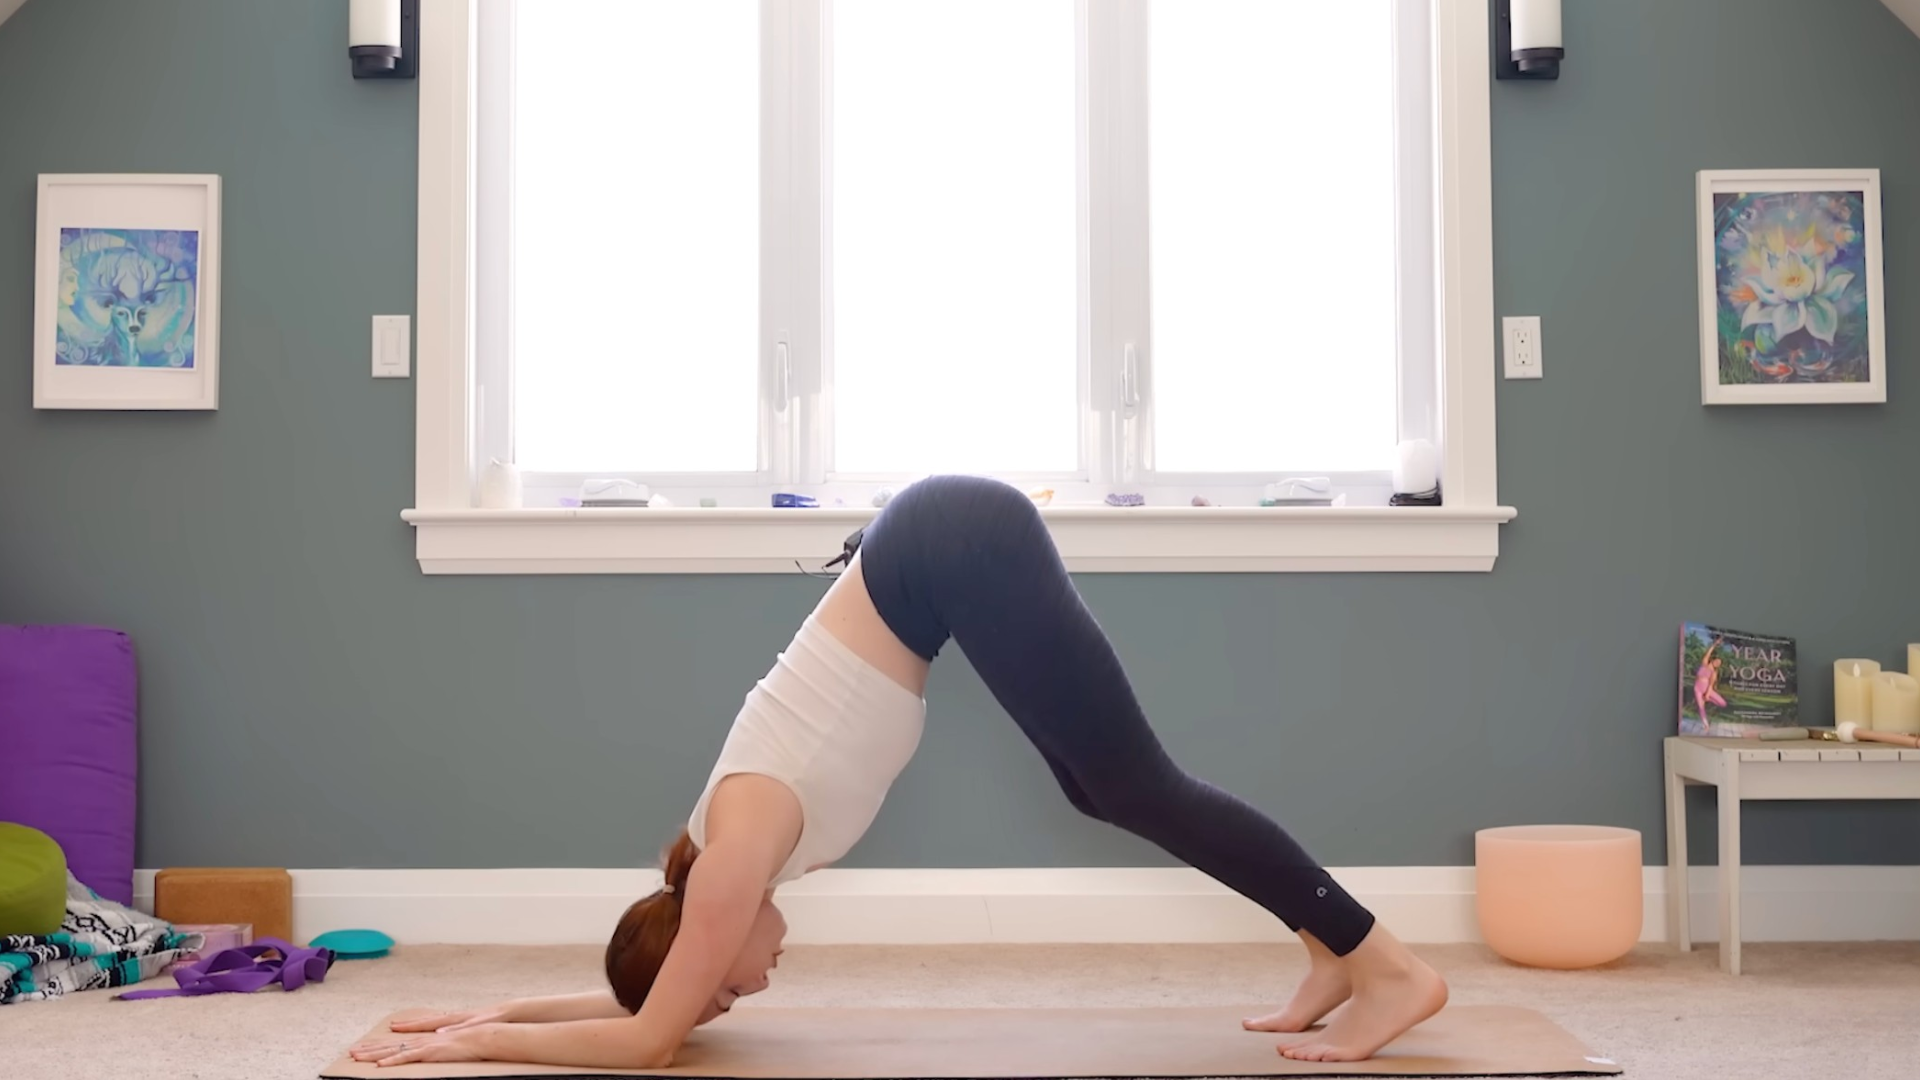
Come to your hands and knees, lower your forearms to the mat, tuck your toes and lift your hips up and back into Dolphin Pose. This is similar to downward-facing dog, but on your forearms. It is both a shoulder stretch and a shoulder strengthener.
You want your arms to stay slightly closer than shoulder distance apart, with your palms flat on the mat. Focus less on stretching the backs of your legs and more on pressing your chest toward your thighs to activate the shoulders, so bend your knees here if you want. Continue pressing your palms into the mat.
Downward Facing Dog
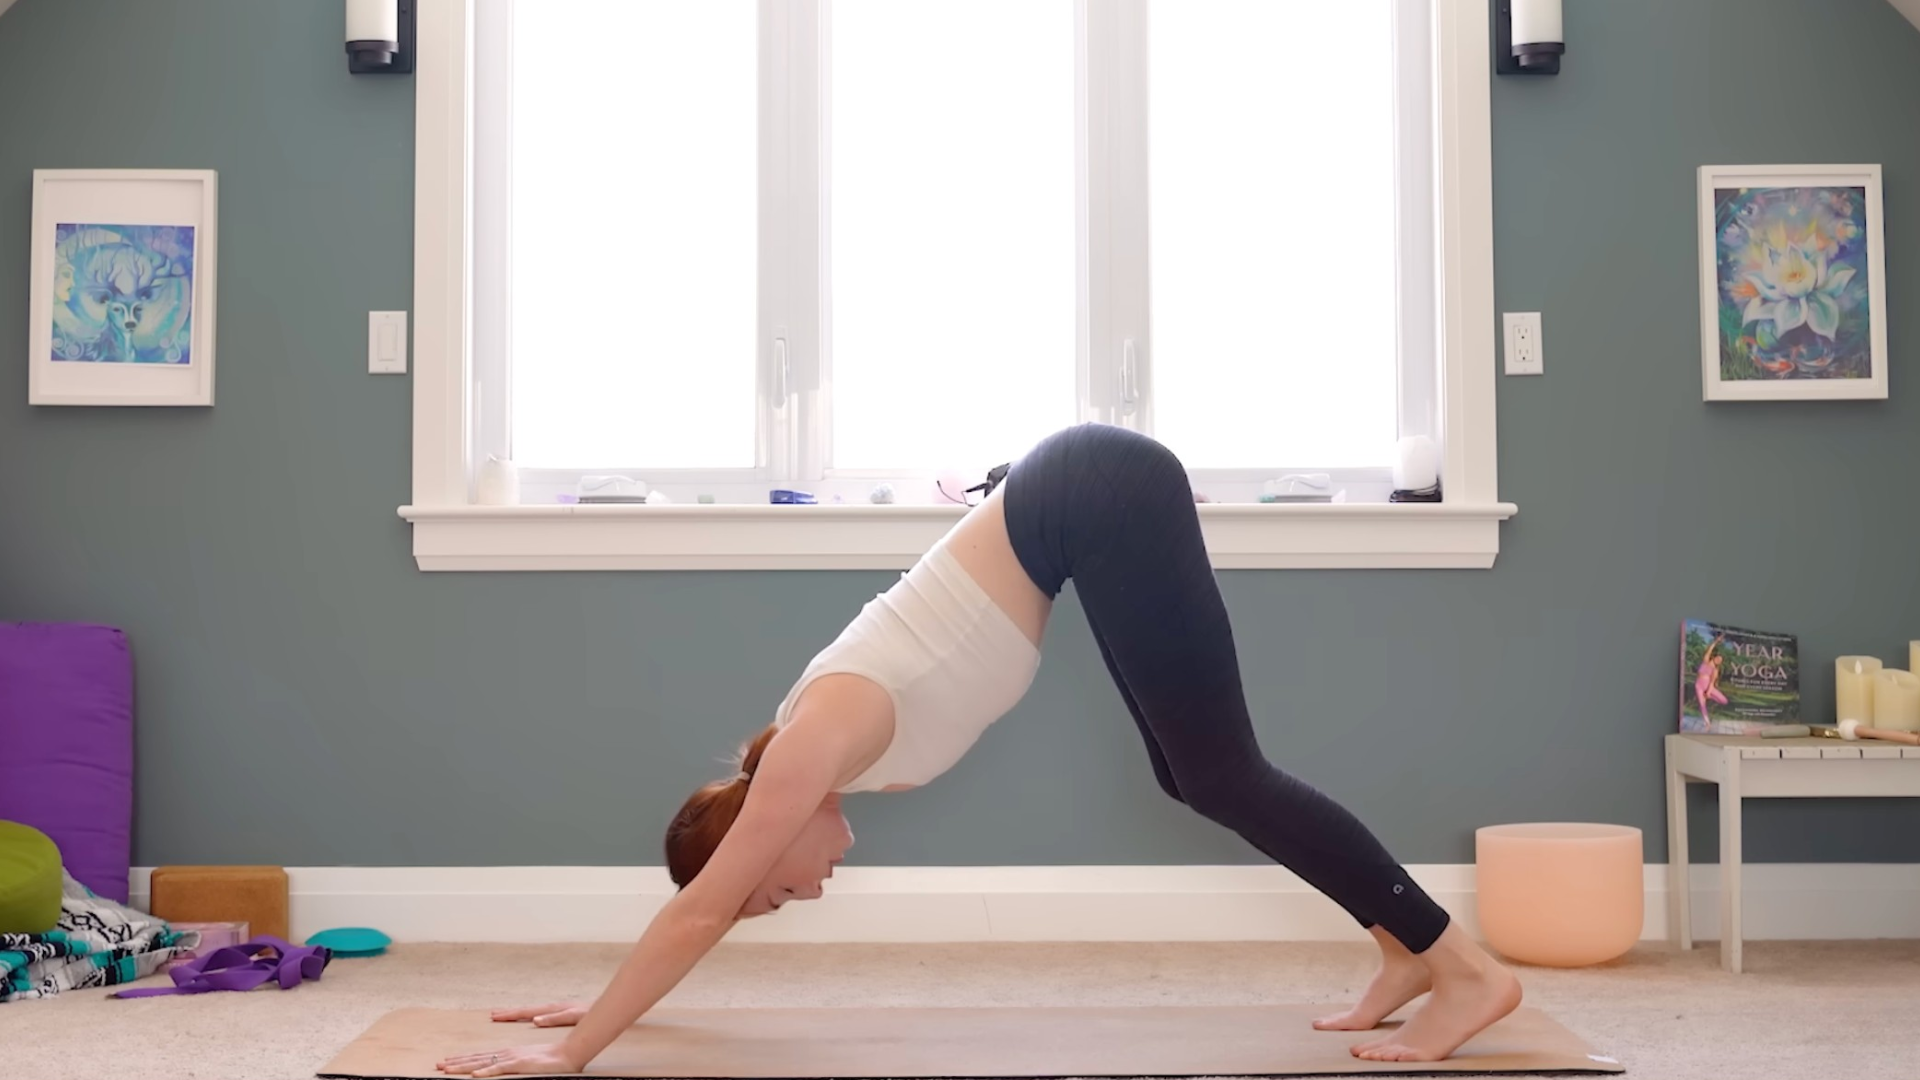
Release your knees to the mat, come onto your hands and lift your hips up and back into Downward Facing Dog. See if you can experience the same feeling of pressing your chest toward your thighs and not having to worry as much about your hamstrings and calves.
Rag doll
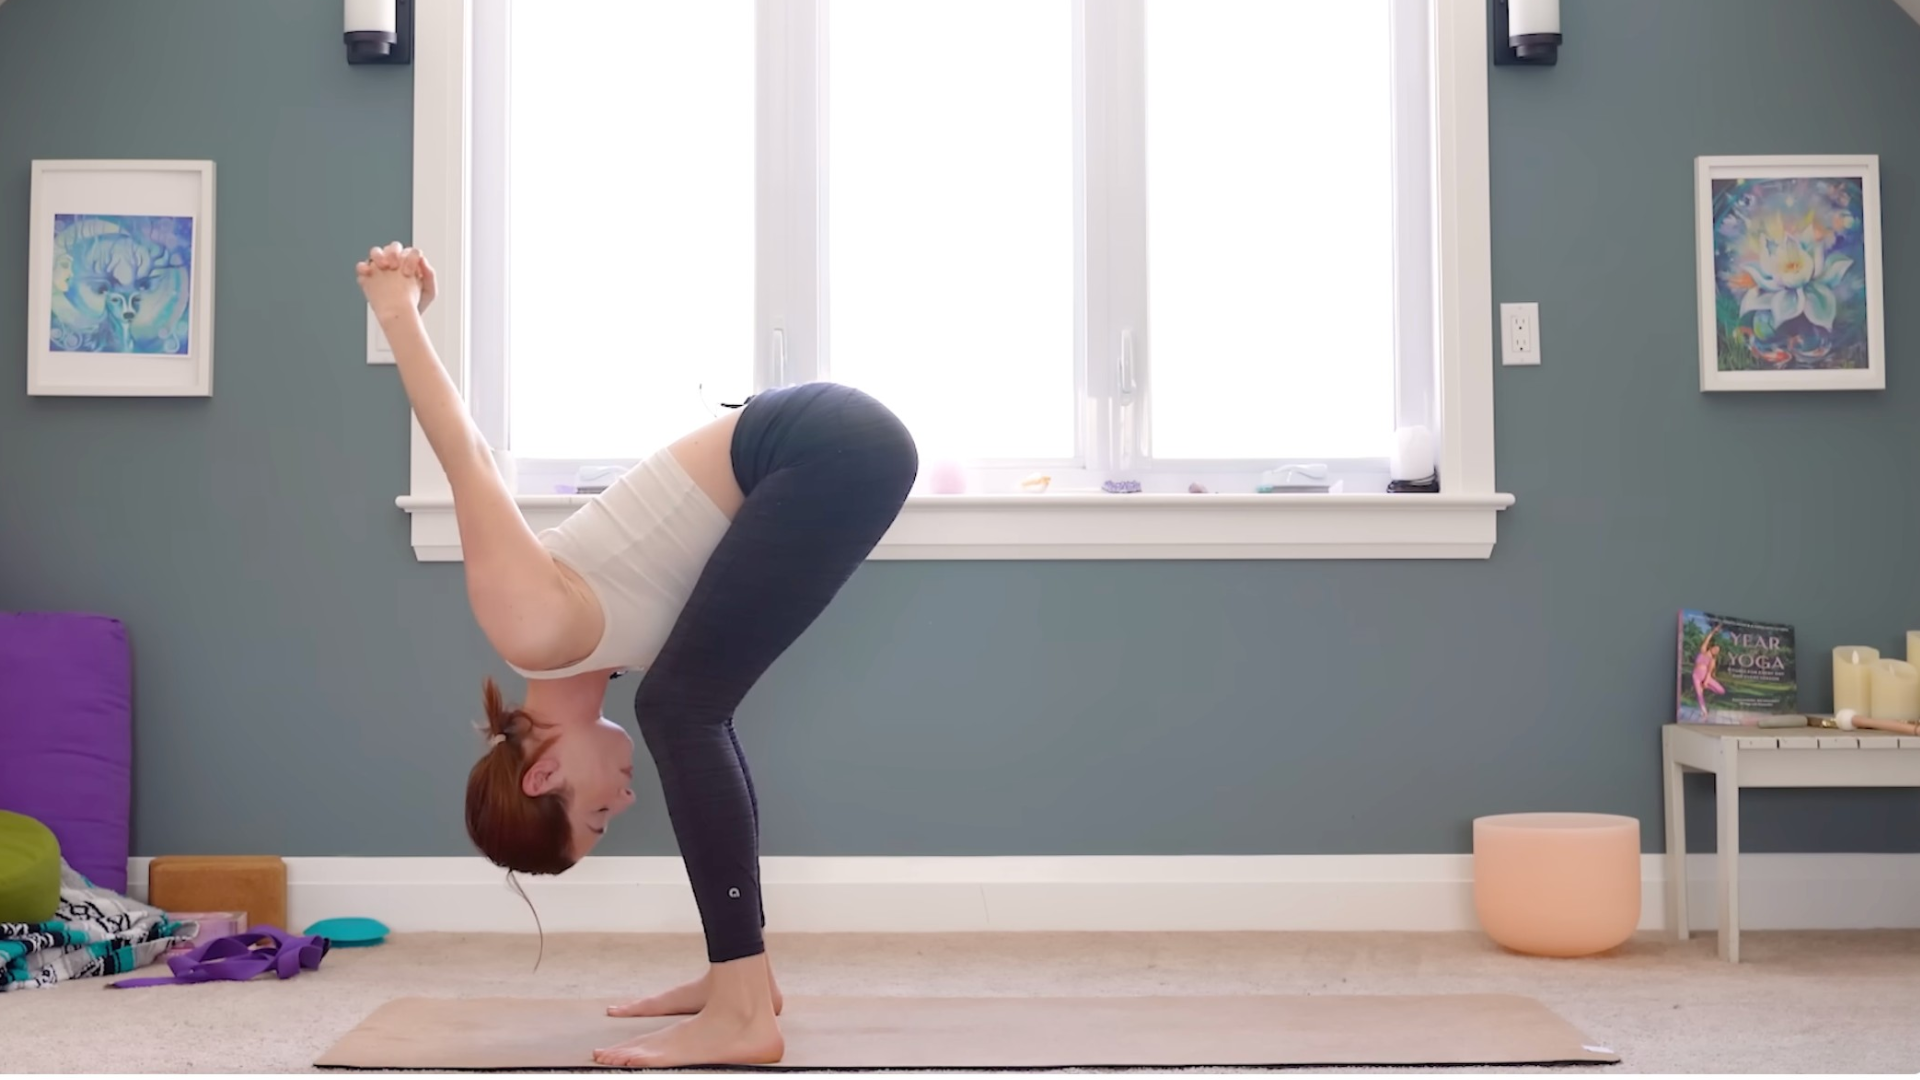
Walk forward to the front of the mat in Rag Doll or a Standing Forward Bend. Widen your feet to the edges of the mat and bend your knees. Place your hands behind your lower back or grasp the belt with both hands. Lift your knuckles and try to relax your neck.
Apply a slight twist to the stretch by bringing your right shoulder toward your right thigh and lifting your left shoulder. Then come back through the center, switch the clasping of your hands so that the other thumb is on top, and then rotate to the other side.
Come back to center and release your arms. Maybe hold your elbows and swing back and forth a little.
Eagle weapons
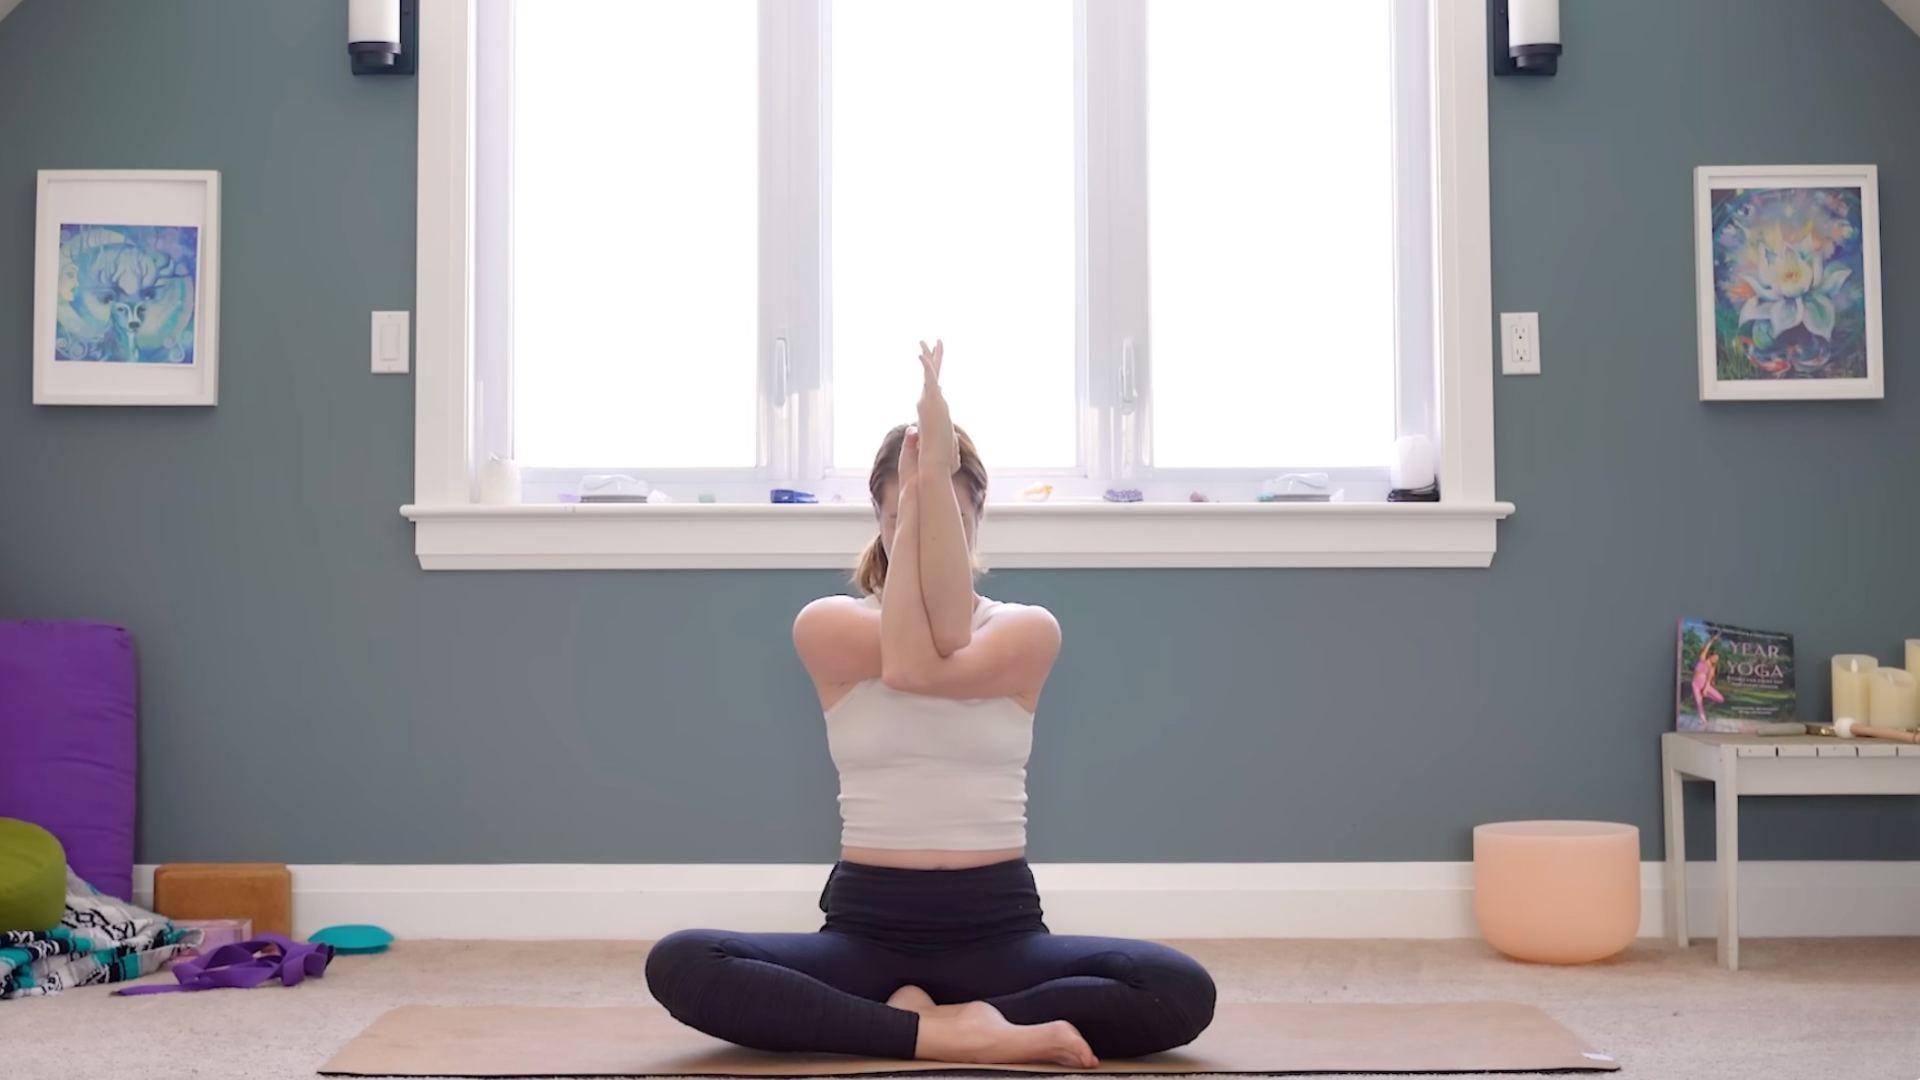
Come sit, however you want to get there, and bend your elbows at a 90-degree angle in front of you. Wrap your right arm under your left arm in Eagle arms. Press your shoulders down, keep your elbows up and move your hands away from you. Start pulling your chin towards your chest and breathe here.
Lift your head, release your arms and do a little cactus stretch to squeeze your shoulder blades together before doing the same on the other side with your left arm tucked under your right arm. Let go and roll your shoulders or move a few times, but it feels good here.
Sit quietly
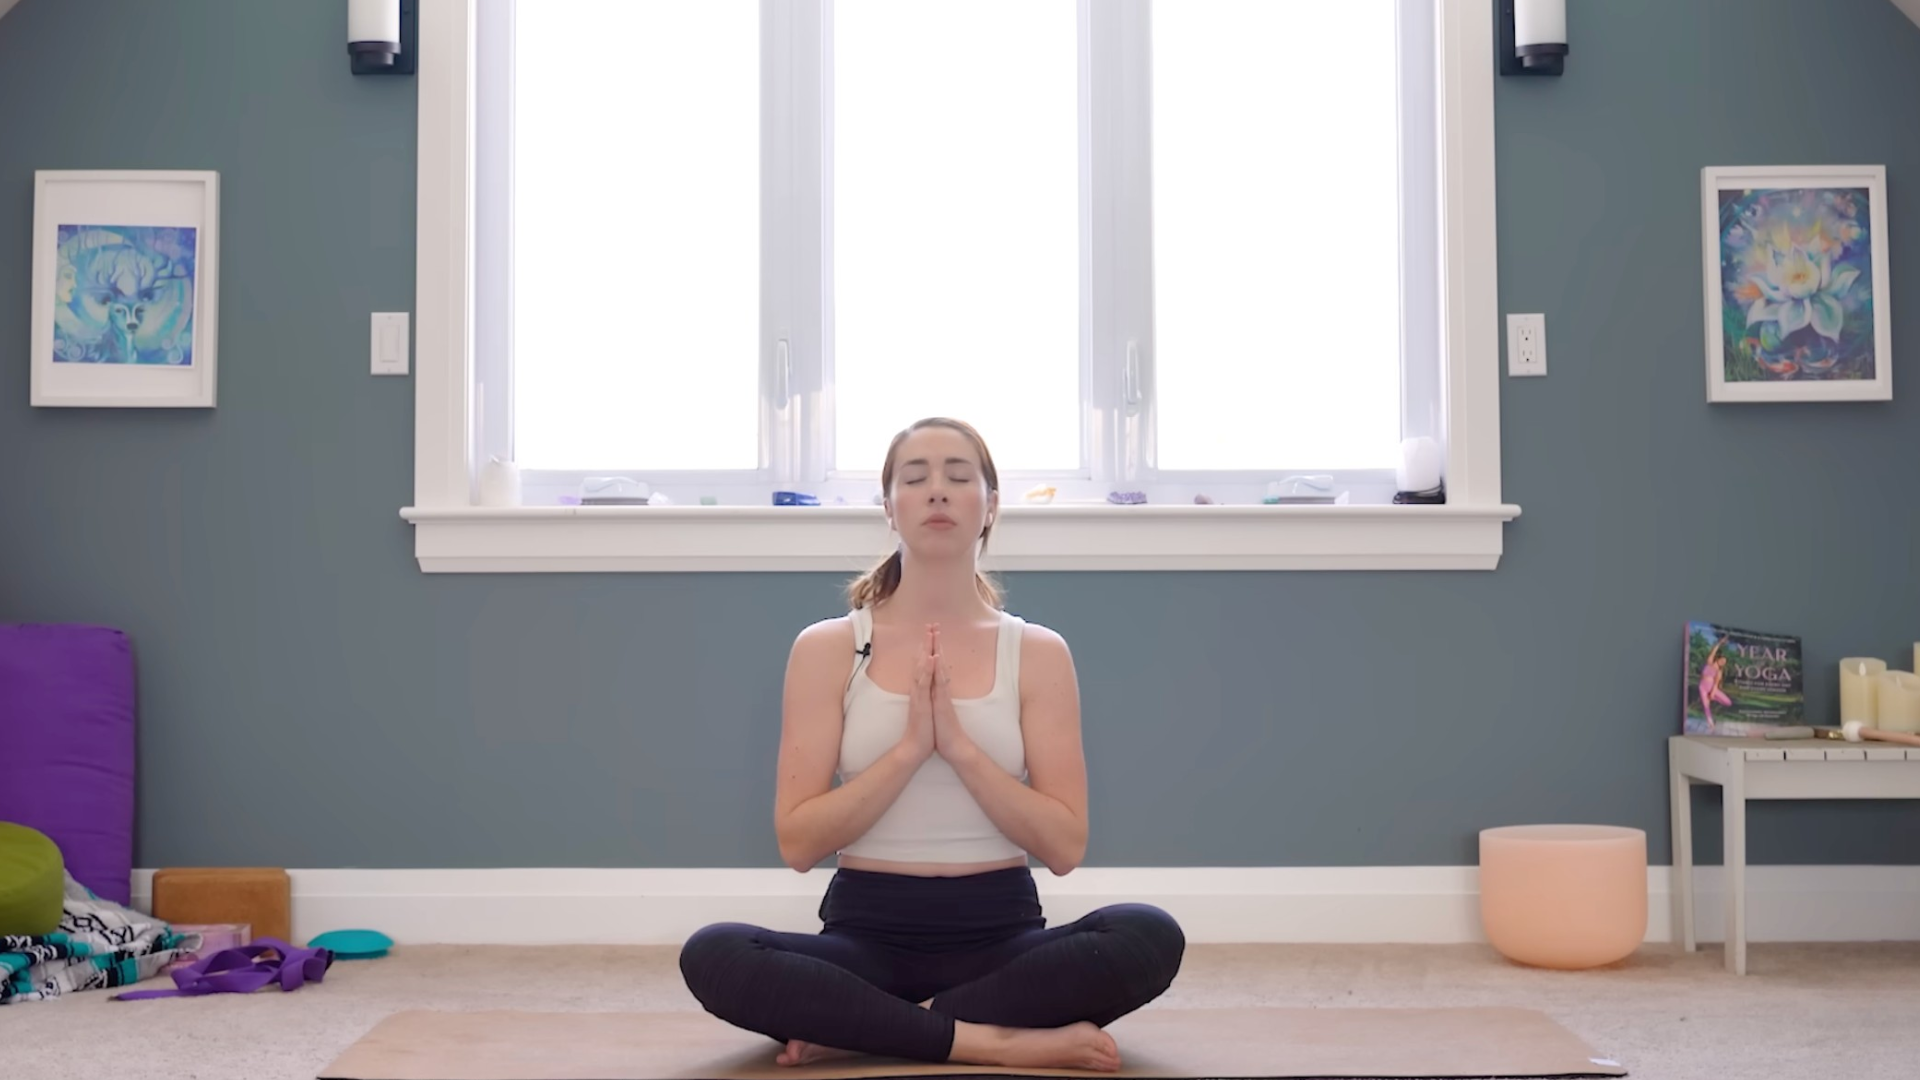
Bring your hands together in your heart. Let’s conclude our practice by pausing here for a few breaths before you start your day. Thank you all so much for doing this yoga excercisespecially designed for your shoulders. I hope you feel a lot less tension in your upper body.
#minute #shoulder #stretches #upper #body #tight #sore