 an intense stretch.")
This yin yoga sequence is designed as an intense stretch that brings relaxation to your entire body. It is designed for those who are familiar with the components of yin yoga and know how to find the balance between effort and ease. If you’re new to these stretches, there are options and variations for each pose to help you find a form and stretch that suits you.
Remember that in yin yoga you are not pushing or pulling or trying to force yourself into any depth of any kind. You never want to feel like you’ve gone too far in a form so that it feels challenging to stay in it. Once you’ve found the version of each stretch that you can relax in, resist the urge to fidget or move too much. You just want to keep it still as you breathe.
Sometimes with more intense stretches there is a tendency to hold the breath or allow it to become tense or shallow. Focus on relaxing your breath a little more with each exhalation. The longer you hold the pose, the more your body will naturally let go.
60-minute Yin Yoga sequence for an intense stretch
You want to stay in each position for about 3 minutes. You don’t need any props, but you can always use a block, bed pillows, couch cushion, or folded blanket if you want more support.
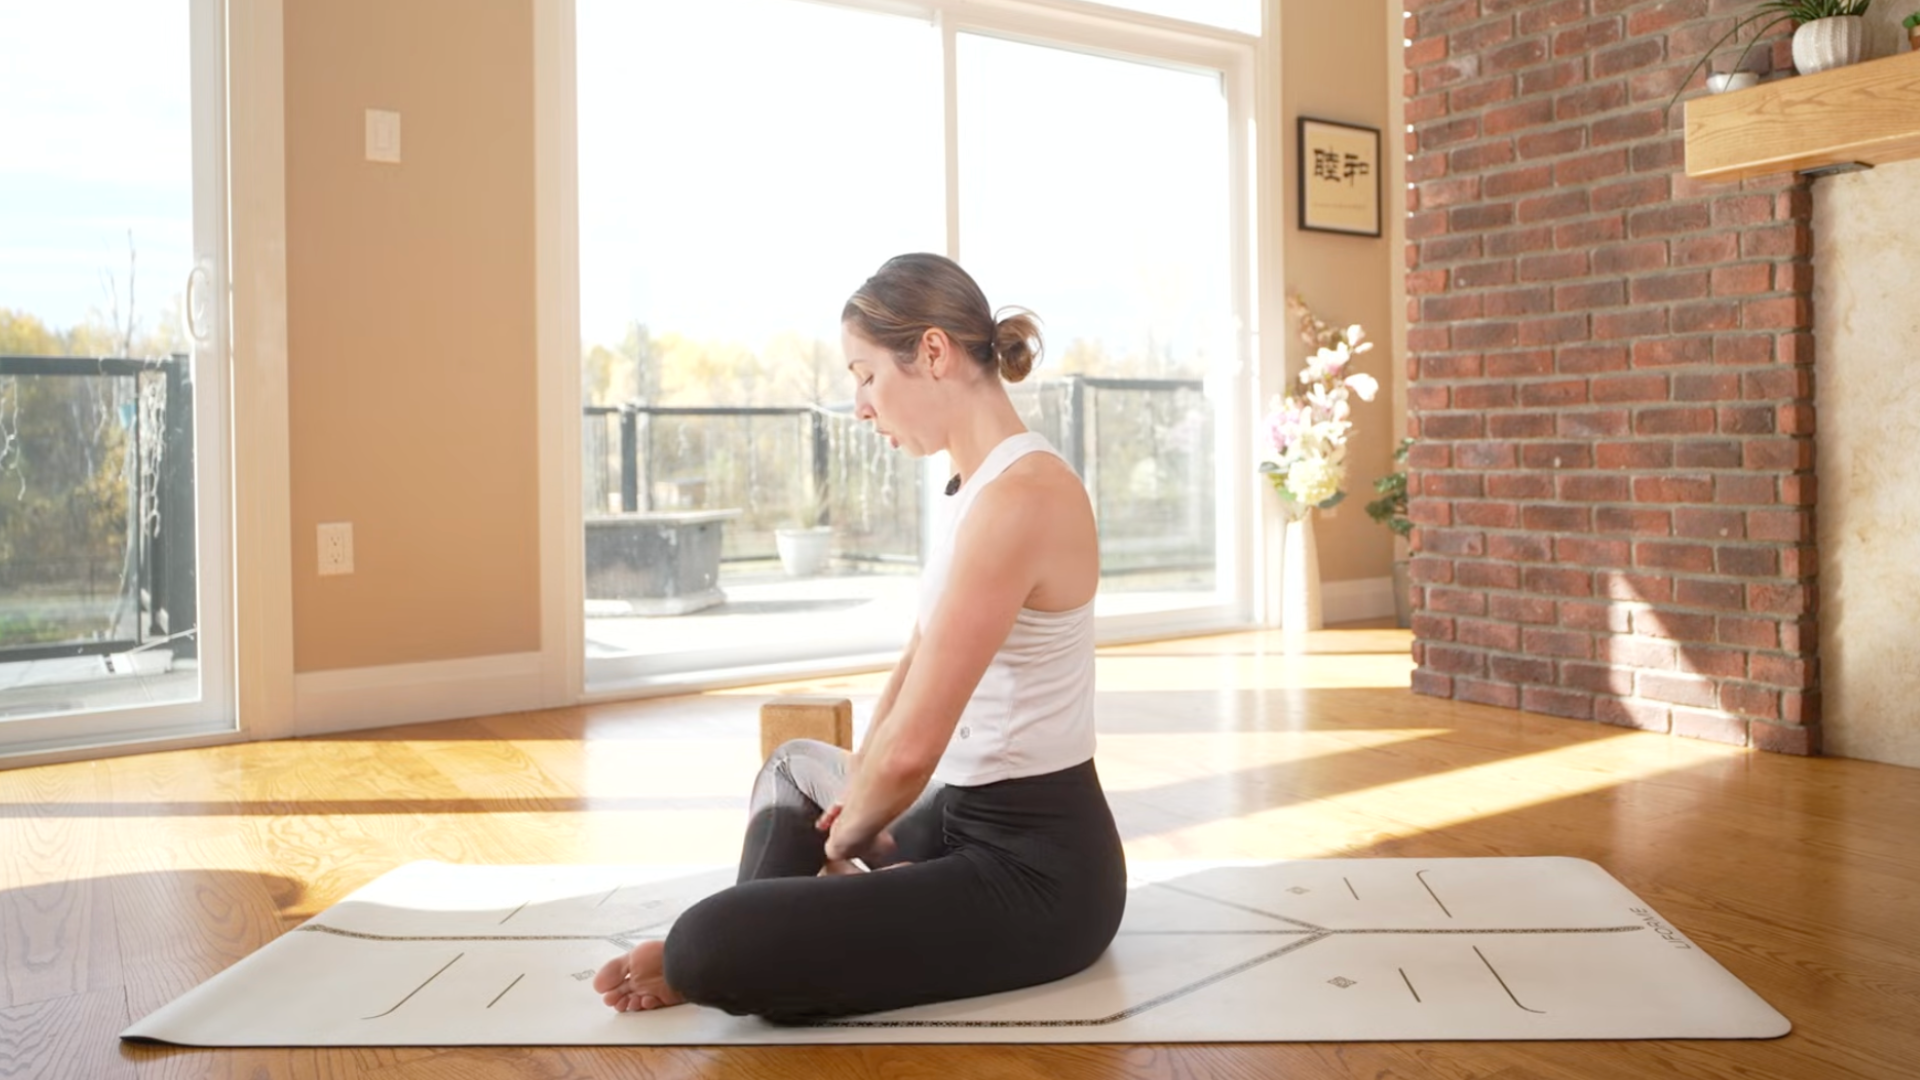
Half saddle
Sit on your mat with your legs in front of you. Bend your right knee and tuck your right foot along your right hip. Keep the top of your foot pressed against the mat. You want to keep your knees hip-distance apart as you bend your left knee and place that foot on the mat. Take your hands behind you and lift your hips slightly and scoop your tailbone under you before lowering your hips. You want to start feeling a stretch along your quads.
You can keep your left foot on the mat, drop your left knee to the side, or extend your left leg in front of you. Stay here in this yin version of Reclining Hero or perhaps lower your back onto your forearms. A few pillows under the upper back can be helpful. If you want to intensify the stretch, come all the way to the mat.
Wherever you are, you want to feel like you can relax instead of staying tense. This yin yoga pose doesn’t always feel good for everyone, so if you feel any tightness or discomfort, especially in your knee or lower back, slowly come out of the pose, straighten your legs in front of you, lean back again, and draw one knee toward your chest for the duration of this stretch. You will still experience relaxation in your quads.
Easily go outside and sit down. When you’re all the way back, try pushing your elbows into the mat to lift yourself up.
Half butterfly pose
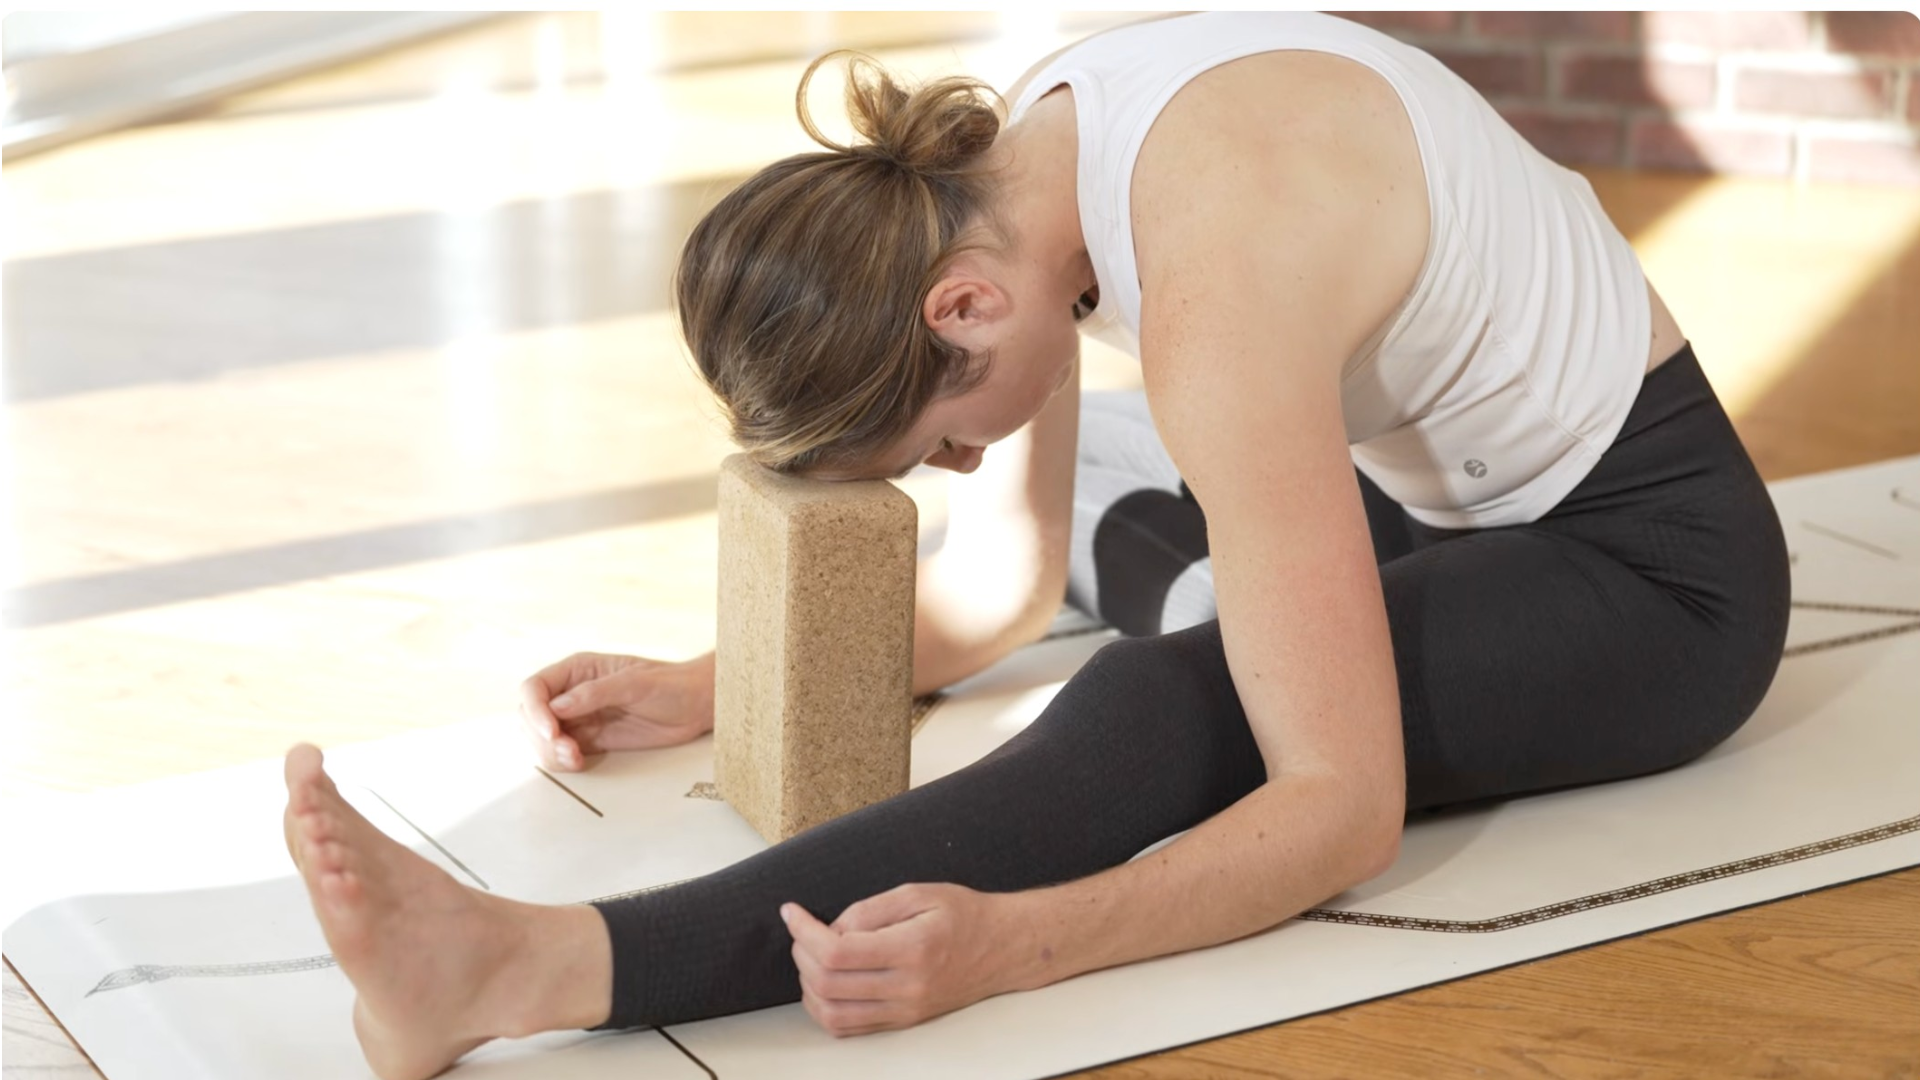
Extend your left leg straight in front of you, bring your right foot to your right inner thigh and begin to lean forward. If you have a block it can be a nice way to support your forehead, but you can also leave it out and let gravity do the work for you.
Allow your spine to round naturally. You stretch through your hamstrings and along the spine. Don’t force the stretch, especially on your first forward fold. Just try to relax and maybe let yourself go a little more each time you exhale.
Press your palms into the floor and slowly lift yourself back up to a sitting position. Take your time.
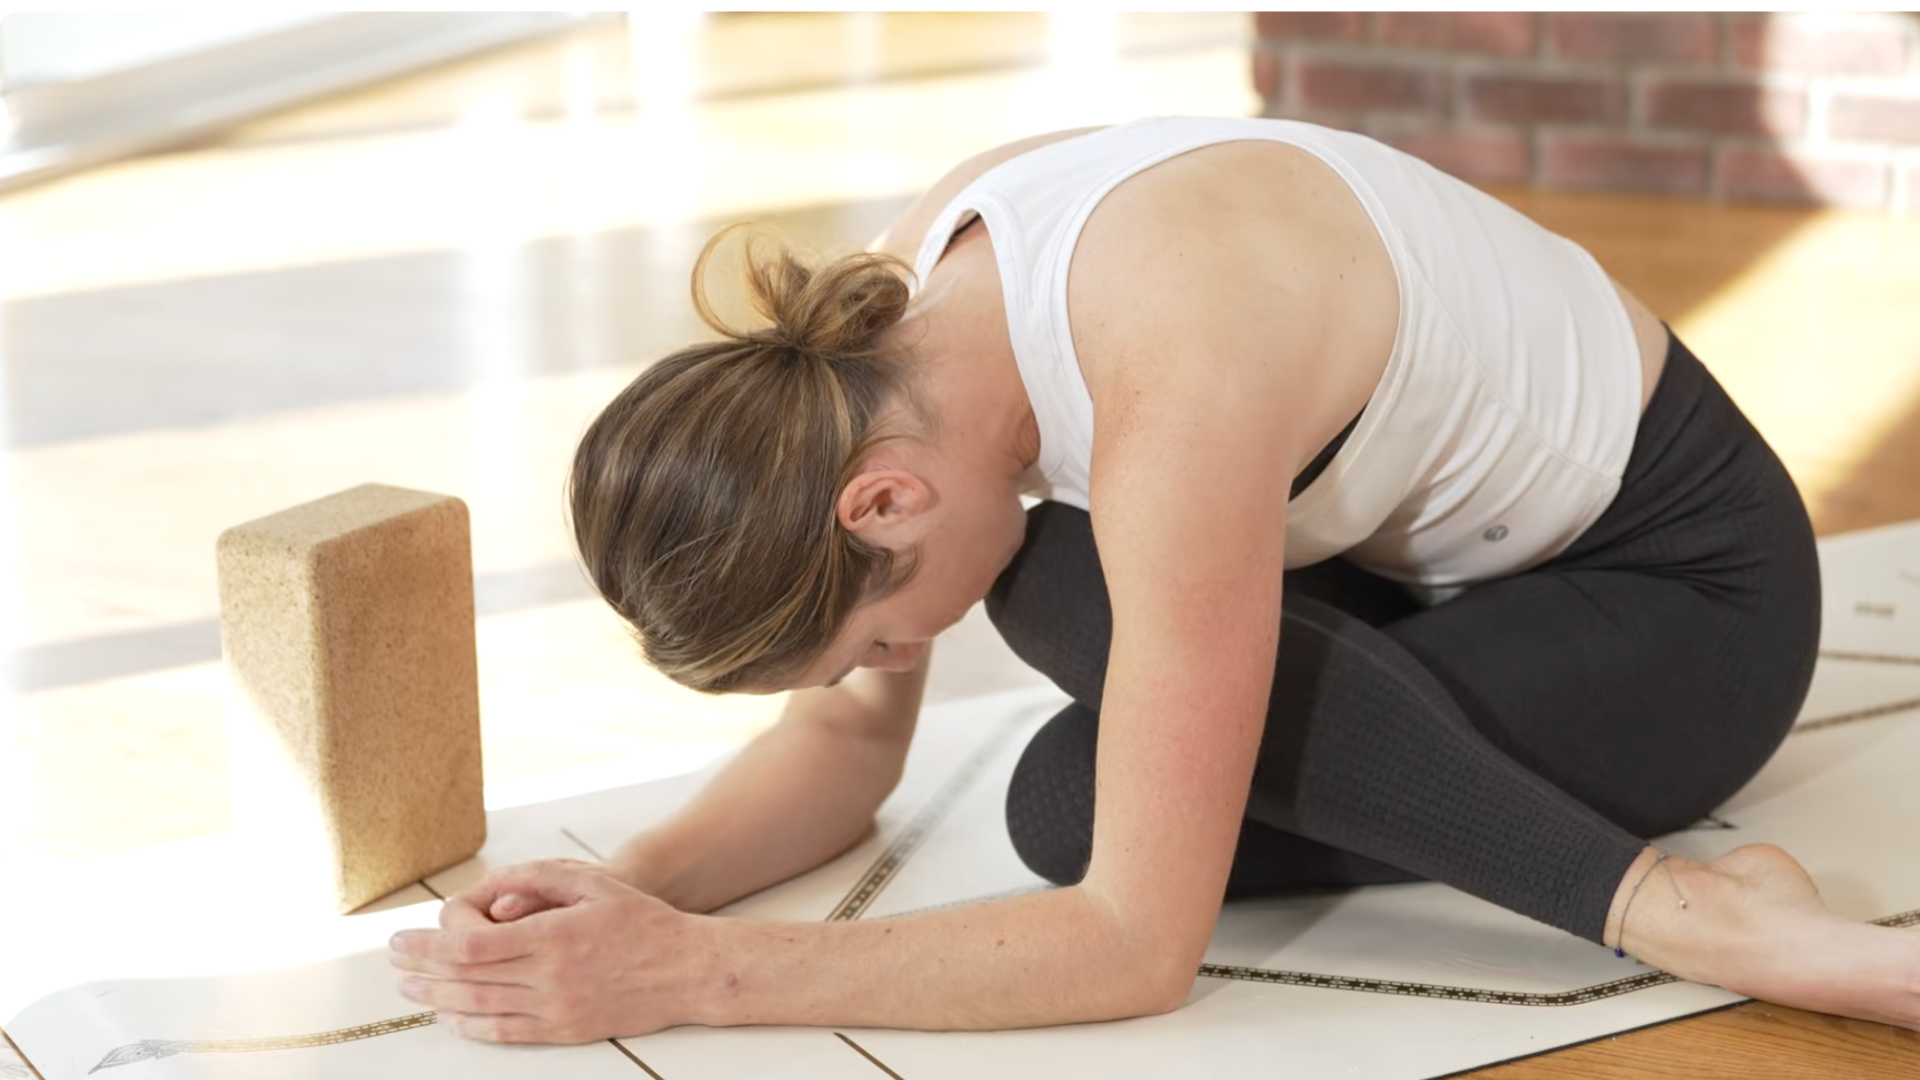
Cow face pose
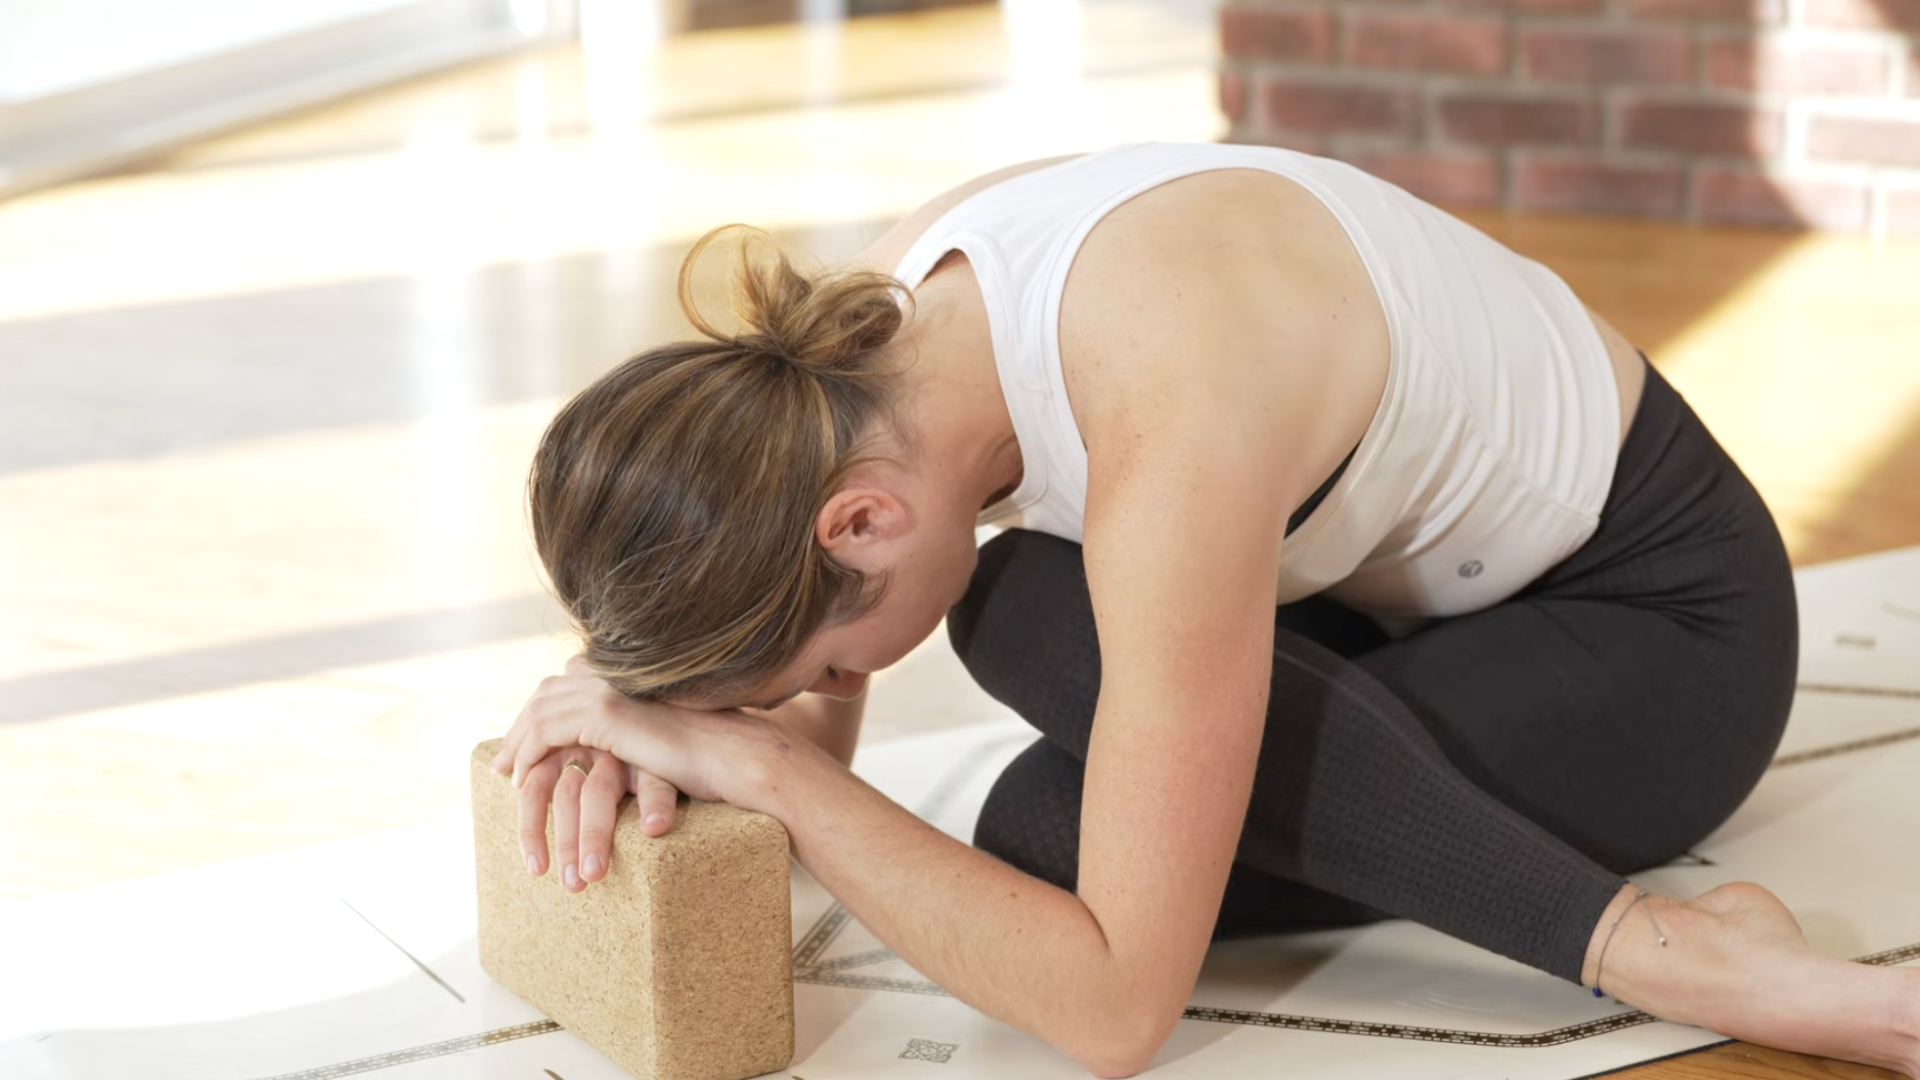
Cross your legs and try to stack your right knee on top of your left knee. Bring your heels to your hips. Then fold forward from here. See if you can lift your shoulders away from your ears and drop your weight to your hips. Again, you can use a block under your forehead here, or you can go unsupported and let yourself dangle as gravity pulls you into your expression of the pose.
If this doesn’t work or doesn’t feel appropriate for you today, bring your right shin slightly apart in front of your left shin and stay there or lean forward.
When you’re ready, push your hands into the mat and slowly come back up. You’re not in a hurry. Cross your legs and extend them if necessary and make a few windshield wiper movements with your knees.
Then repeat Half Reclining Hero, Half Butterfly and Cow Face Pose on the other side.
Sphinx pose
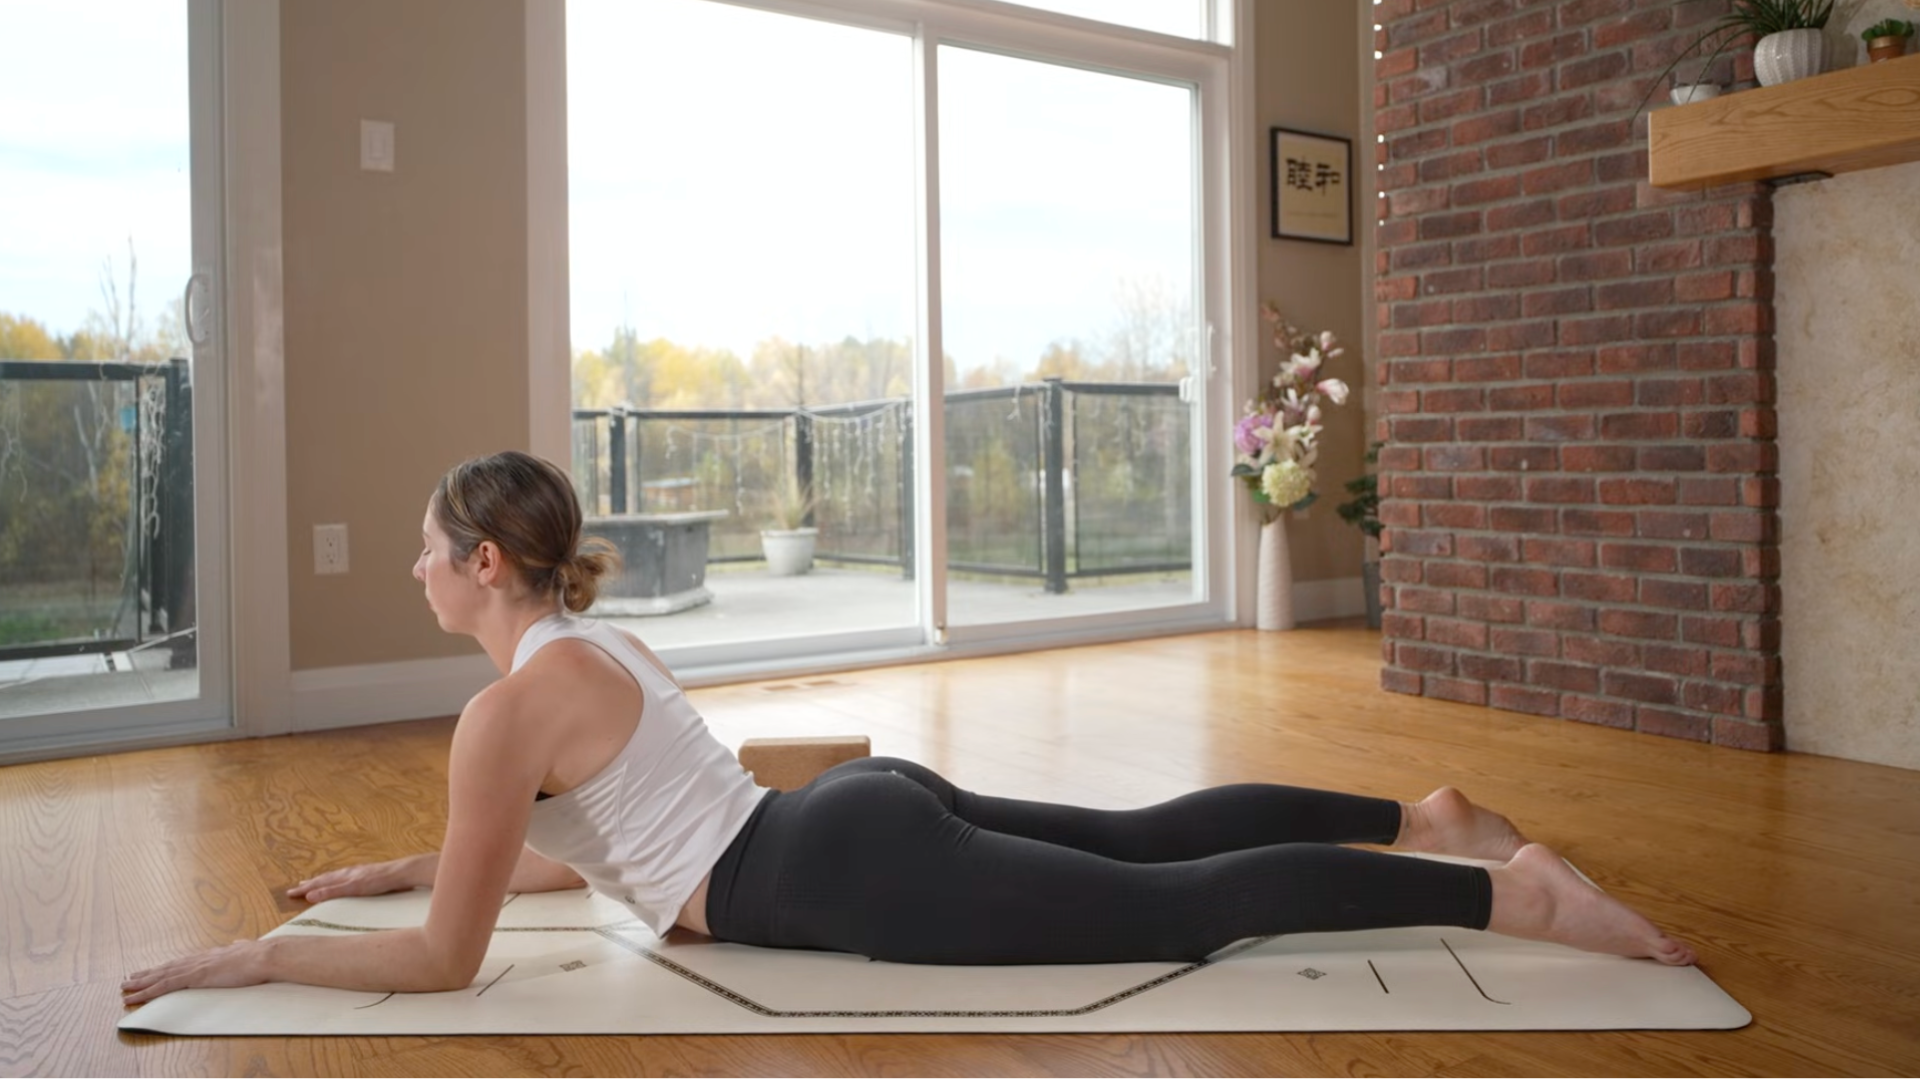
Switch to lying on your stomach and support yourself on your lower heat. You can control the intensity of this back bend. If you want to reduce it, walk your elbows further forward. If you want to intensify it, bring the elbows towards you. Think of this as expanding through your chest as you pull your shoulder blades back.
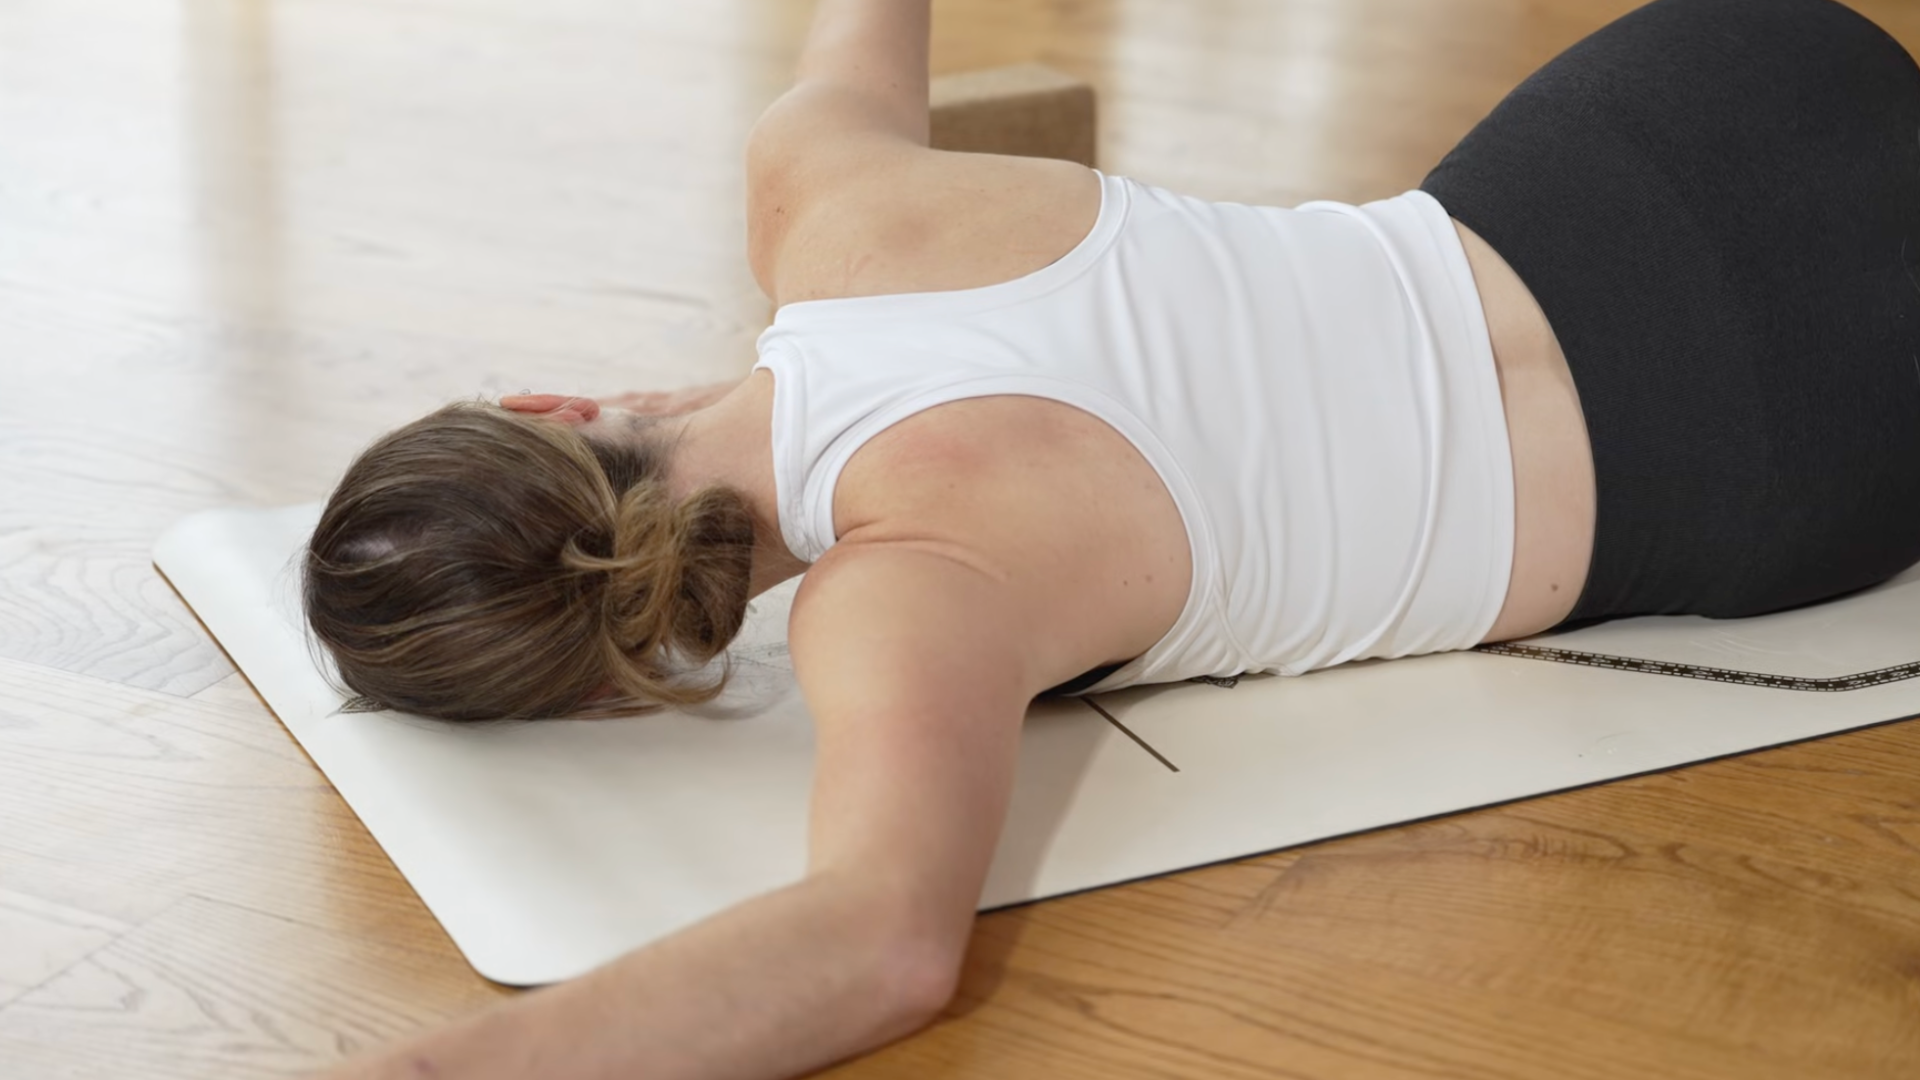
Broken wing
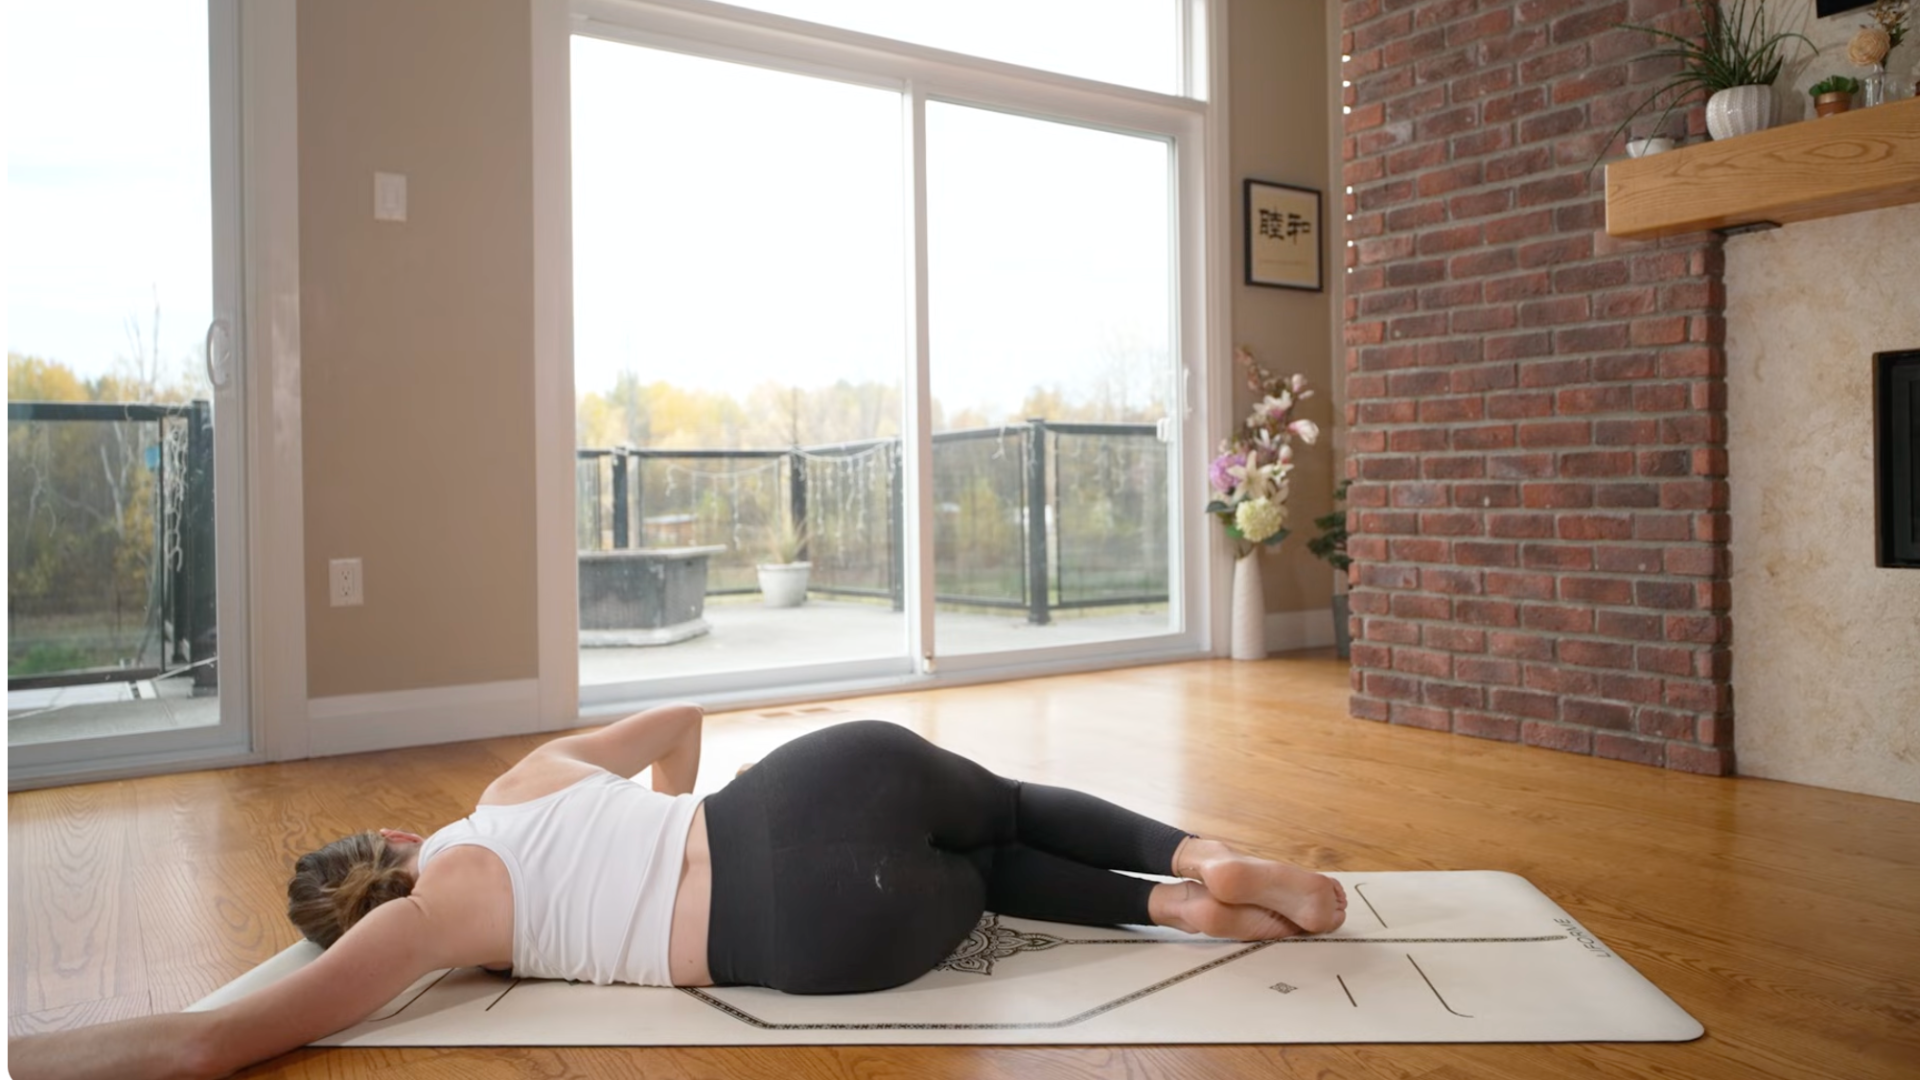
Release your chest onto the mat. Bring your left arm straight out to the side, bend your left elbow and bring the elbow slightly closer to the front of the mat than your shoulder. Roll onto your left hip, shoulder and ear. I find it easier to bend my knees during this stretch. And then use your right hand to press slightly into the floor as you play with the intensity of the stretch along your left shoulder and chest.
You can also play with the angles of your head and arms. Try to relax your jaw, neck and chest. The only effort you make is a little pressure you apply with your right hand to help you hold the shape of the pose.
When you’re ready, straighten your legs as you release the stretch on this side. Then repeat the stretch on your other side.
Child’s pose
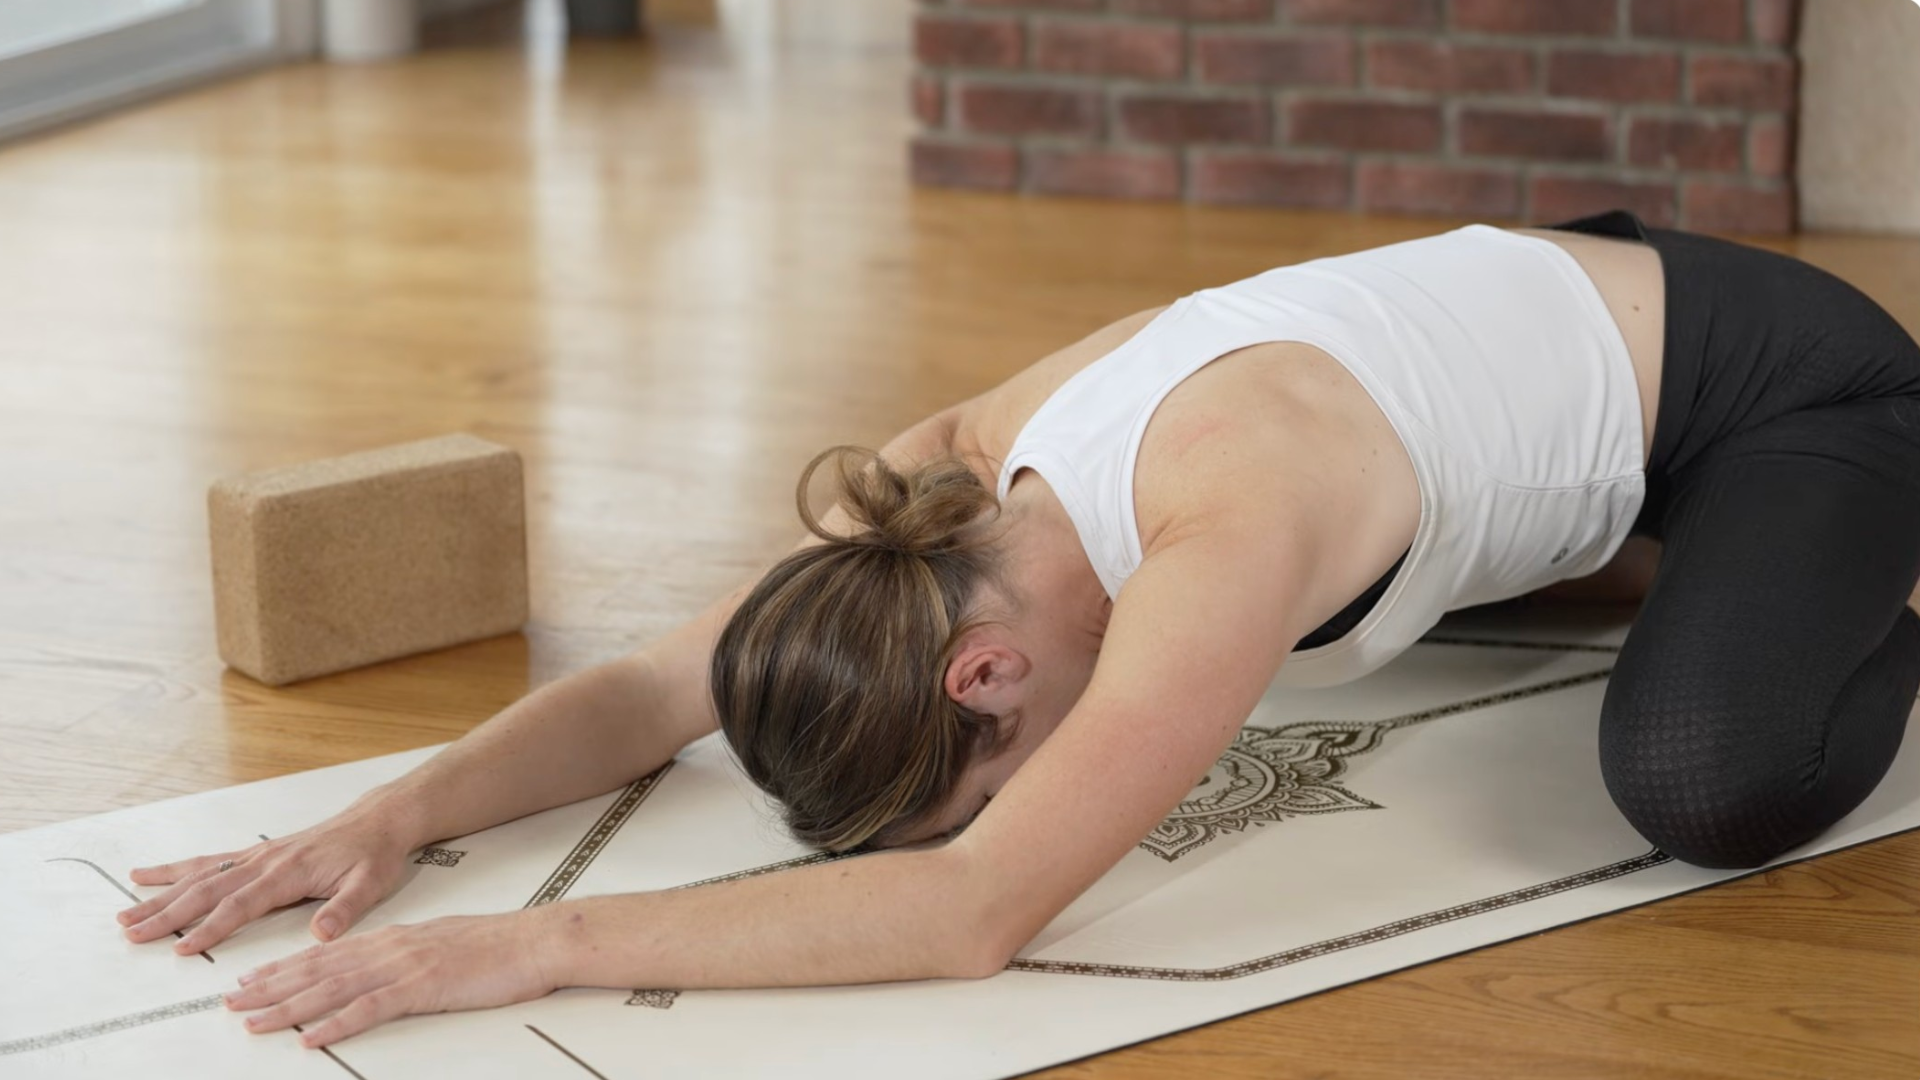
Come back to center and push yourself back into Child’s Pose. You can make your knees as wide as you want and then move your hips toward your heels. Walk your hands outward and bring your chest down. You can take a block under your forehead if you want. Let your arms relax and your shoulder blades slide down your back. With each breath, let your breath relax a little more.
Walk your hands in and slowly lift yourself up.
Lying twist
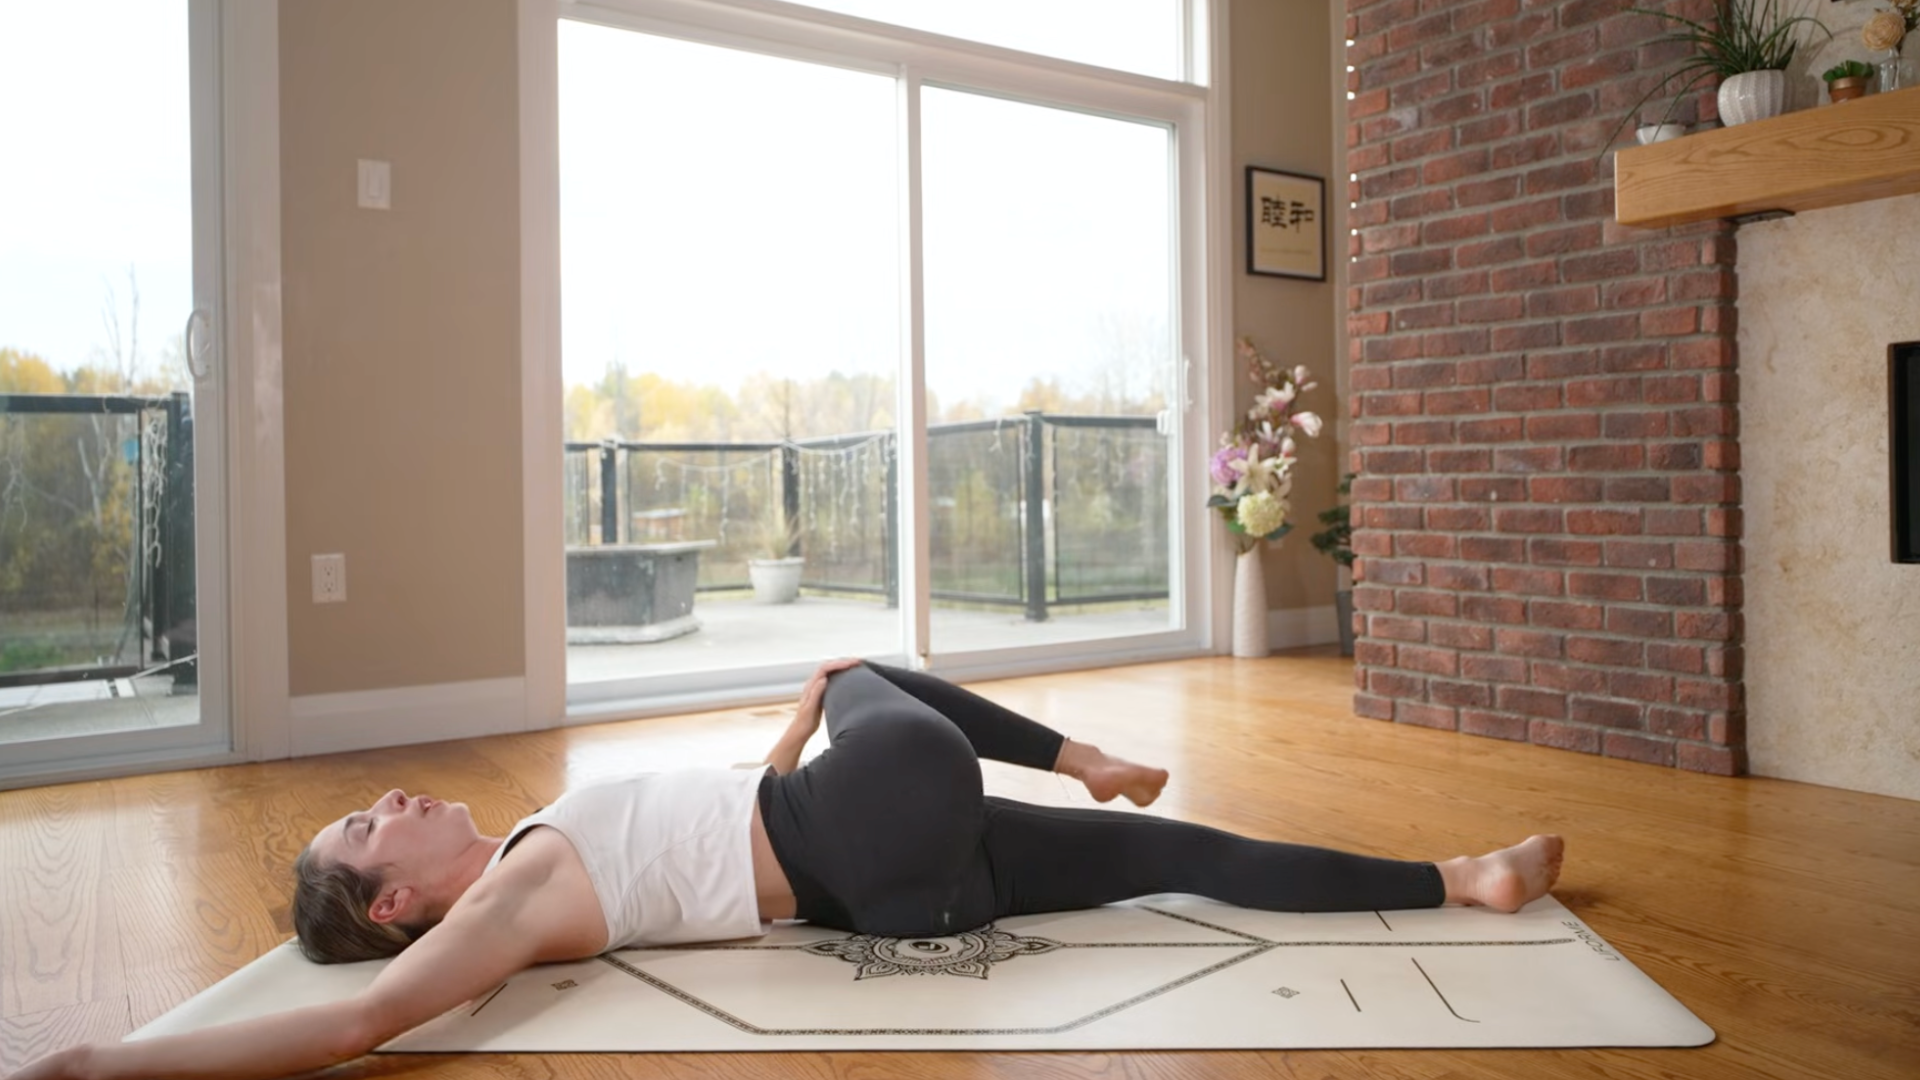
Lower yourself onto your back, however you want to get there, and then take the lying twist of your choice. You can pull your right knee toward your chest and then cross it across your body to the left. Or you can do the same twist with both knees.
Rest your right hand on your left thigh. Think of releasing your right shoulder blade into the mat. Breathe here.
Continue slowly to the center and then come into the rotation on the other side, lowering your knee(s) to the right.
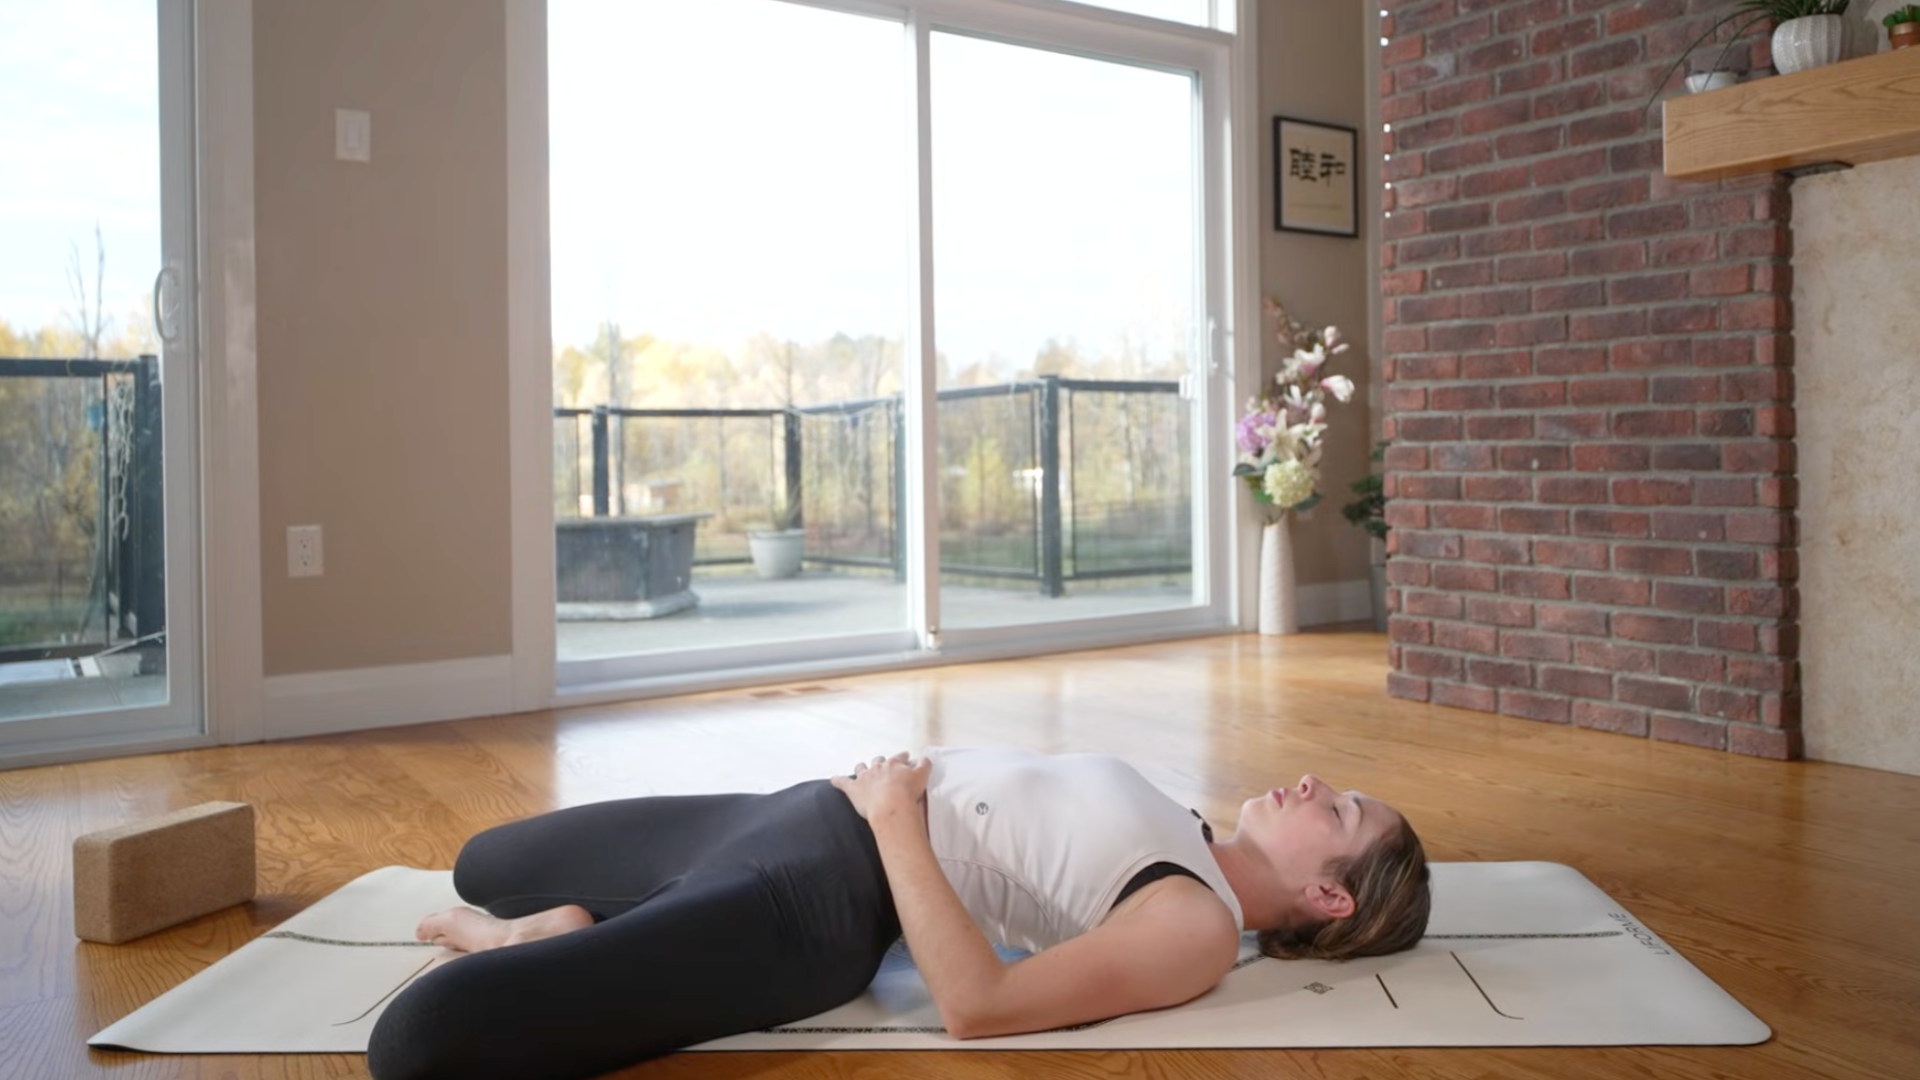
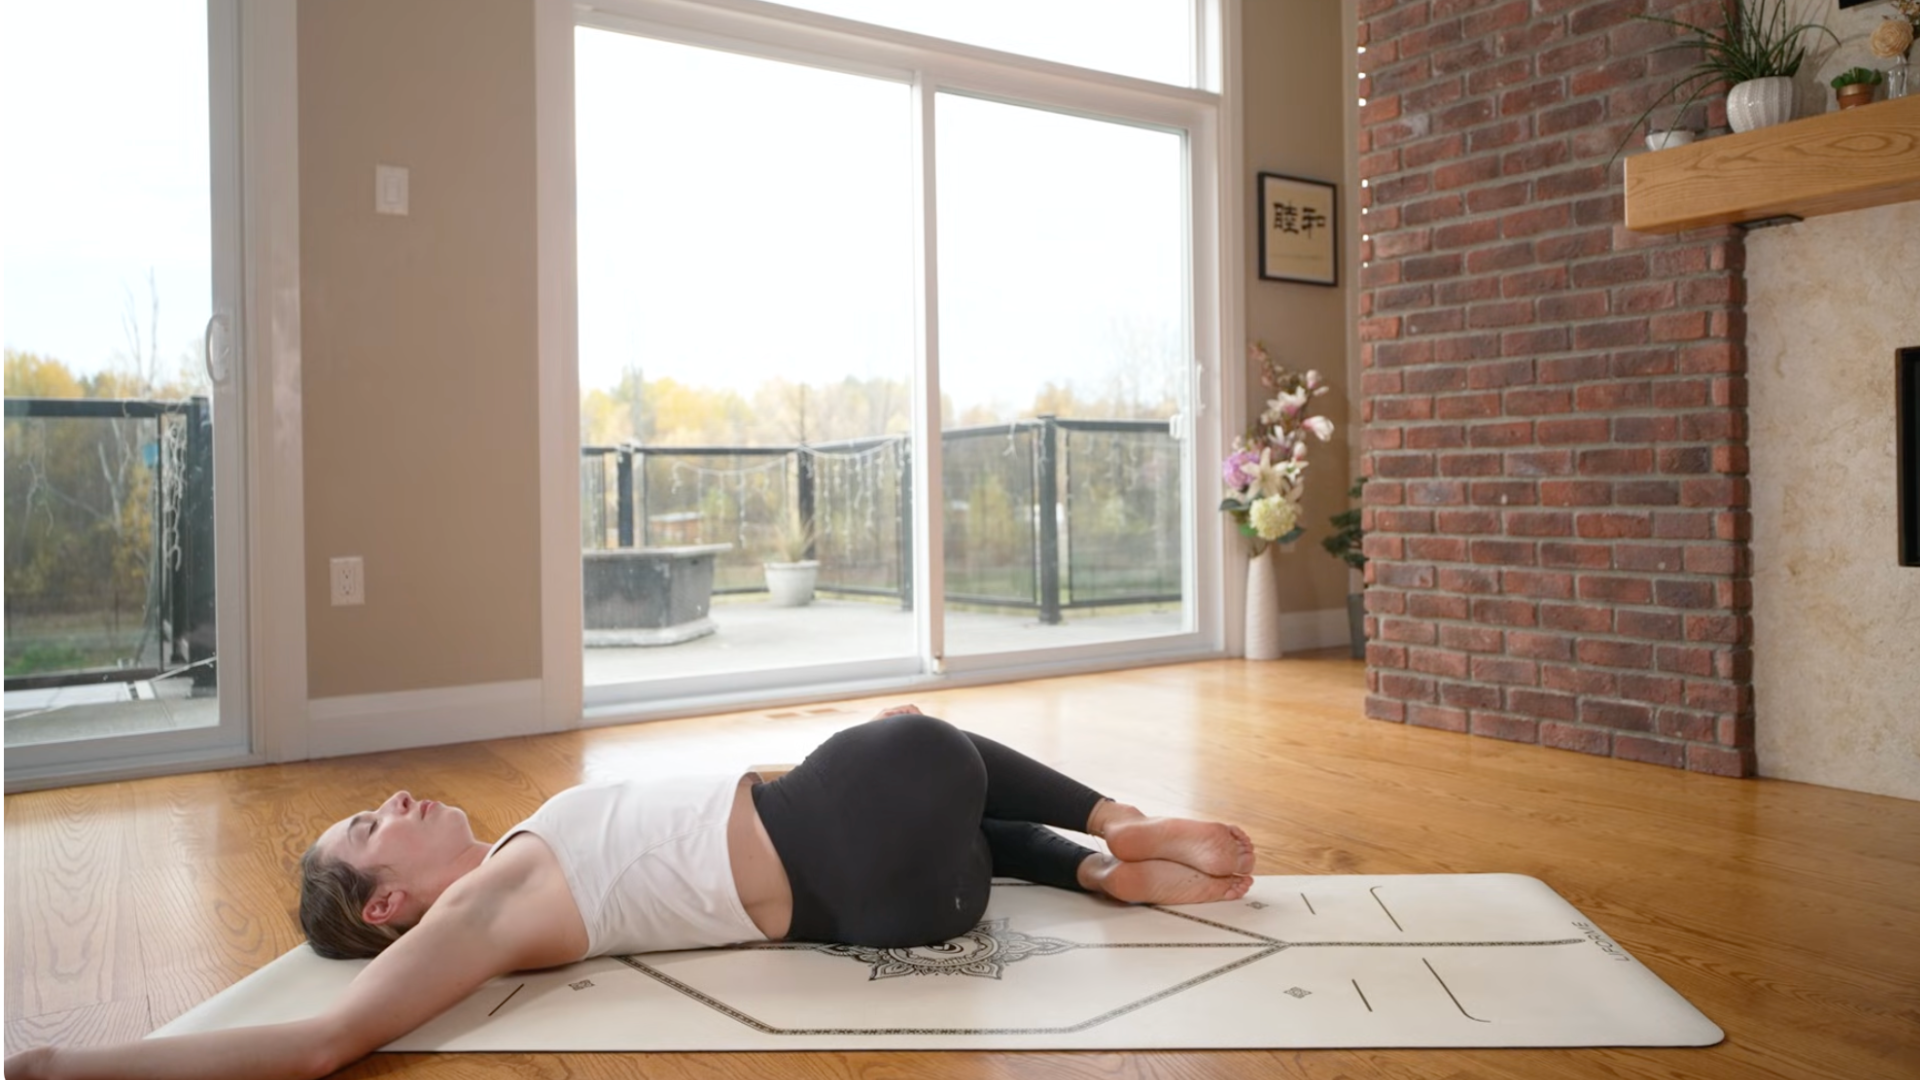
Lying butterfly
Let the bottoms of the feet meet and your knees part and drop to the sides into Reclined Butterfly or what you may recognize as Reclining Bound Angle. Rest your hands on your stomach, at your sides, or reach your arms past your head for more of a stretch across the chest.
Remember to have absolutely no tension in your body and let your weight sink into the mat as you become heavier and heavier with each breath.
Happy baby
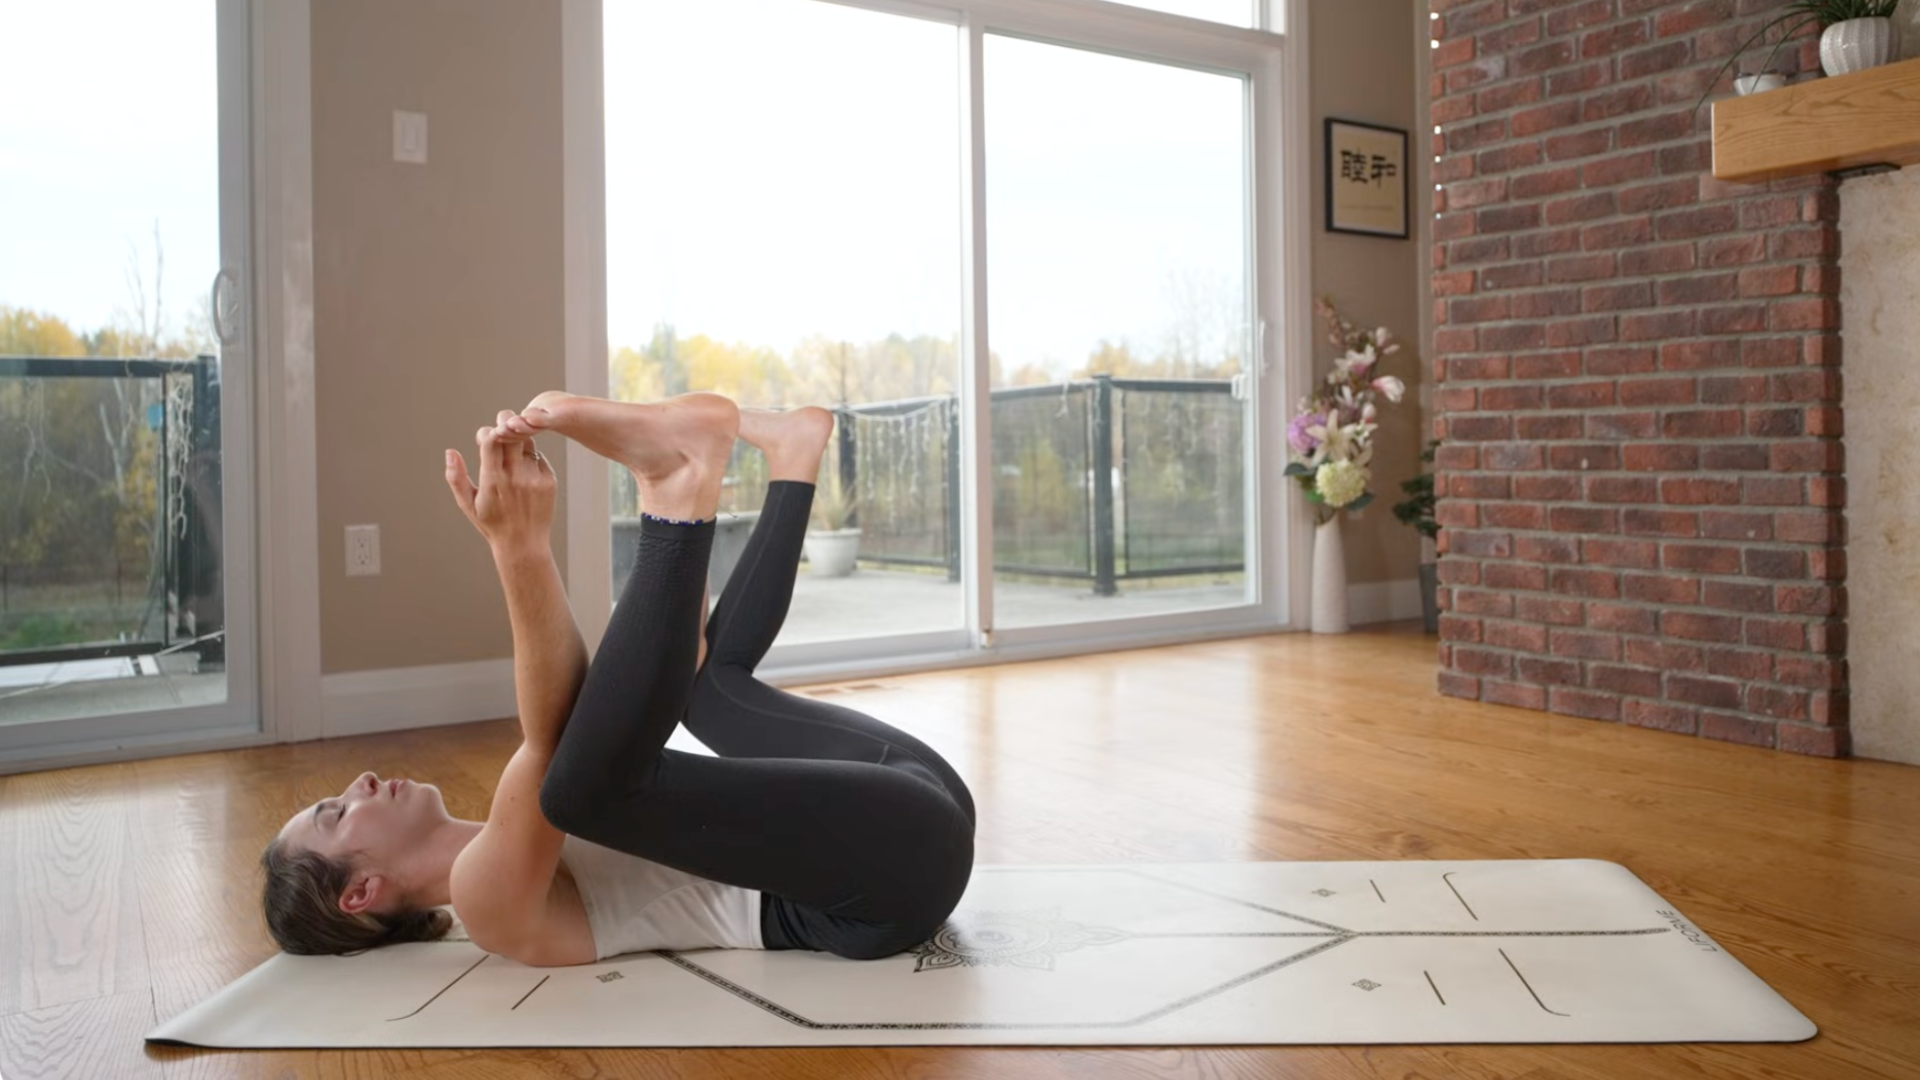
The final pose in your yin yoga sequence is a hip stretch that helps release the lower back. Use your hands to bring your knees together and pull them toward your stomach. Maybe you stay here and keep your knees apart, almost like you’re doing Child Pose on your back. Otherwise, grab your big toes with your peace fingers or the sides of your ankles or shins. Stack your ankles over your knees, elbows toward the inside of your knees, and consider pressing your tailbone toward the mat. Keep your head and shoulders grounded. You want to use a little arm strength to hold the pose, but not so much that you are active or straining.
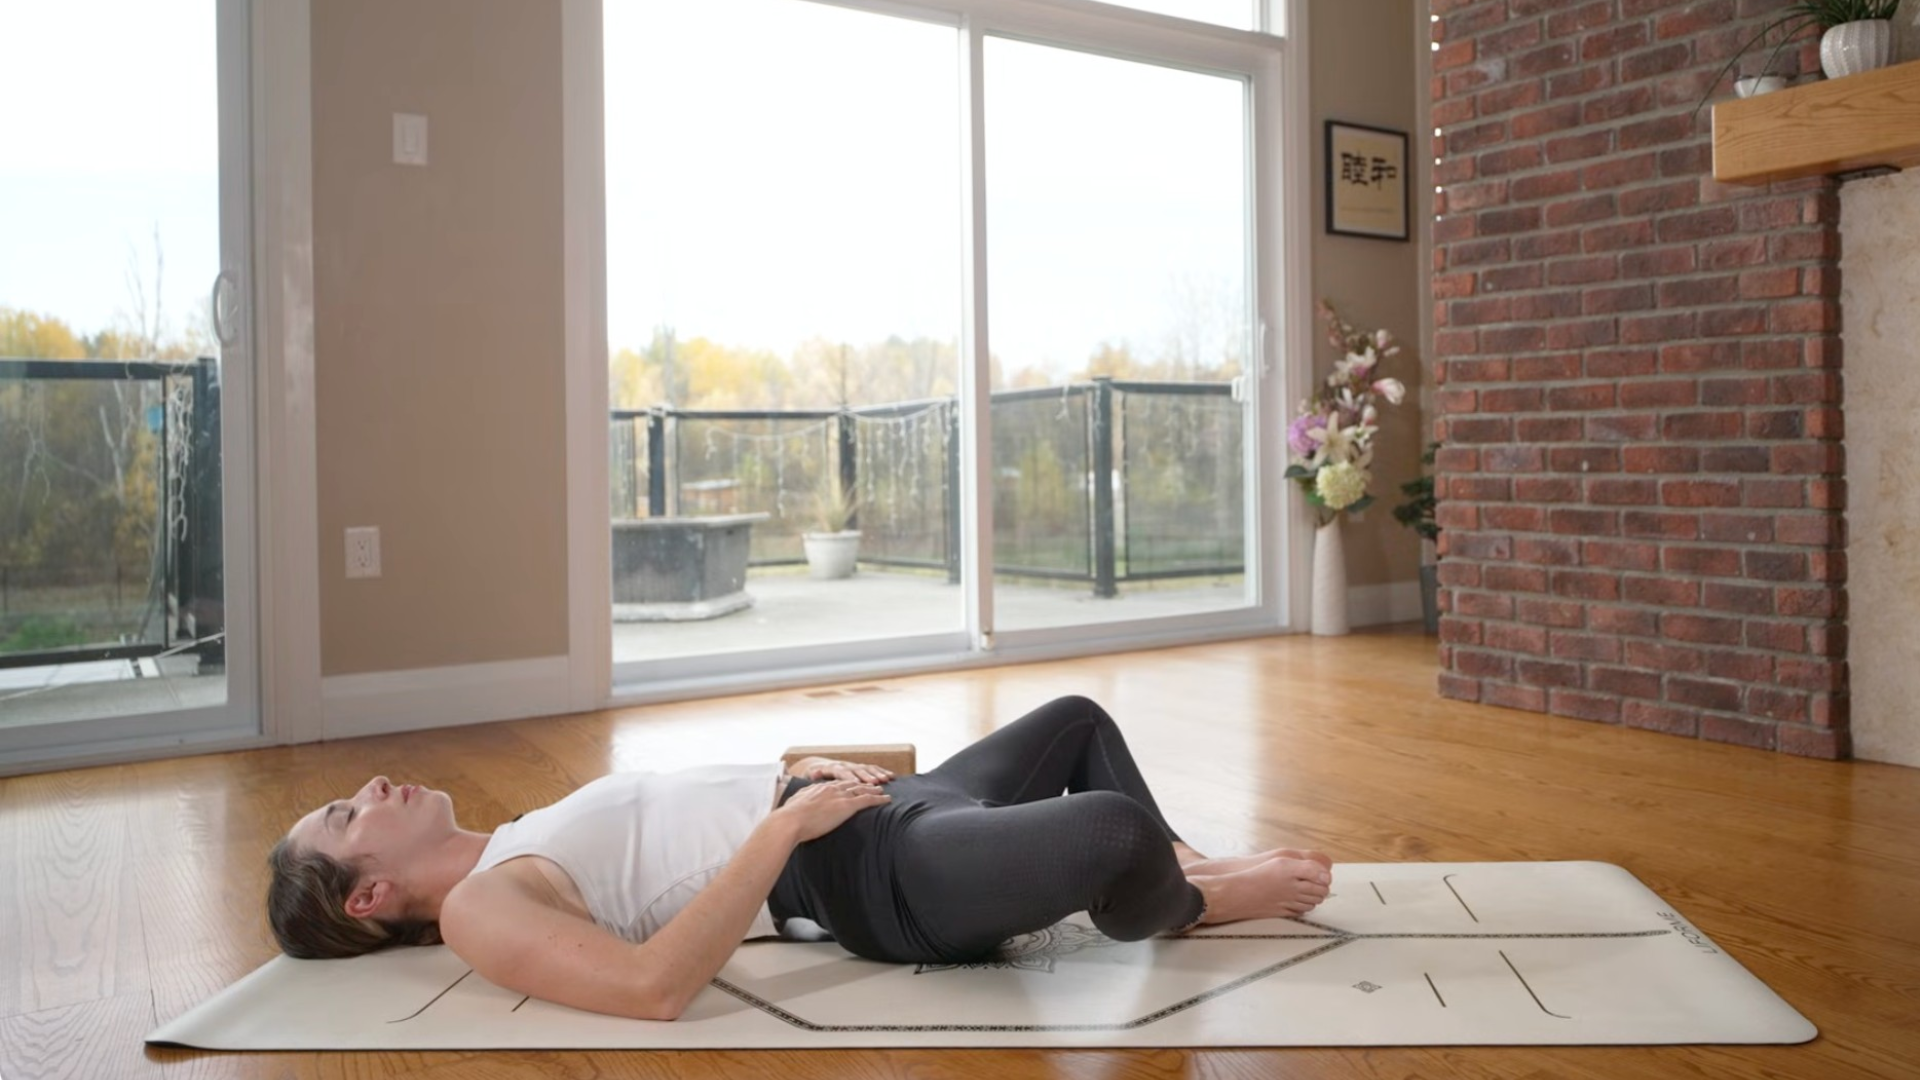
Savasana
Release your legs on the mat and perform any final movements or adjustments you want. When you’re ready, find your Savasana by straightening your legs, releasing your arms at your sides with your palms facing up and closing your eyes. This is your time to integrate all the work you just did.
Close
While you’re reading, start turning your head from side to side and doing other simple stretches that you enjoy. Slowly return to a sitting position. Sit up straight and close your eyes, shrug your shoulders down and away from your ears. Take a moment to notice how you feel after your exercise.
Thank you for practicing this stretchy yin yoga sequence with me and I hope you feel better in your body than before class.
#Yin #Yoga #intense #stretch