
For the purposes of this post, we will focus solely on nested presets, with a separate article on stacked presets. We explain what nested presets are, how they build on Divi 5’s preset system, and provide a step-by-step guide on how to use them.
If you haven’t already, download the latest Divi 5 public beta to join in. Let’s get started.
What are nested presets?
Nested presets bring a hierarchical structure to Divi’s preset system. Create option group presets for specific style, such as text formatting, border radius, background colors, or spacing. These are then nested within an Element Preset, which includes the entire style of a module, such as a Blurb, Button, Group or Call To Action. The result is a self-contained, reusable design component. Apply an Element Preset and all Nested Preset Styles will be automatically recorded.
Nested presets are an improvement on Divi 5’s existing preset system. They add multi-level organization, giving you more control over how styles are saved, applied, and updated.
Divi 5 preset differences
Let’s briefly compare the different types of presets you can find in Divi 5.
- Standard Presets: These are the built-in starter styles that come with every Divi module. They provide a clean, consistent base that you can easily change or replace.
- Element Presets: This allows you to save the entire style of a module, section, column or row, including all design settings – everything from layout to typography to effects.
- Option group presets: You can focus on one group of options, such as the header settings of the Heading module, the spacing or border settings of the Image module, or the layout settings of the Circle Counter module.
- Nested presets: Allows option group presets to be embedded in an element preset so that styles are inherited and updated together.
Key features of nested presets
Nested presets work on two levels. First, you create option group presets for specific design groups, such as border styles or background settings. You then nest Option Group Presets within an Element Preset, which captures the entire look of a module, such as a Blurb or a Button.
Bundling presets in this way keeps related styles together for reuse across an entire page or website. When you apply the Element Preset to a module, all nested option styles are added immediately. This makes setting up new elements faster and reduces the chance of missing the small details.
One of the most useful aspects is the ability to update presets globally. Change a nested option group preset in one place, and any module that uses the parent element preset will reflect the update immediately. This is especially useful when refining a design across multiple pages.
Nested presets also ensure that you are not stuck with a predefined style. If a specific instance needs an adjustment, you can adjust it manually. The change remains local and the module still retains the link to the preset for future shared style updates.
Benefits of nested presets
It’s a more efficient workflow: Nested presets make styling faster by eliminating repetitive work. Instead of adjusting the same border, spacing, or typography settings with each new module, apply a preset for one element and move on. This leaves more time for layout ideas, content placement, and rapid iterations.
Consistency and scalability: As your site grows, the presets will maintain a cohesive style. Whether it’s a client project, an agency template or a large portfolio site, the same style remains consistent. A change in one place is reflected everywhere else, keeping the design uniform without the need for constant monitoring. For example, you can add 25 additional pages, with each page retaining the same style.
Improved organization: Nested presets also help with organization. Styles are grouped in a clear hierarchy, with option group presets nested within element presets, making it easier to find, review, and adjust design assets, even in large or complex layouts.
It’s a simple system: Nested presets are also incredibly simple. Inheritance works automatically, allowing you to quickly create dynamic designs. The result is a clean, efficient system that grows with your projects.
How nested presets work
In this section, we will guide you through creating an element preset, an option group preset, and a nested preset. By the end, you’ll have a better understanding of how they work and what an asset they are for Divi users of all skill levels.
Step 1: Create option group presets
Start by adding three Blurb modules to a page in the Visual Builder. Style the first one however you want.
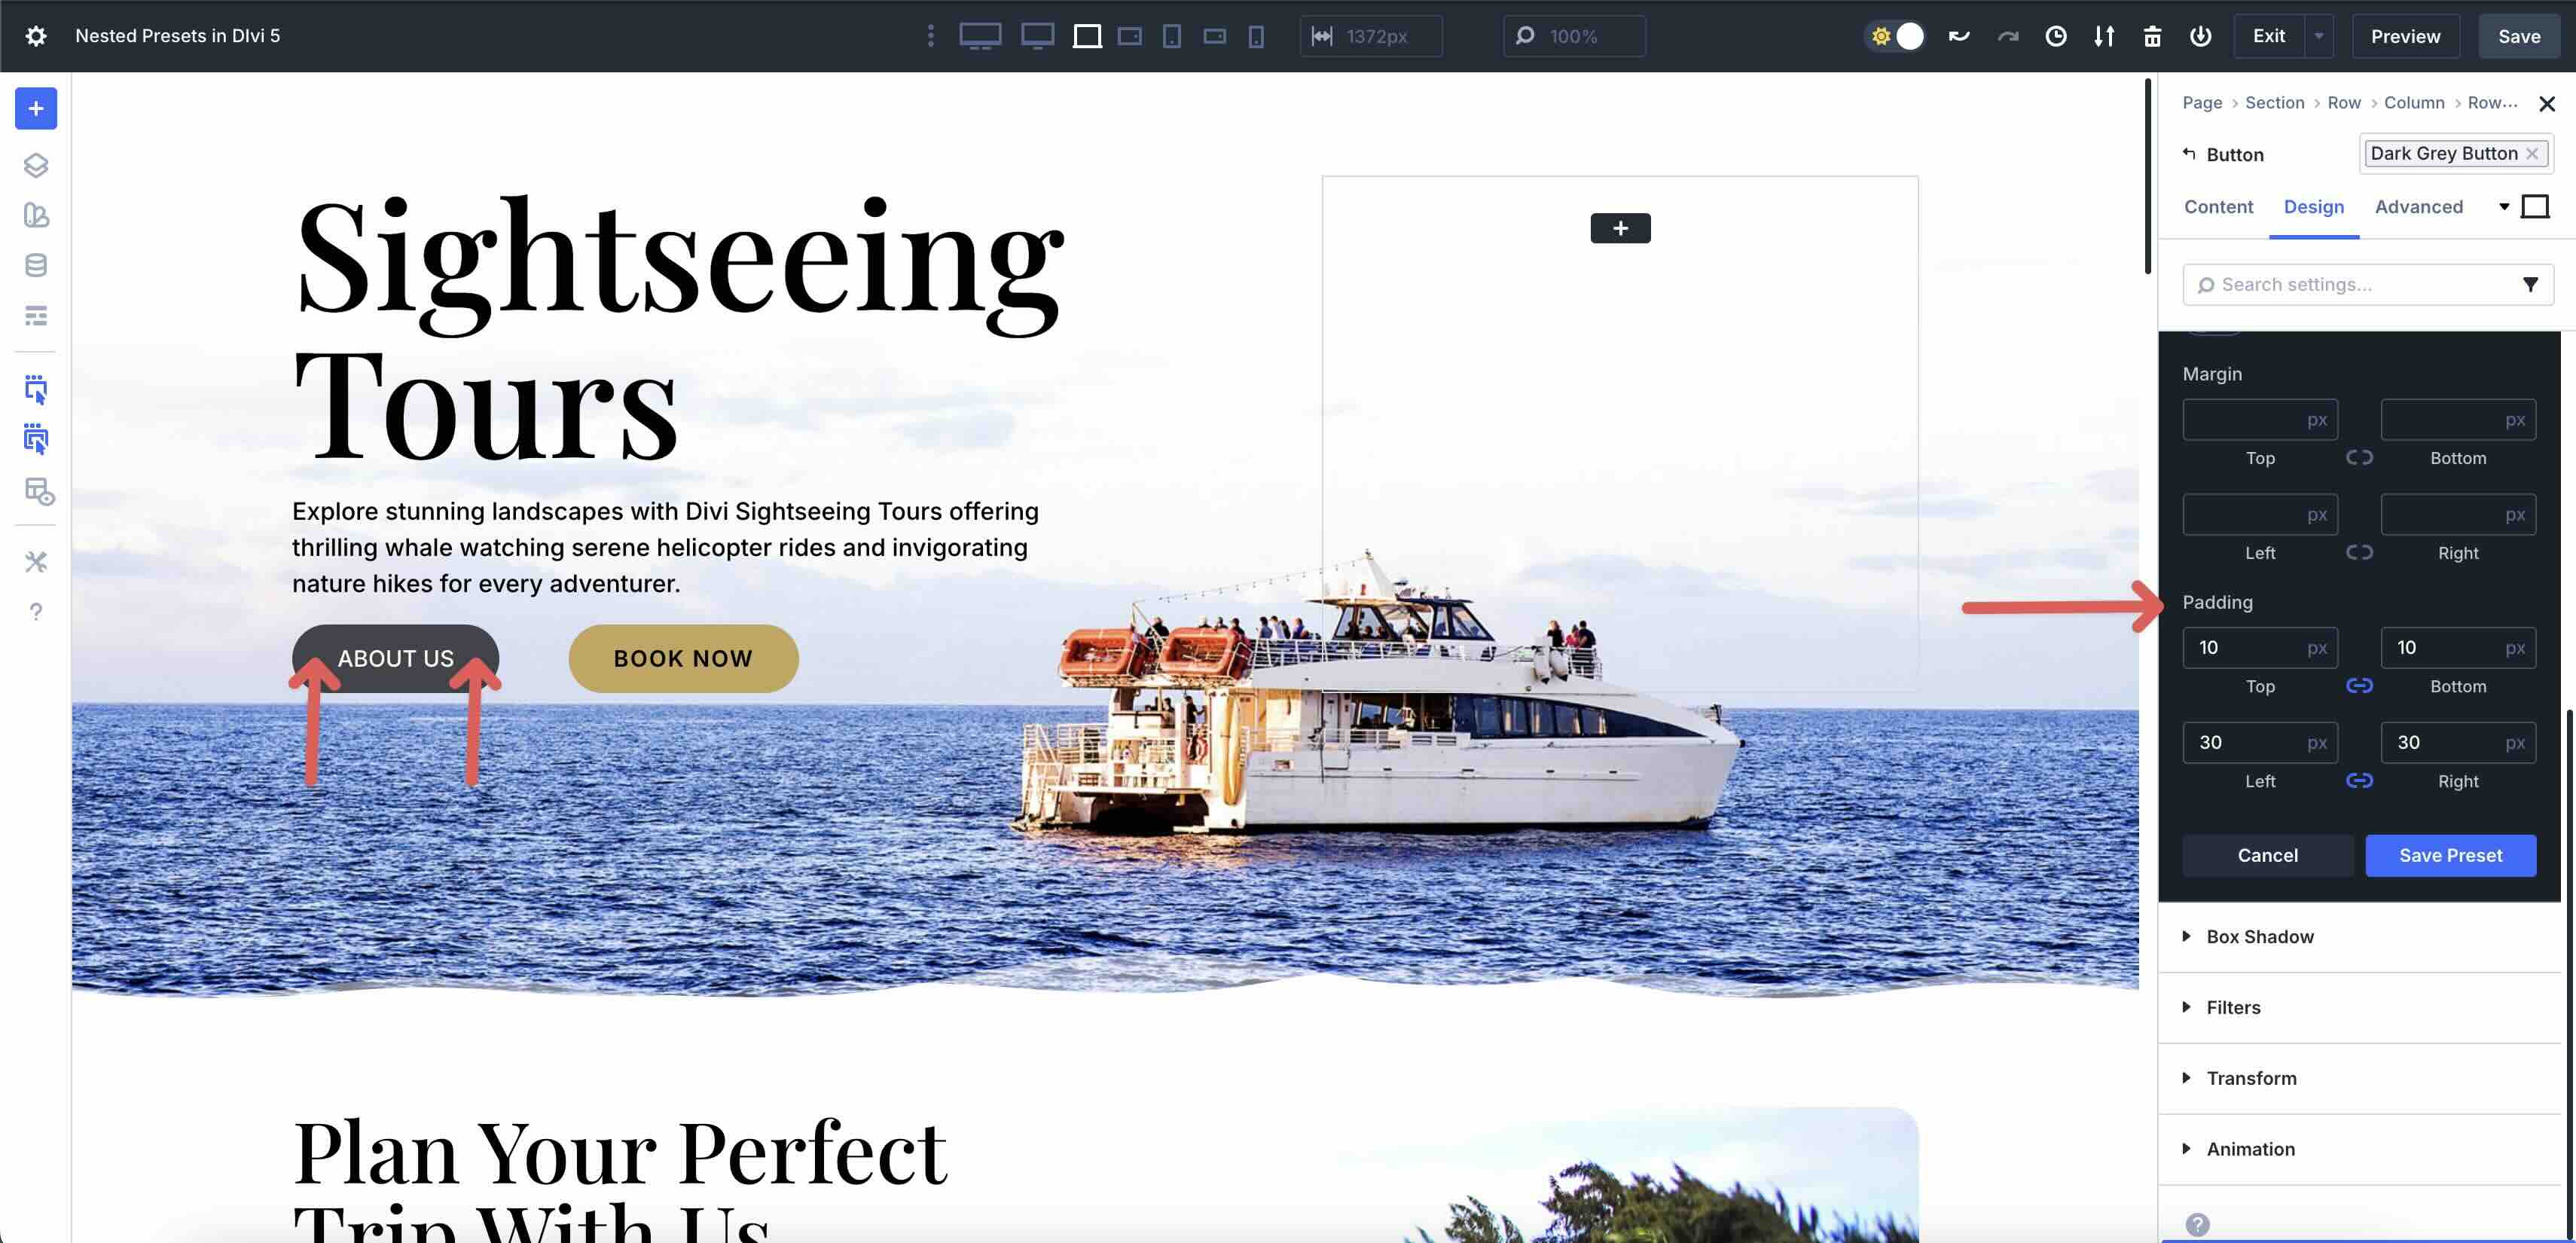
Now that Blurb’s style is in place, we can create our first Option Group Preset. Fold the Layout menu in the Design tab. Adjust the Vertical opening Unpleasant 25px. Hover over the top right corner of the Layout menu options to reveal the Preset icon. Click on it to open the settings menu.
![]()
Click New preset of current styles.
Add one Preset name and then click the Save preset knob.
Repeat the steps to create option group presets for the title text, body text, spacing, and border radius.

Finally, create an Option Group Preset for the Blurbs Background settings in the Contents tab.
Now we have multiple Option Group Presets that can be applied to other modules as we continue designing our web page.
Step 2: Create an element preset
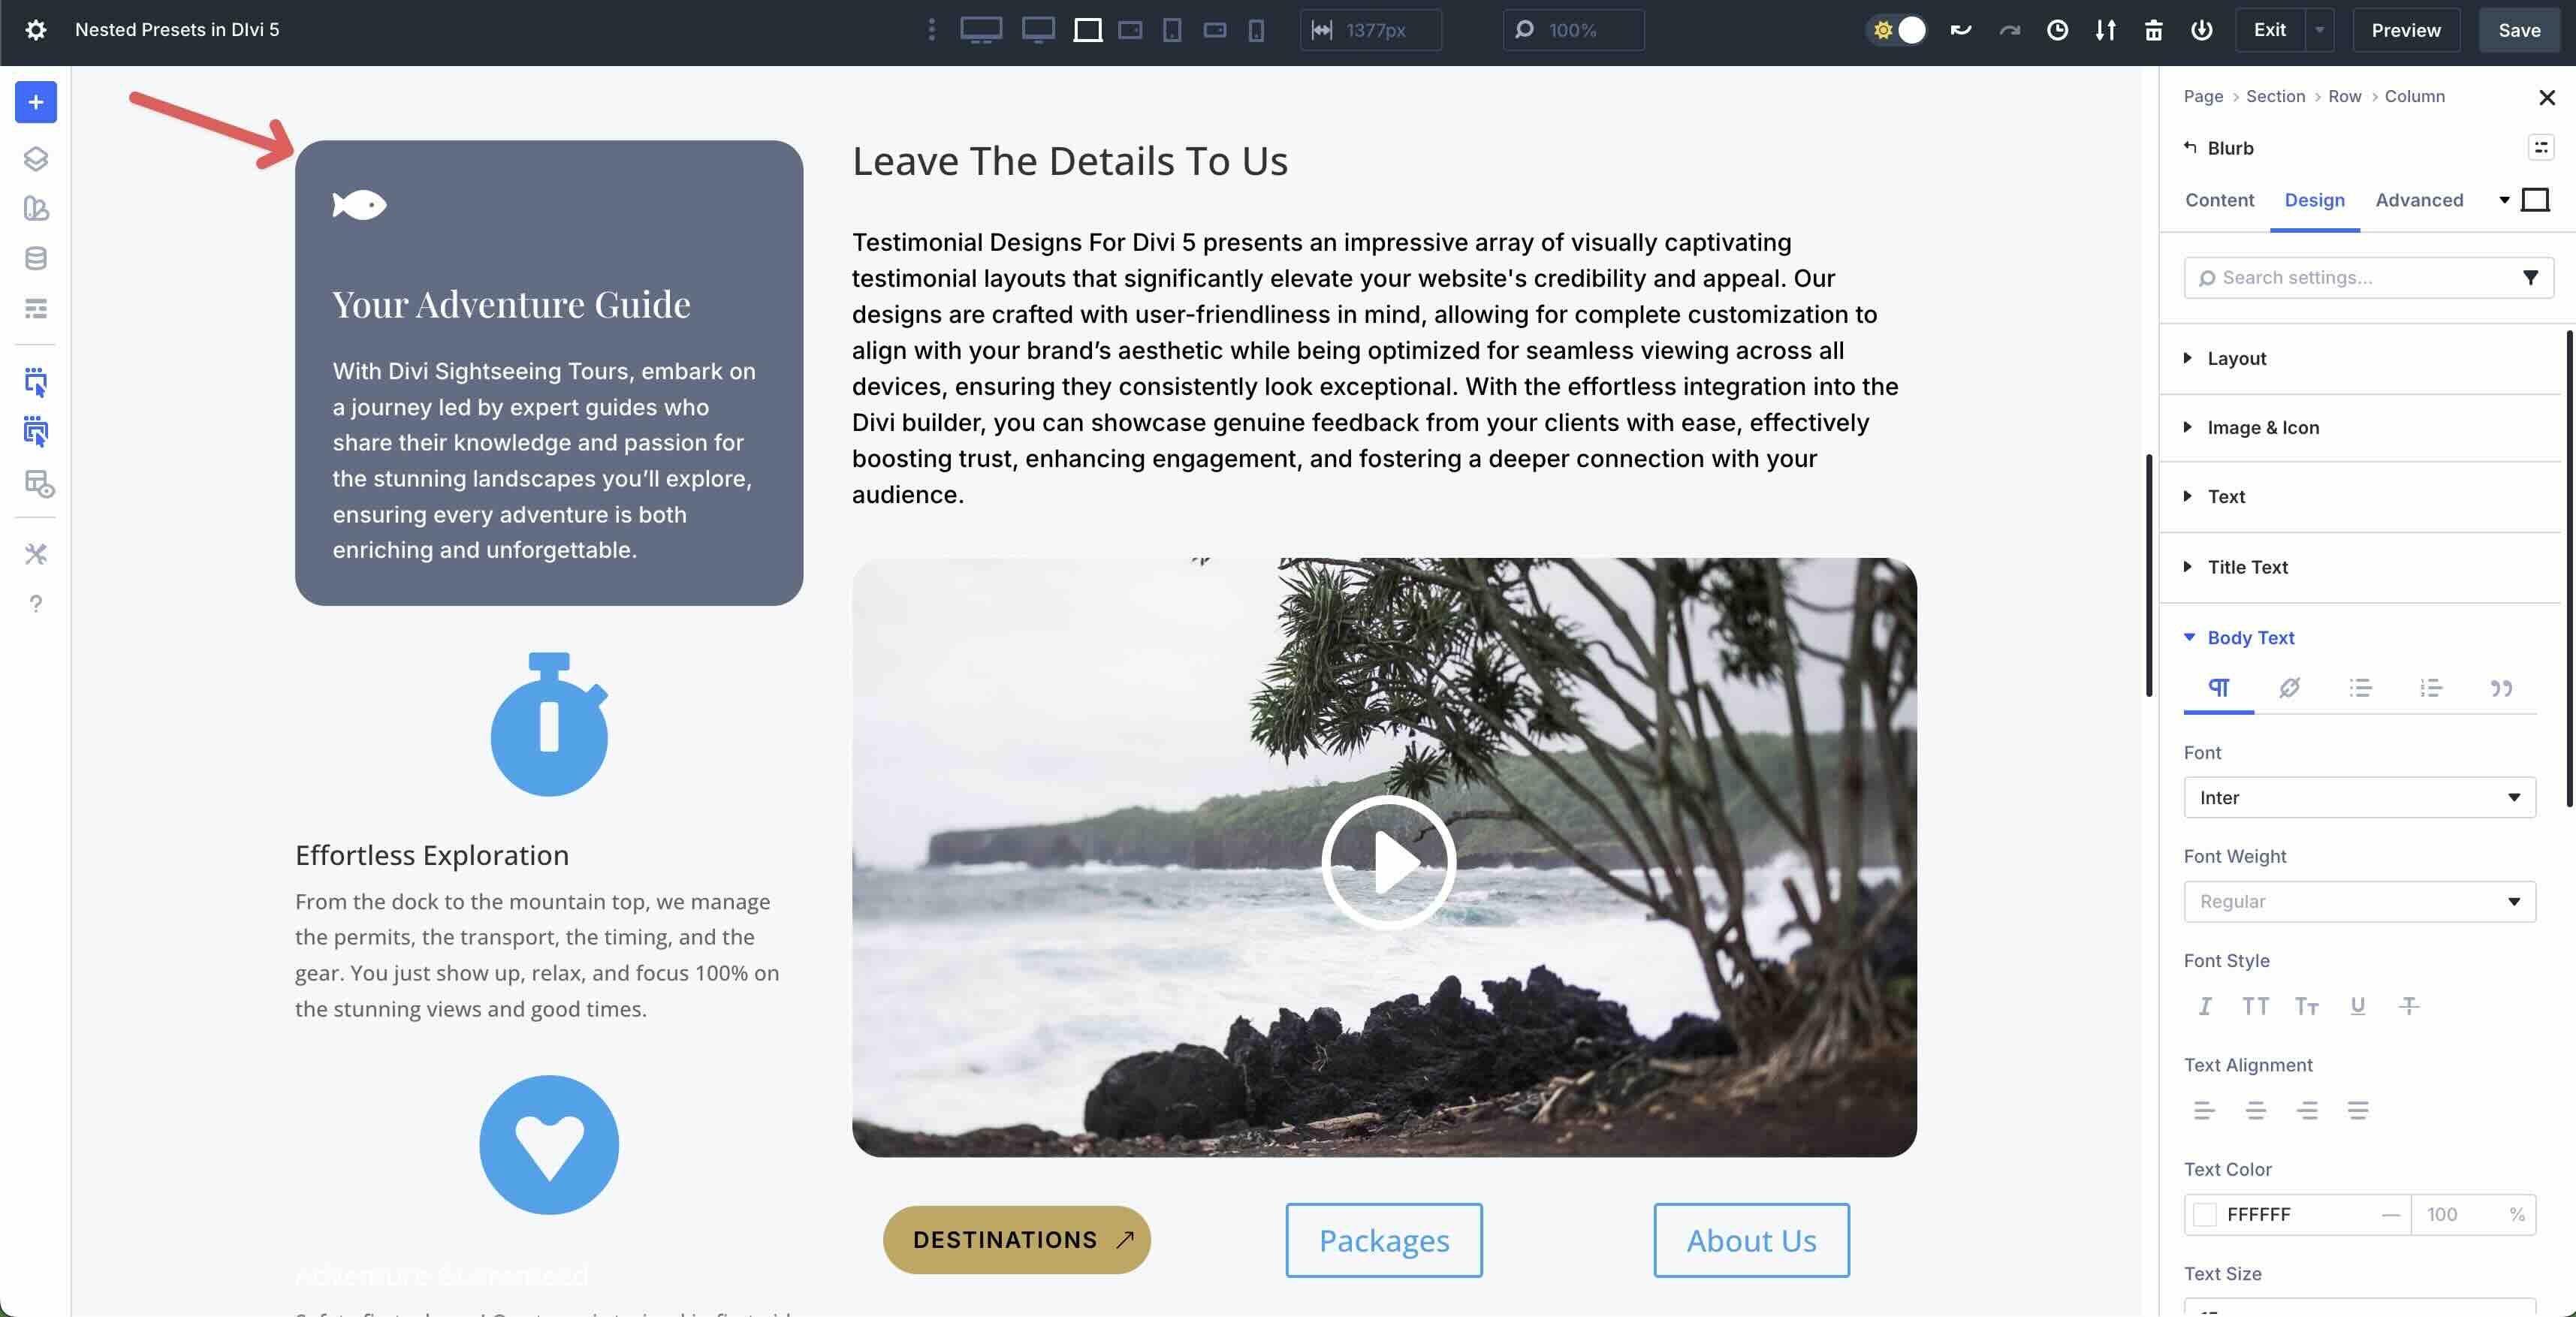
Nested presets in Divi 5 allow us to create a Element preset from our Blurb, while at the same time retaining all Option Group Presets contained therein. Hover the mouse over the top right corner of the Blurb’s Contents tab to the Preset icon.
![]()
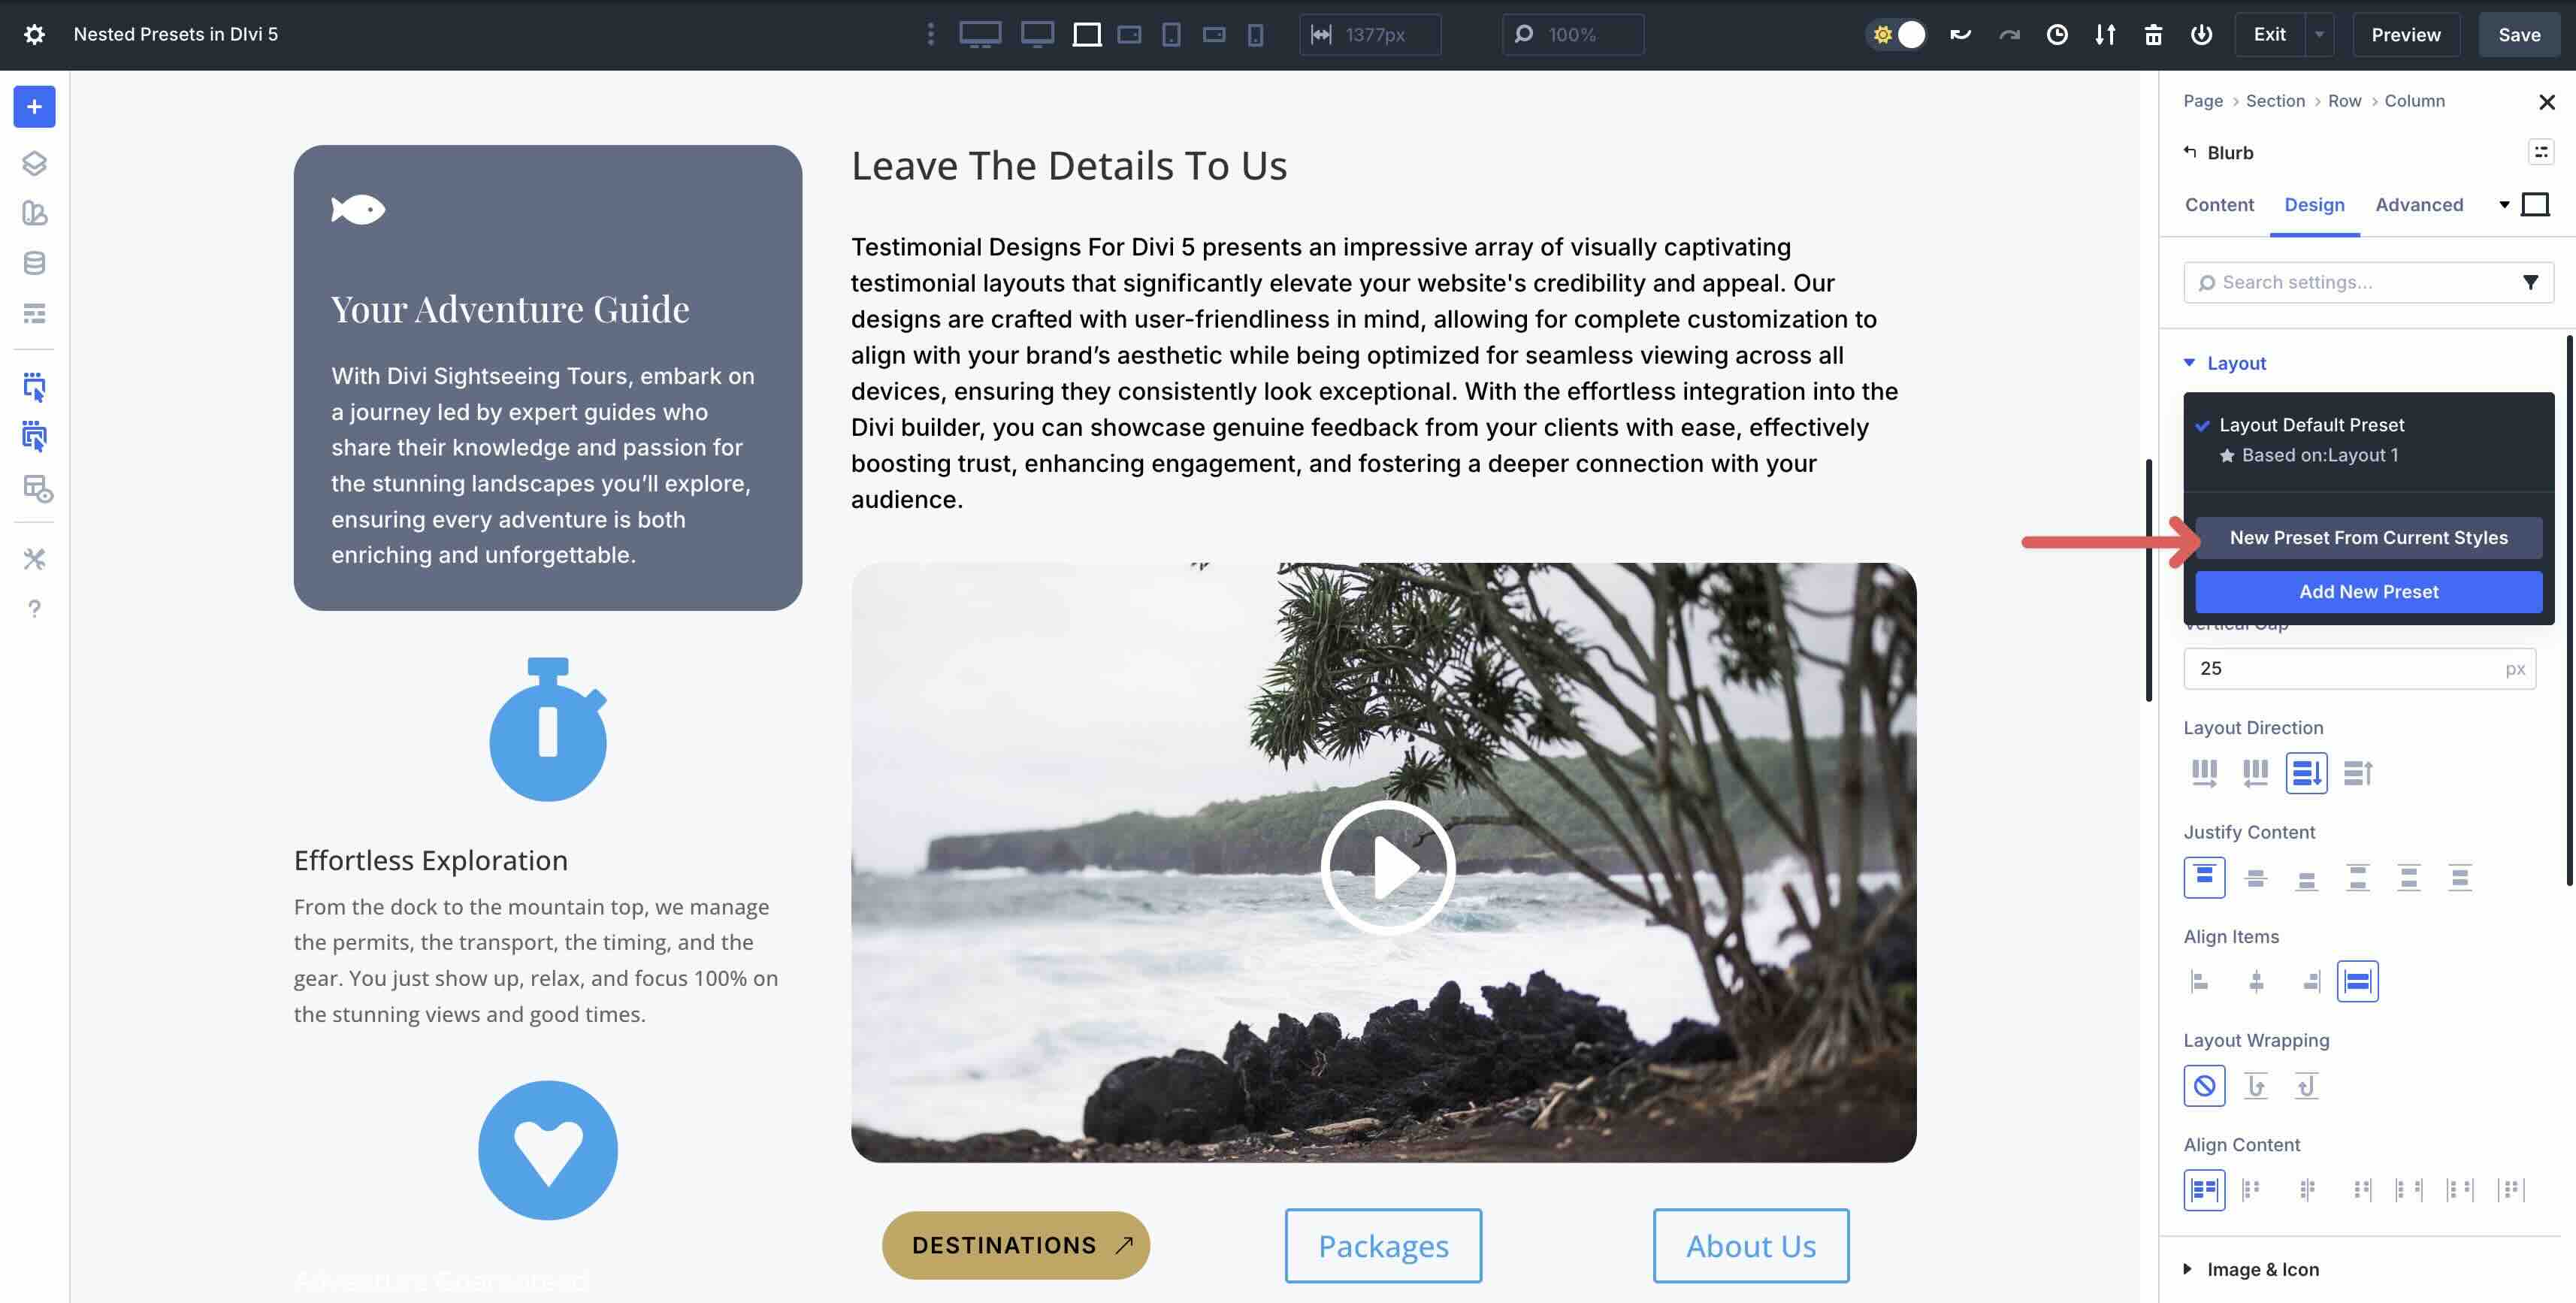
When the modal appears, click the New Preset from Current Styles button.
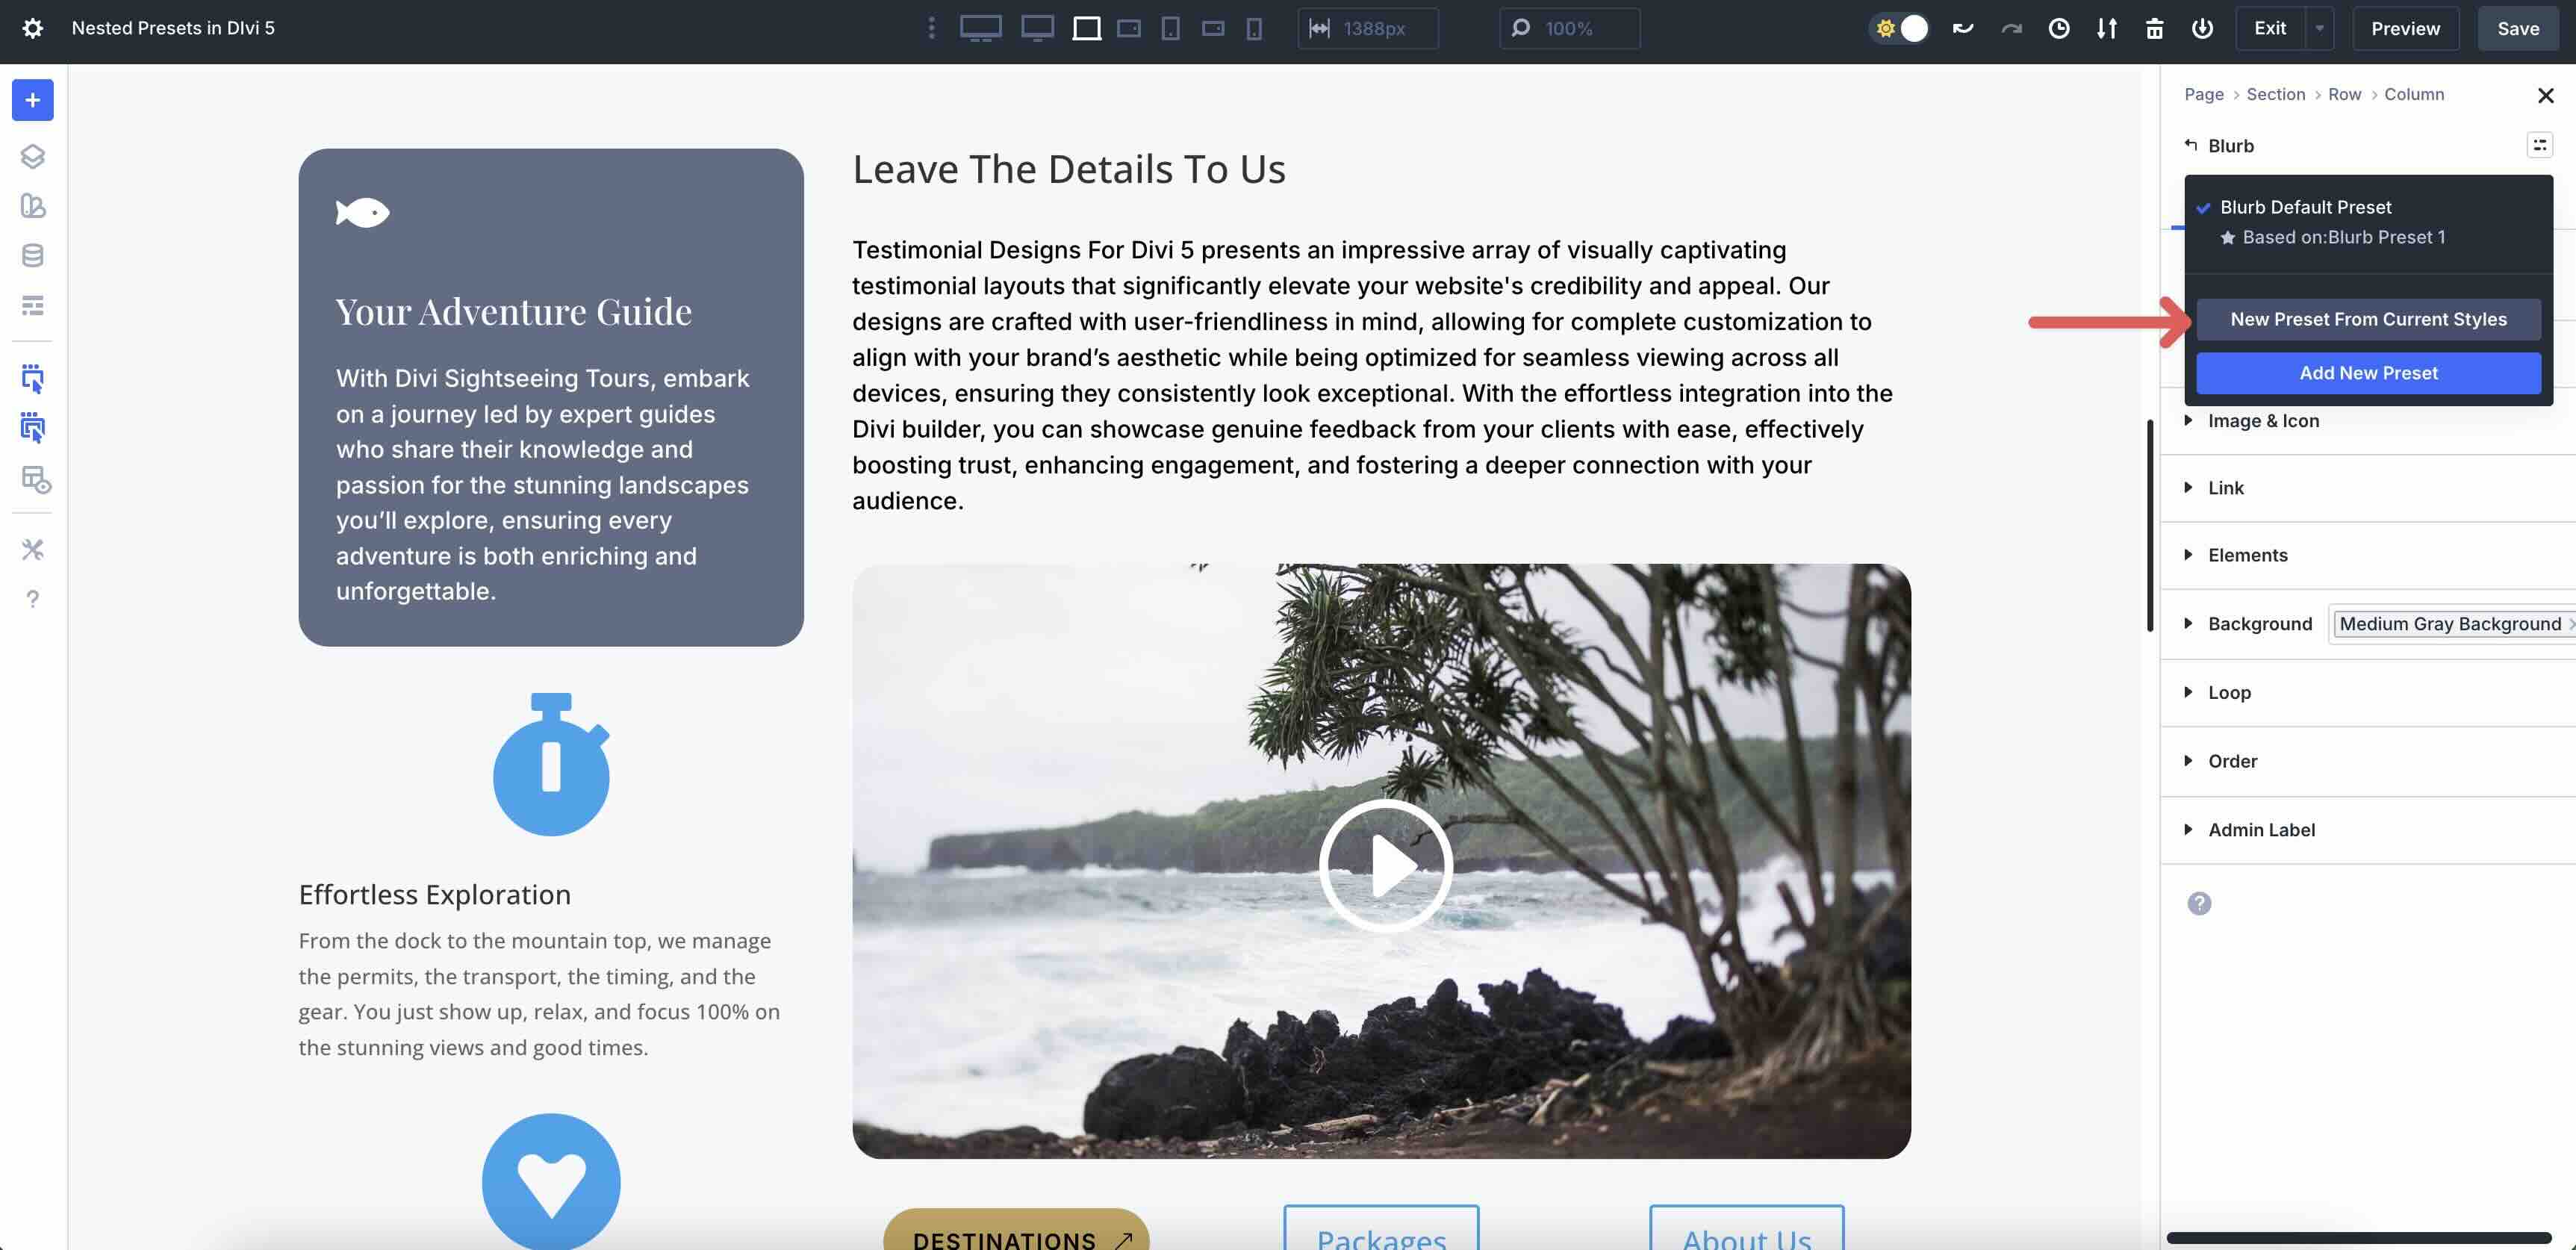
When the settings appear, you’ll notice that the option group presets we created in the last step are embedded.
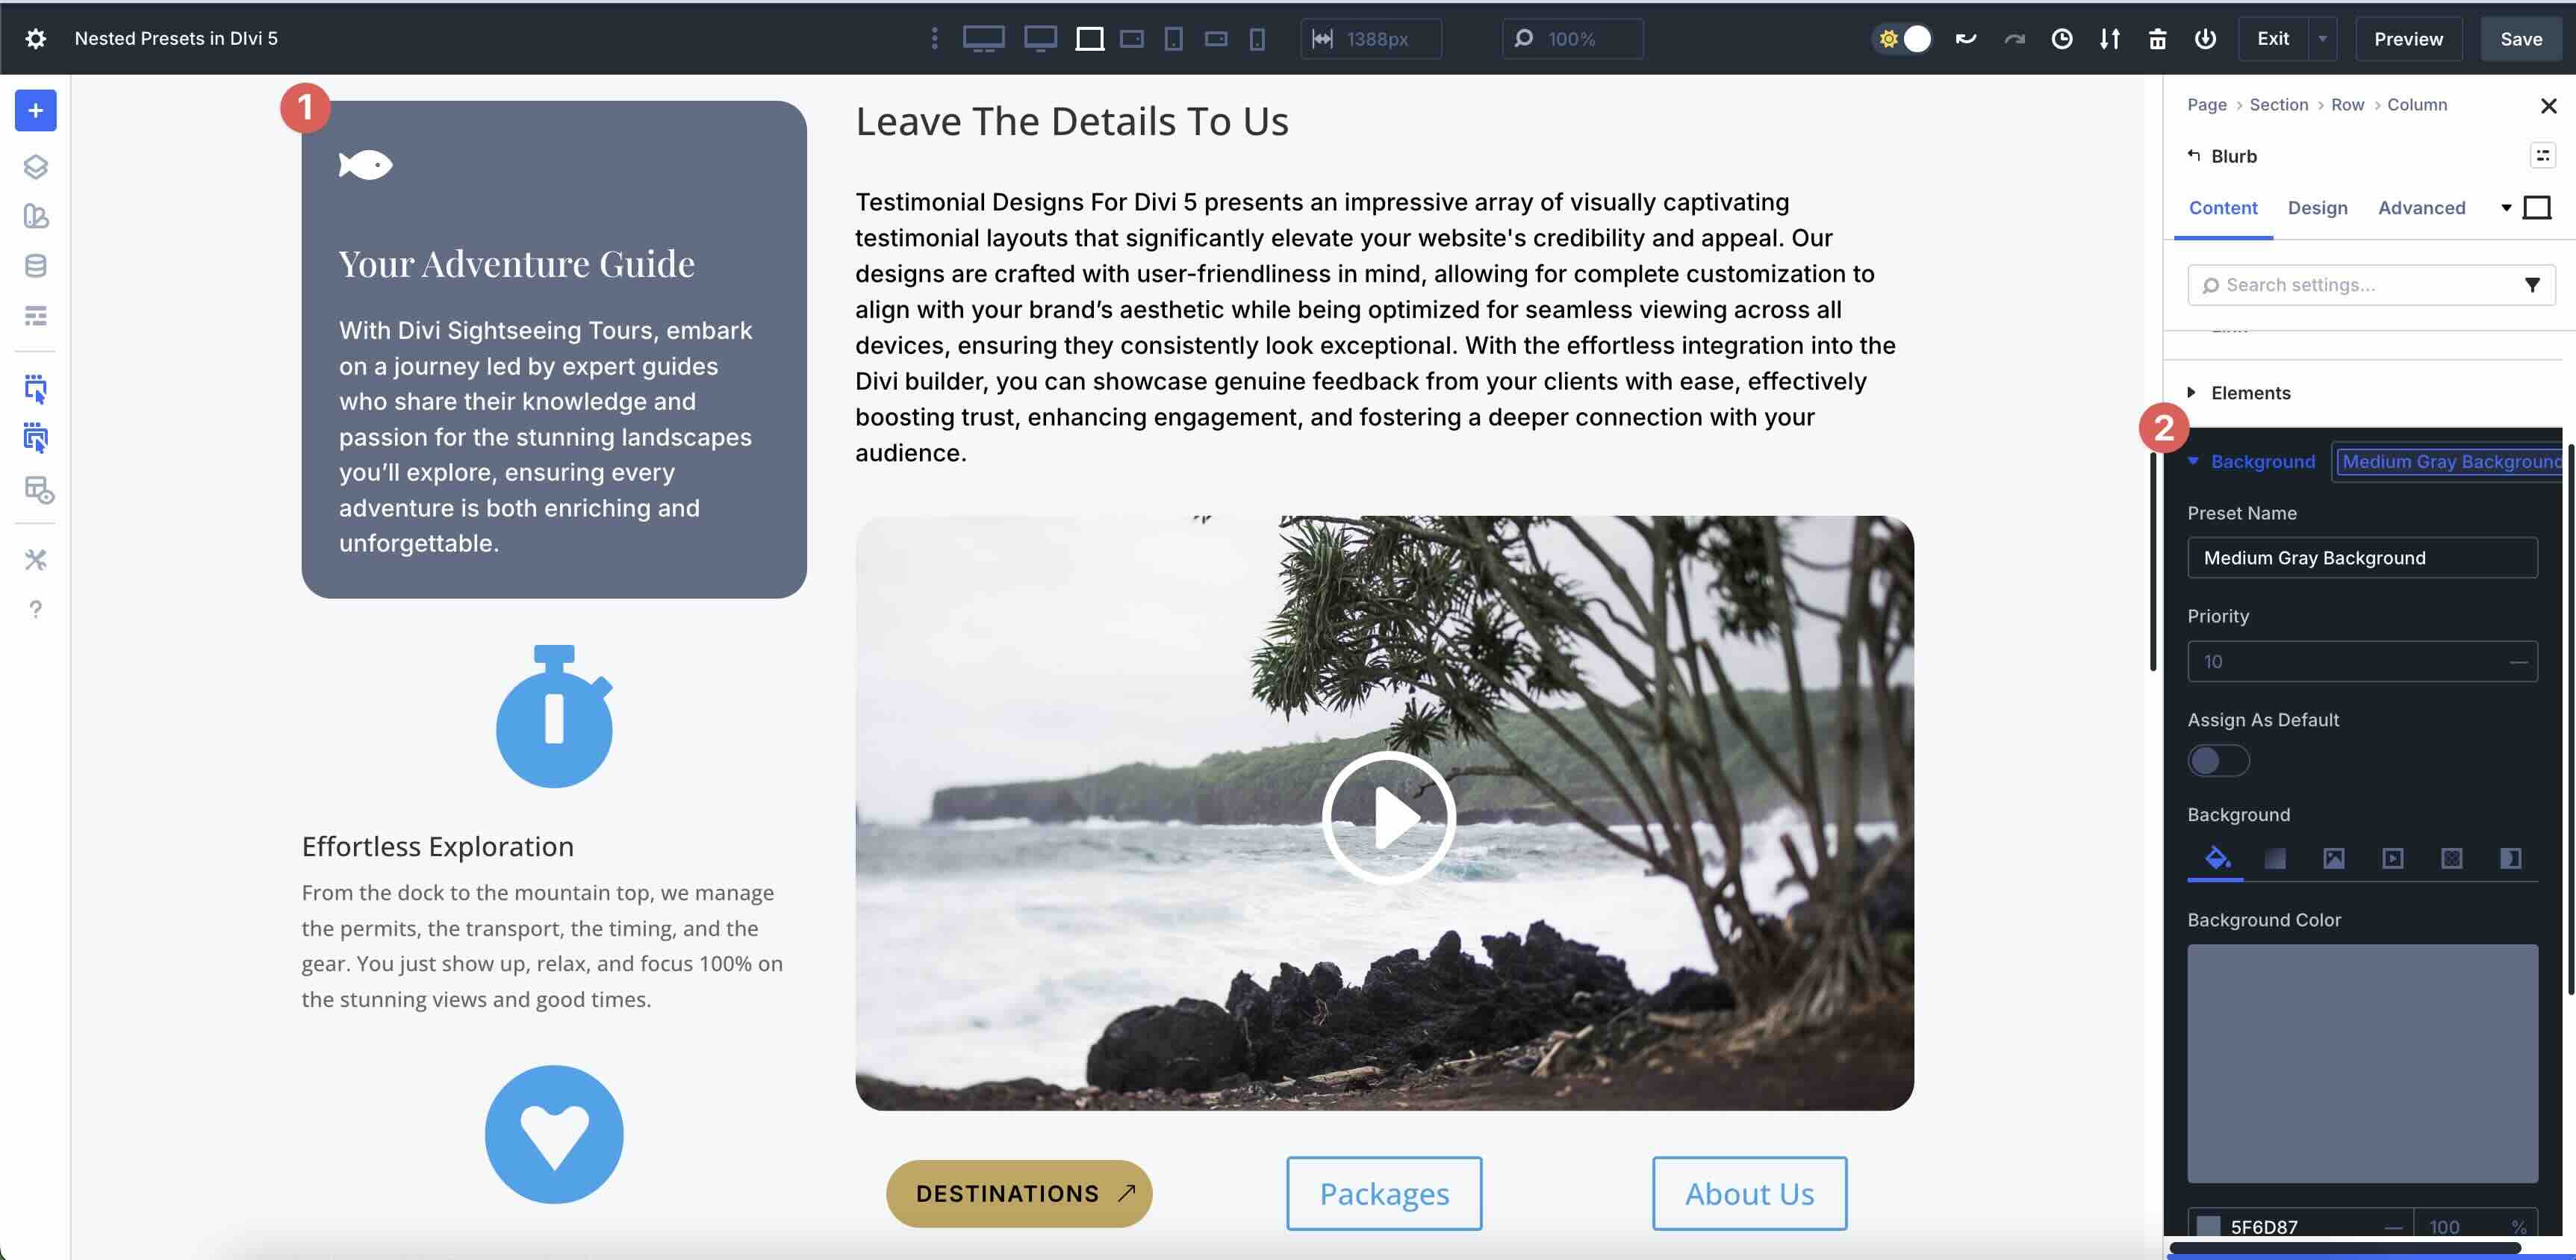
Add one Preset name and then click the Save preset knob.

Step 3: Apply the presets for elements and option groups
Divi 5 makes it easy to apply Element Presets to additional similar modules throughout your design. Click on the second Blur module we created in the first step. Click on the Preset icon and select the Element preset that we created in the second step.
Option Group Presets allow you to easily apply them to other modules, regardless of the type of module you are using. For example, we created an excursions section for our page. To keep the headings consistent across all maps, we can apply the Heading Option Group Preset to the Heading Modules on each excursion map.
The Option Group Preset we created for the Blurb modules Body text can be applied directly to any other module that contains the Body option group.
Here’s another example. Suppose you have an option group preset associated with an H1 heading. You can apply that preset, keep the same styles, and change the heading level to H2 without disrupting the styles associated with the preset.
Step 4: Swap nested presets
If you decide to completely change the appearance of an element, but want to keep the Preset structure in place, you can edit it with a few clicks. Click to edit one of the Blurb modules we created a preset for in a previous step. Click on the Preset to edit it.
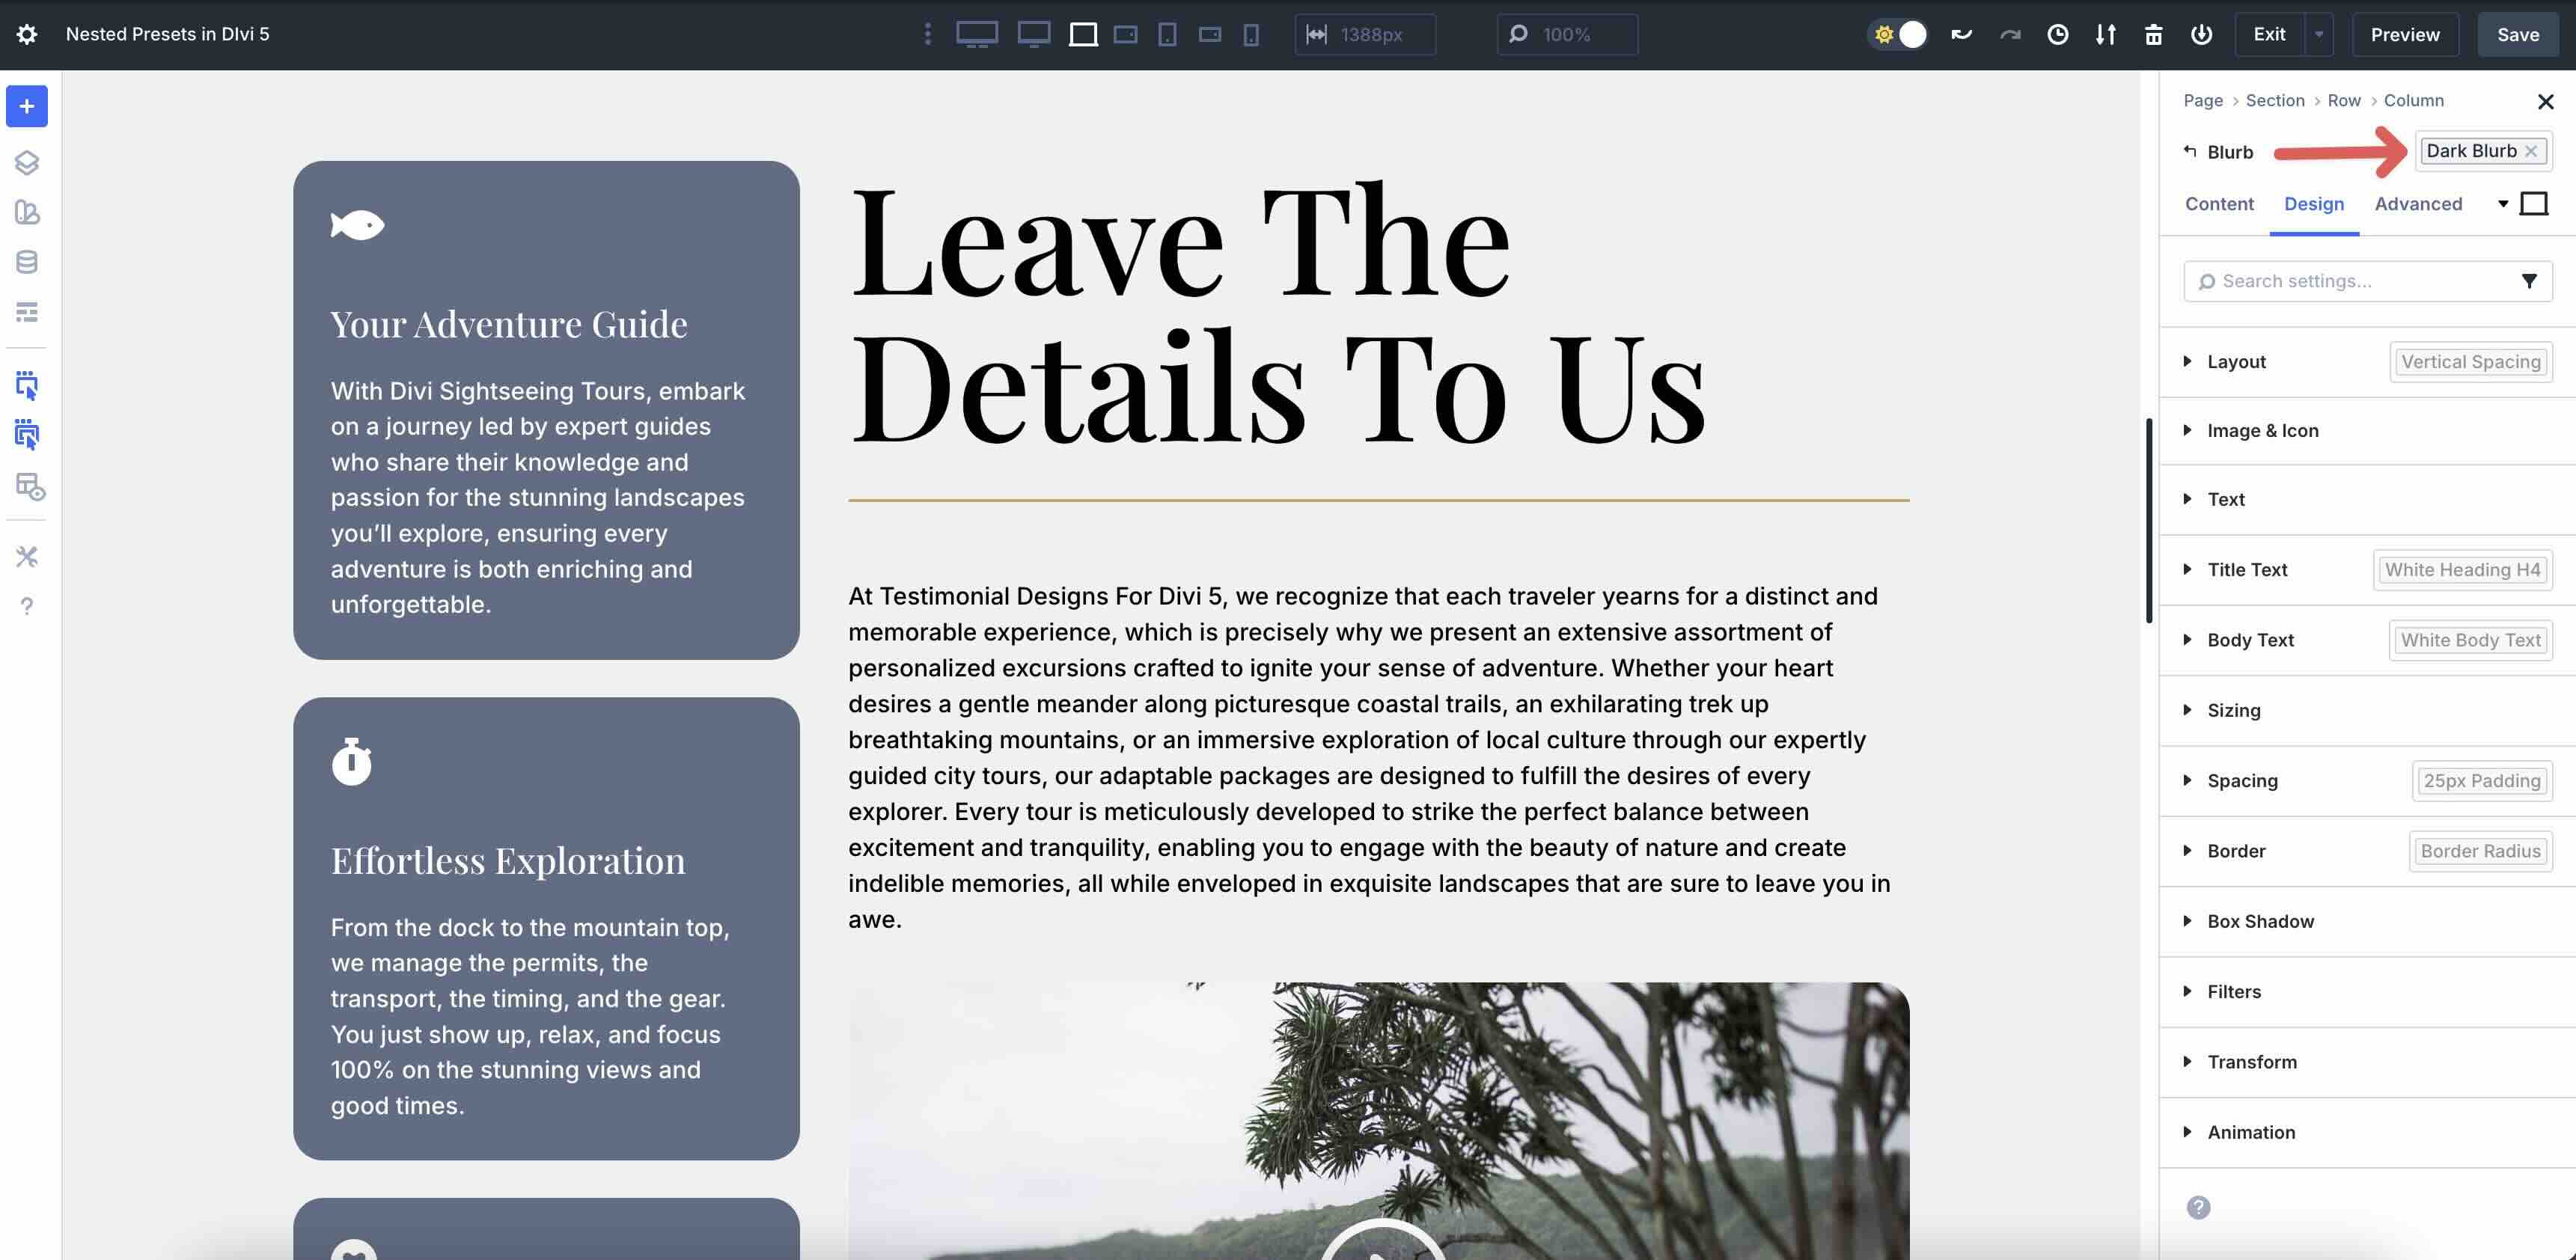
When the list of presets appears, click the Institutions next to the preset you want to edit.

You can easily swap nested presets by clicking one and swapping it for another.
This system allows you to make quick design changes in a fraction of the time.
Step 5: Make manual adjustments if necessary
If you need to make changes to one design element without affecting the associated preset, you can manually make changes at the module level. For example, when making responsive adjustments, you may encounter cases where a longer heading fits awkwardly on some headings.
You can make adjustments only to the affected modules, without having to rebuild the preset.
To download the working files from this article, complete the form below to be added to our newsletter.
Try nested presets in Divi 5 today!
Nested presets in Divi 5 transform the way you approach styling, transforming web design from a repetitive, manual process to a strategic, scalable one. By bundling Option Group Presets into Element Presets, you can create reusable design components that apply full styles in just a few clicks, easily update globally, and maintain consistency across all screen sizes.
We encourage you to download the latest Divi 5 public beta, experiment with nested presets, and share your thoughts in the comments below.
#nested #presets